Our view at Stack - MemberSpace allows you to add membership functionality to any website. It offers customizable membership options, flexible payment gateways including Apple Pay and Google Pay, drip content, and tiered access. It provides bank-grade security, GDPR compliance, and easy member management with analytics and email campaigns.
Haiden Hibbert
If you’ve invested time and effort into producing educational and informative videos for your YouTube subscribers, you may be wondering how to take the next step and monetize your content. Turning your videos into an online course is a simple way to repurpose the content you’ve already created and start making some passive income! In this blog post, we’ll guide you through the process of transforming your videos into a structured, engaging, and profitable online course.
Launch an online course!
The easiest way to accept membership payments or one-time charges for digital products like online courses, communities, content libraries, and more — all from your own website!
Start selling now
Get started for free! 5 minutes to set up.
Table of Contents
How to know if your videos would make a good online course
Before diving into the course creation process, it’s important to do some prep work to determine if your videos make sense for an online course. Consider the following:
- You’ve created multiple videos relating to the same topic or contributing to a common goal (like teaching different ways to use a sourdough starter, or teaching foundational elements of ballet).
- Your videos are inherently educational and informative (not just entertaining).
- You have lots of free video content on YouTube and want to start monetizing it.
If you meet these criteria, you’re ready to start building your online course!
Step 1: Pick a course topic
Based on the types of videos you have, you’ll want to start by identifying the overarching goal of your course. Your videos don’t have to be a step-by-step process that works toward this goal, but they all need to at least contribute to the same goal. Consider the main theme or skill your videos address and use that as the foundation for your course topic.
Step 2: Organize your videos into lessons and/or modules
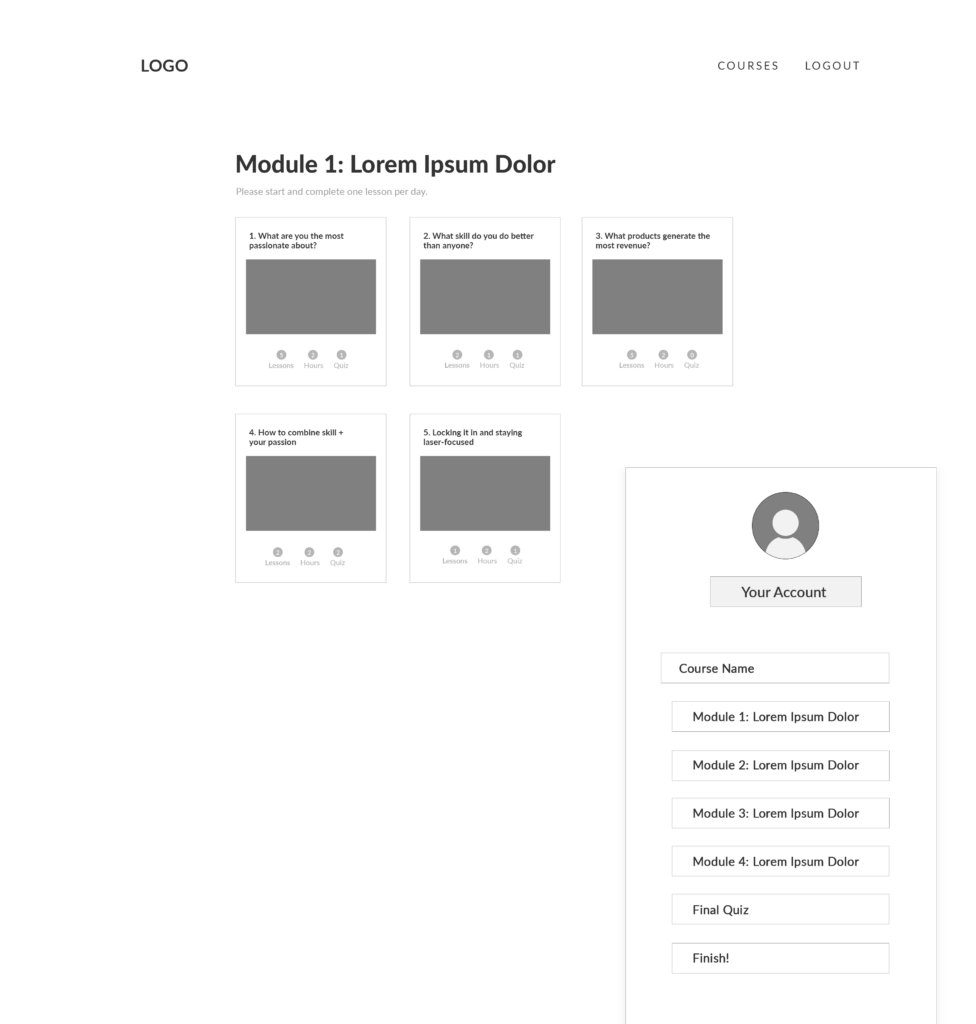
Once you have your course topic, it’s time to break it down into smaller, digestible chunks. If you have 10 or more videos, consider grouping them into modules to create subsections within your course. Then, include at least 2-3 videos in each module as lessons. This structure will help your students navigate the course content easily.

Step 3: Set up your online course on your website
Now that you have your course structure in place, it’s time to create a home for your course on your website. Here’s an idea of what you might want to include:
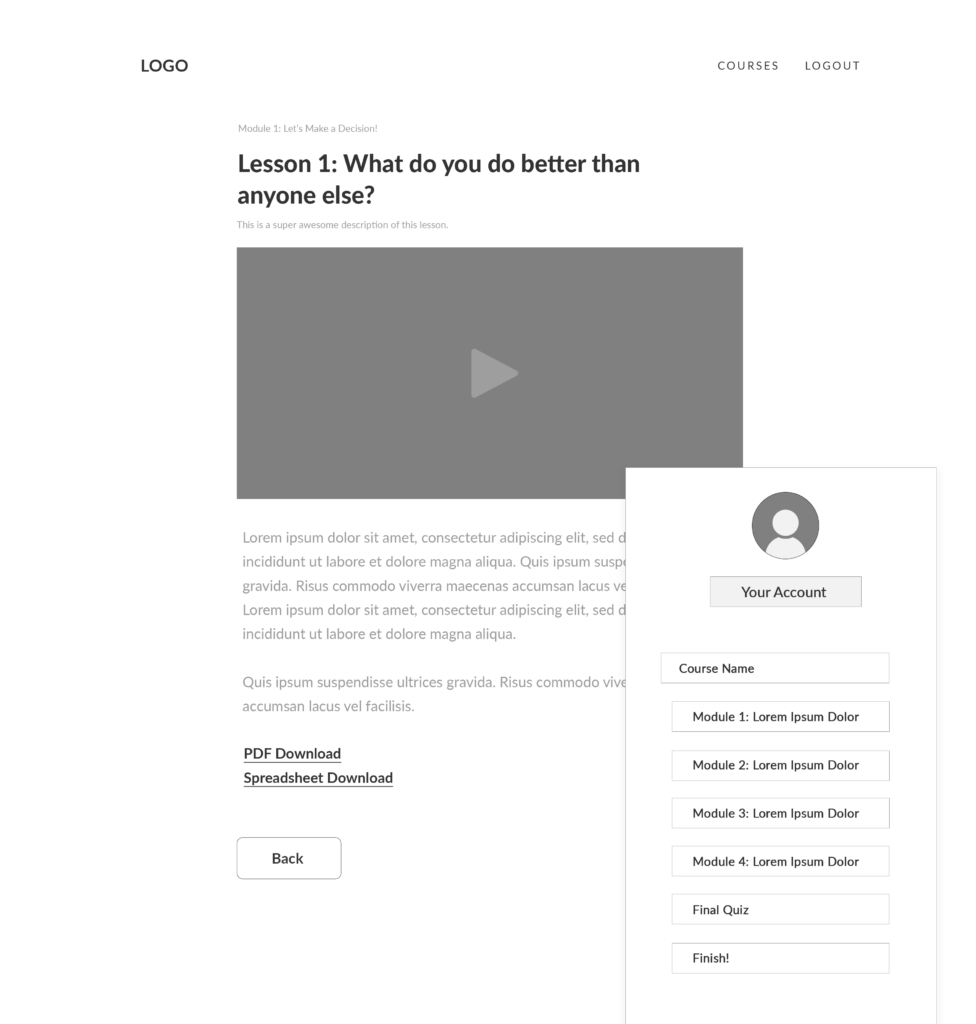
- Course pages – Create a page for each module and lesson and embed your YouTube videos on the pages. If you’re not using modules and only have lessons, you’ll only need one hub page for all your videos. We’ll talk about the best way to protect your videos in the next step.
- Free downloads – If you have worksheets, templates, or other resources that complement your course content, these can be added directly to your module and lesson pages.
- Quizzes – Incorporate quizzes to test your students’ knowledge and reinforce their learning. You can embed quizzes directly onto pages on your website, or link to a quiz tool from your module or lesson pages.
- Certificates – Consider creating digital certificates and offering them to students to motivate them to complete your course.
- Navigation menu – Enable MemberSpace’s Member Menu to create a clear navigation menu for students (see next step for how to do this).

Step 4: Protect your course videos with MemberSpace
To ensure that only paying students can access your course content, you’ll need to set up a MemberSpace account. MemberSpace seamlessly integrates with your website, allowing you to protect your videos and accept payments for your online course.
Here’s how it works:
1. Create an account for free.
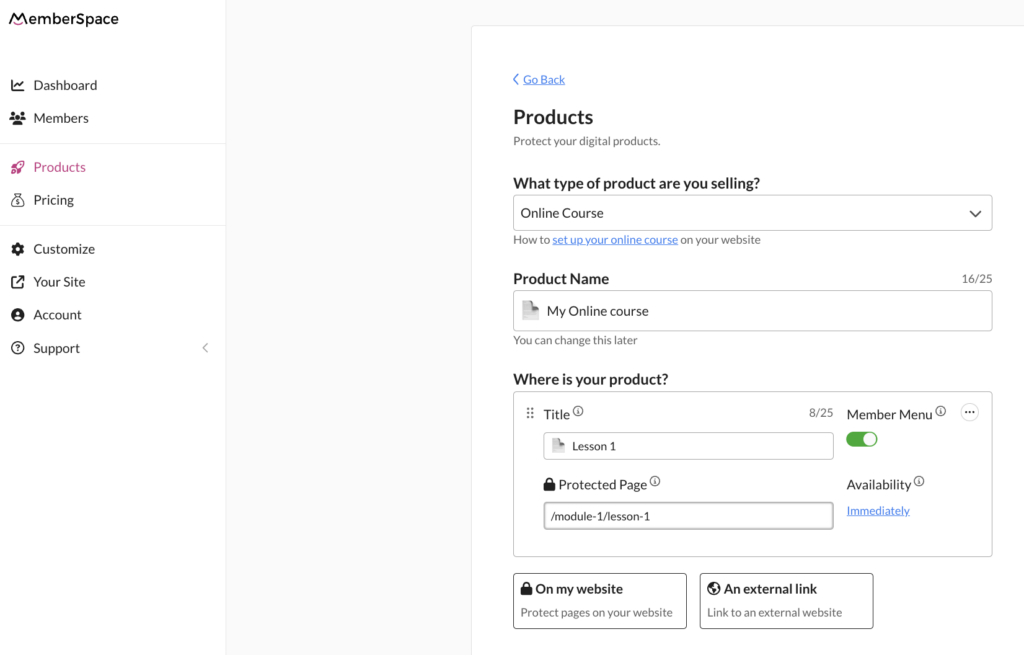
2. Protect your online course content by adding the URLs for your course pages to MemberSpace. This will restrict access to them so students have to sign up and pay to view them. This is also where you will enable the Member Menu.

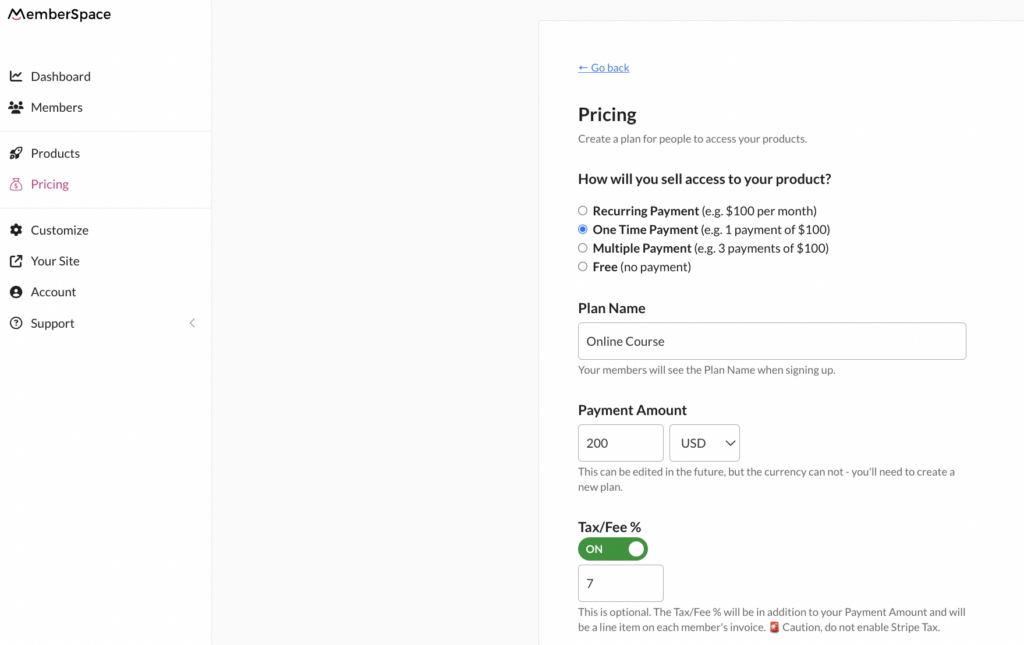
4. Set a price for your online course. You can choose between one-time, recurring, or multiple payments, as well as free.

5. Add a snippet of code to your website to enable MemberSpace functionality (this also only takes a few minutes, and simple instructions are provided, so no tech expertise needed!).

Step 5: Launch and promote your online course
With your course set up and protected, it’s time to launch and promote it to your target audience. Share the news about your course through your email list, social media channels, and other platforms where your audience engages with you. Consider offering a special launch price or bonus content to encourage early sign-ups and generate buzz.
Final Thoughts
Turning your videos into an online course is a great way to share your expertise, help your audience, and monetize your content. By following these five steps, you’ll be well on your way to creating a valuable and profitable online course that showcases your knowledge and skills. To get started, sign up for a free MemberSpace trial today.

Need help with your online course?
Connect with our friendly team, weekdays 10am – 6pm ET.
Let’s chat!
The post How to Turn Your Videos into an Online Course – Monetize Your YouTube Channel in 5 Steps appeared first on .
If Memberspace is of interest and you'd like more information, please do make contact or take a look in more detail here.
Credit: Original article published here.
