Our view at Stack - MemberSpace allows you to add membership functionality to any website. It offers customizable membership options, flexible payment gateways including Apple Pay and Google Pay, drip content, and tiered access. It provides bank-grade security, GDPR compliance, and easy member management with analytics and email campaigns.


If Memberspace is of interest and you'd like more information, please do make contact or take a look in more detail here.
Credit: Original article published here.


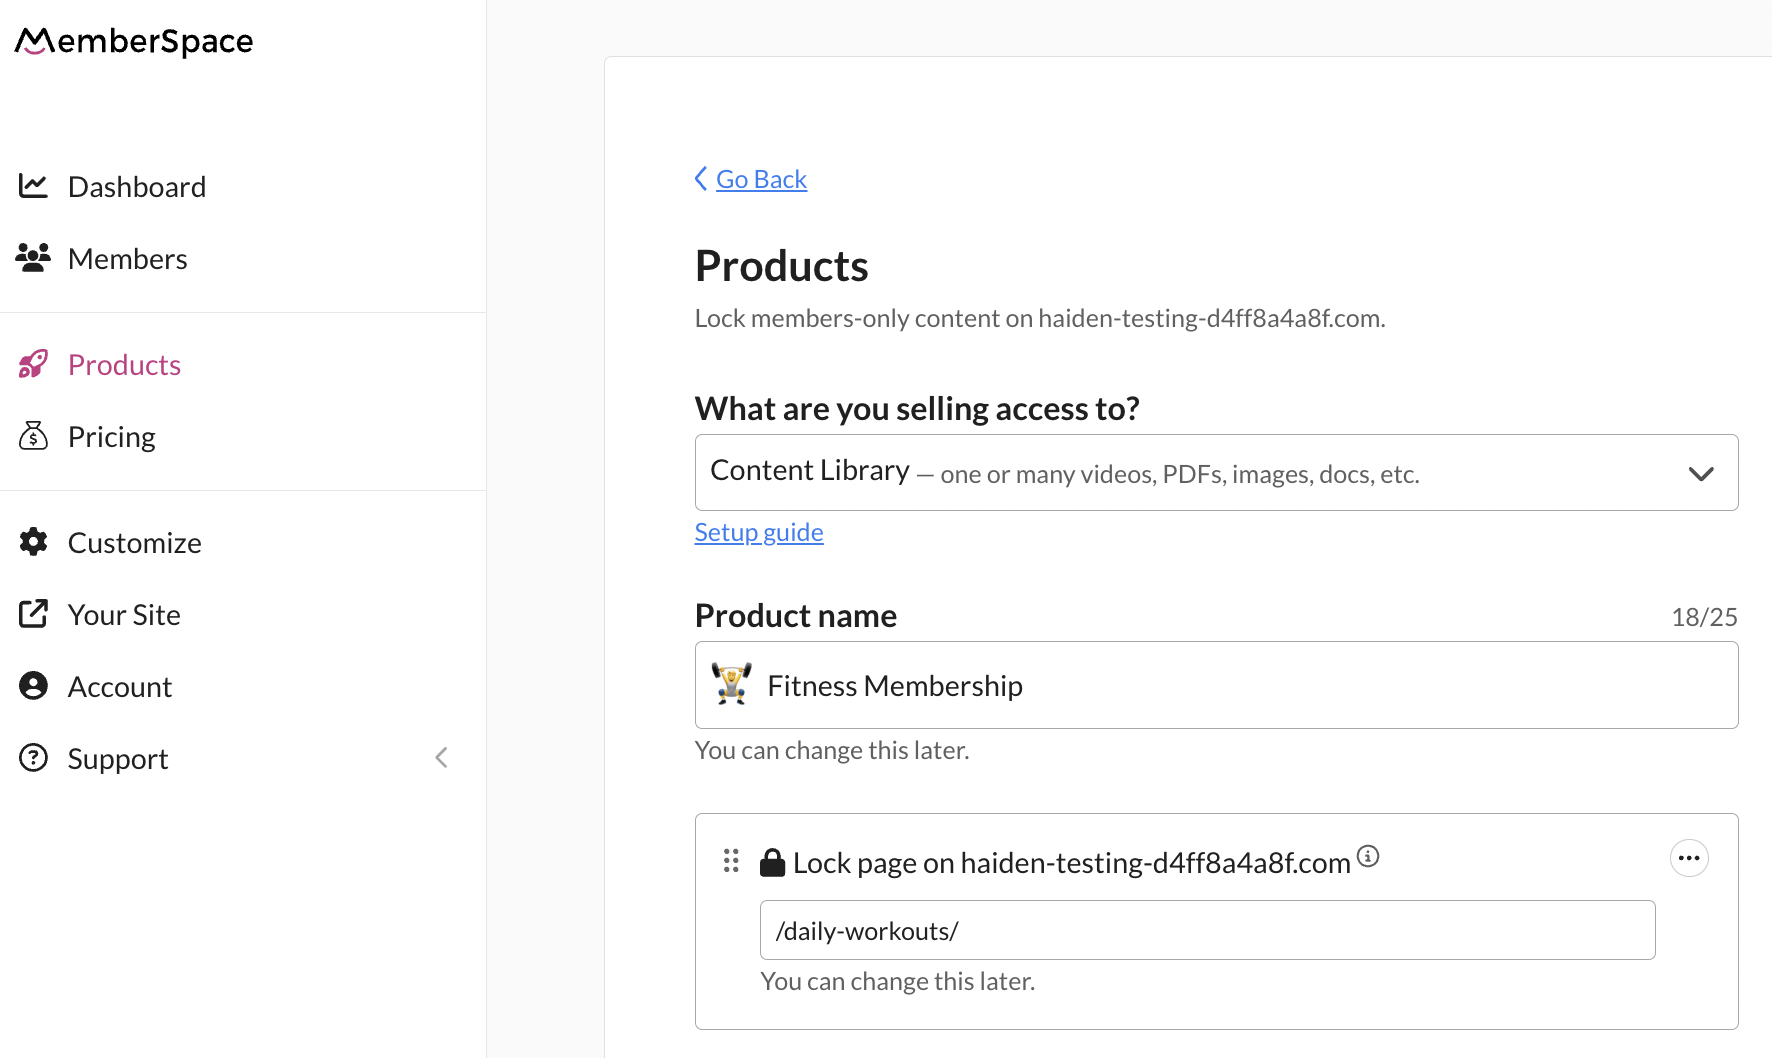


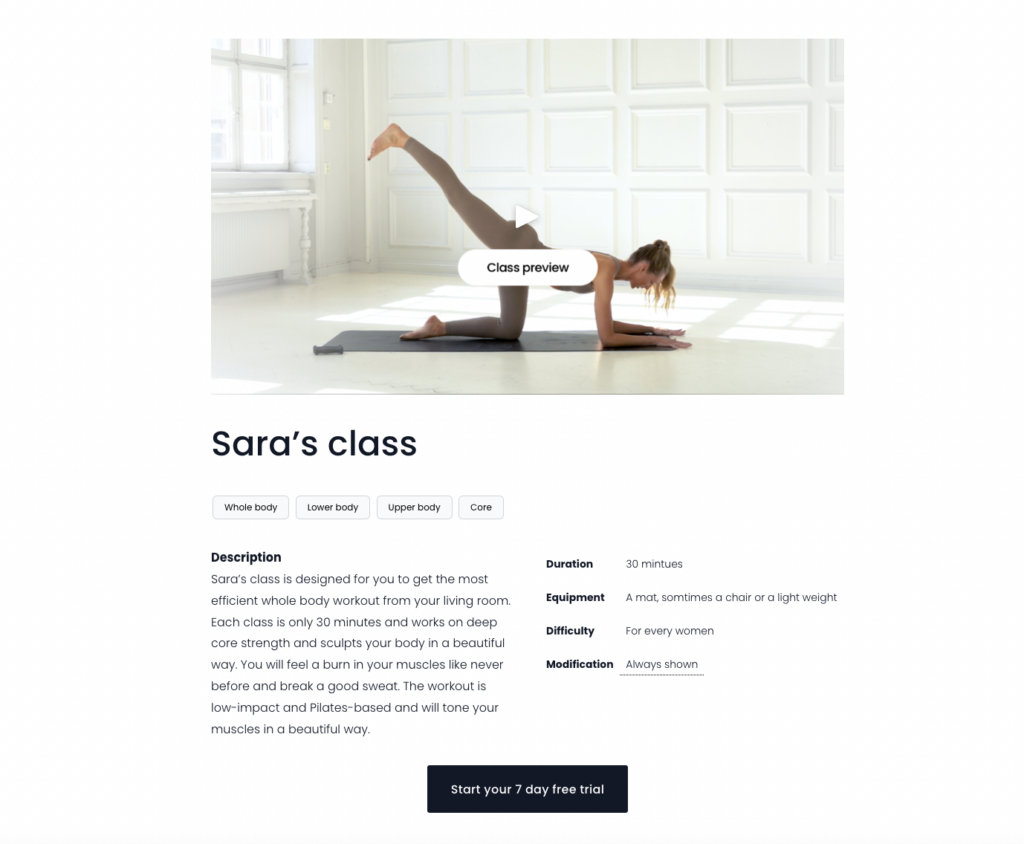
 Since launching Withsara, Sara’s members have completed over 150,000 workouts on her fitness membership site!


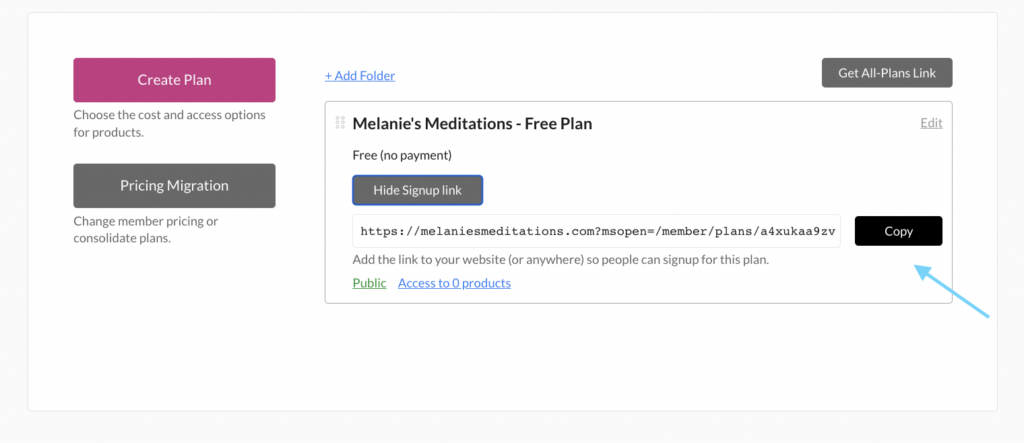


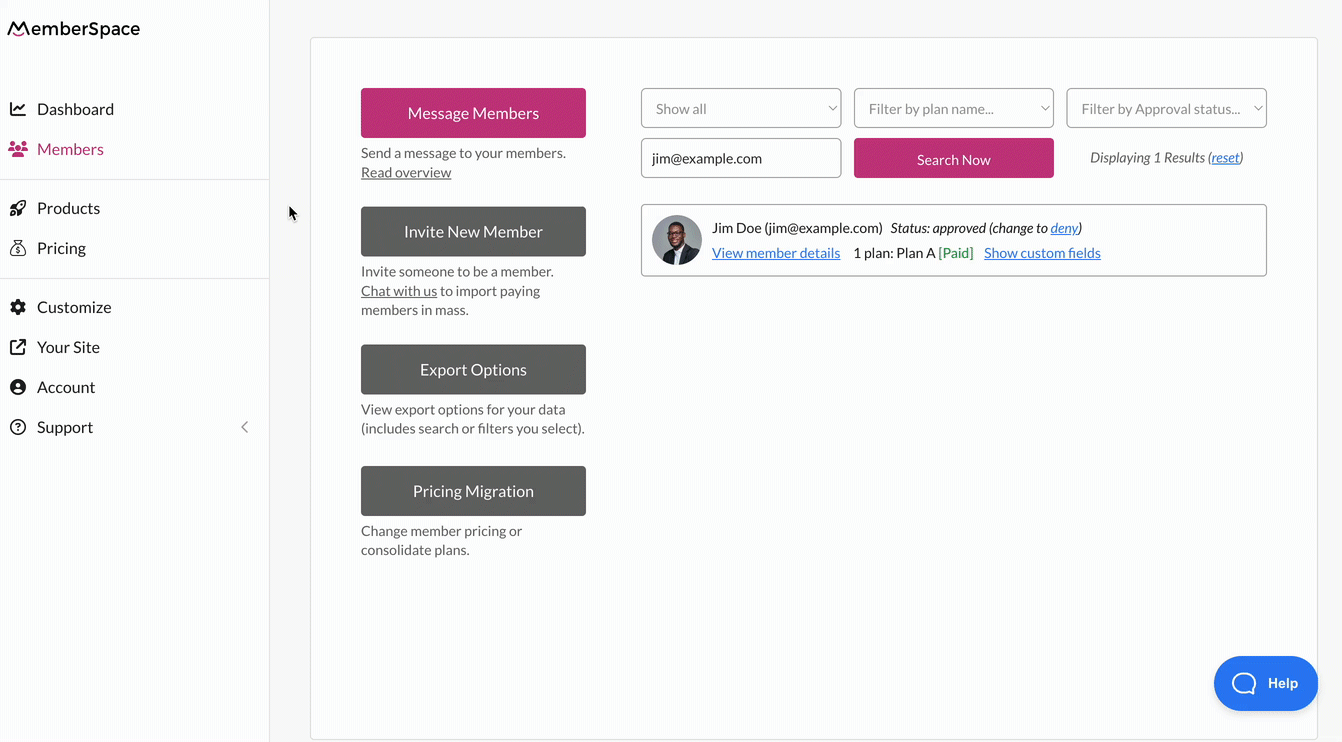
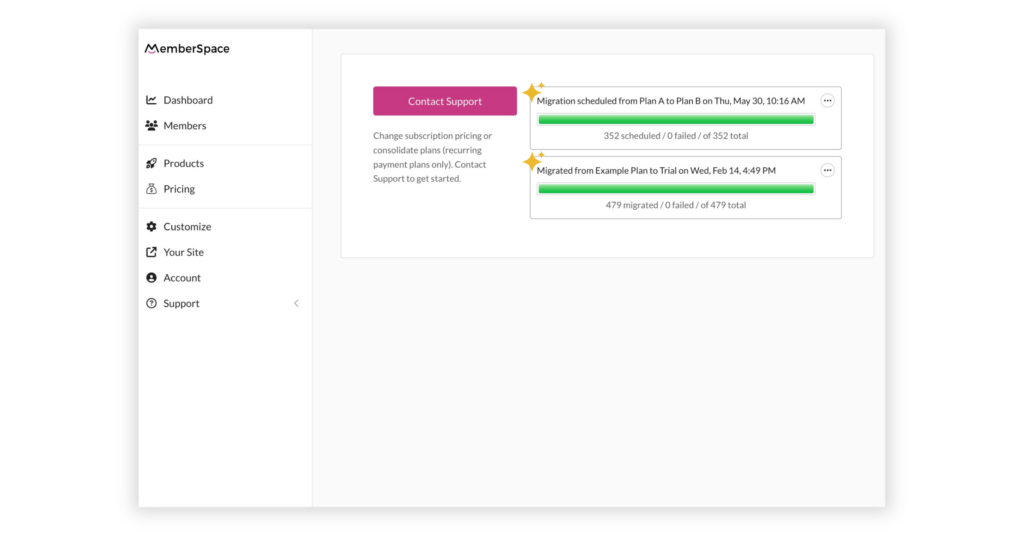
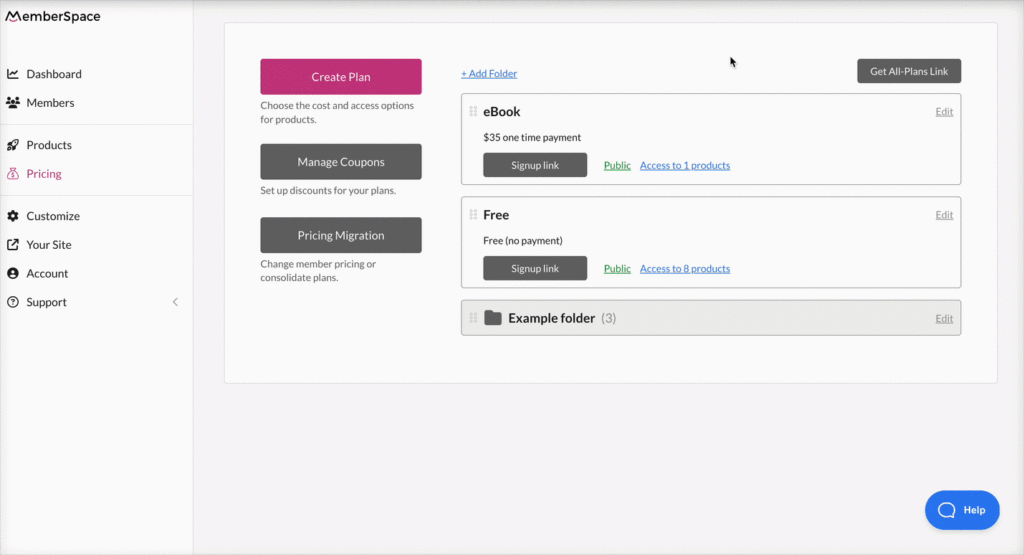
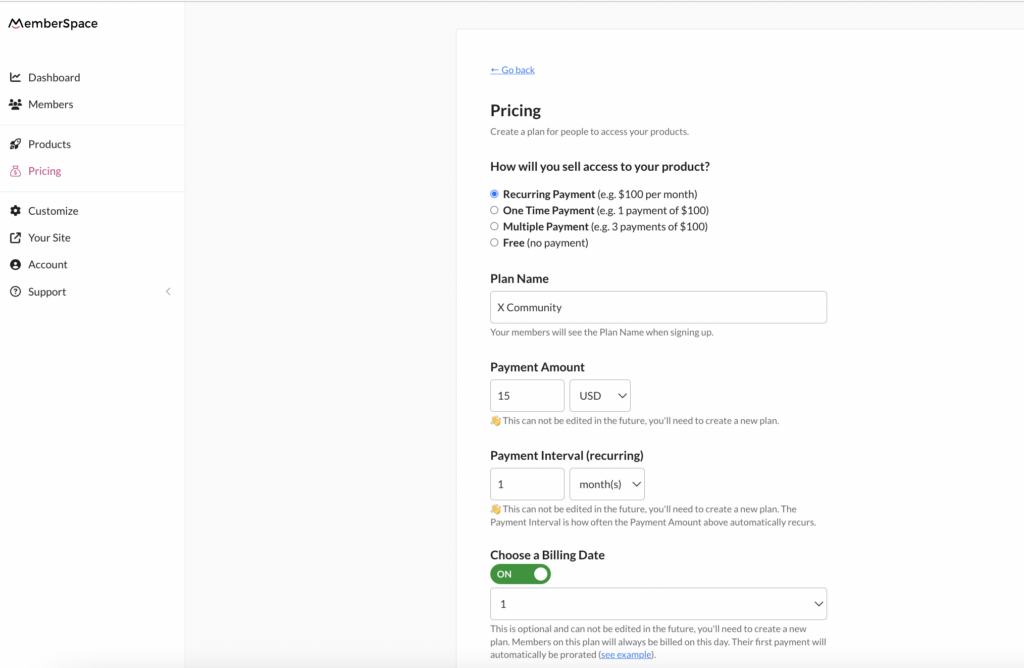
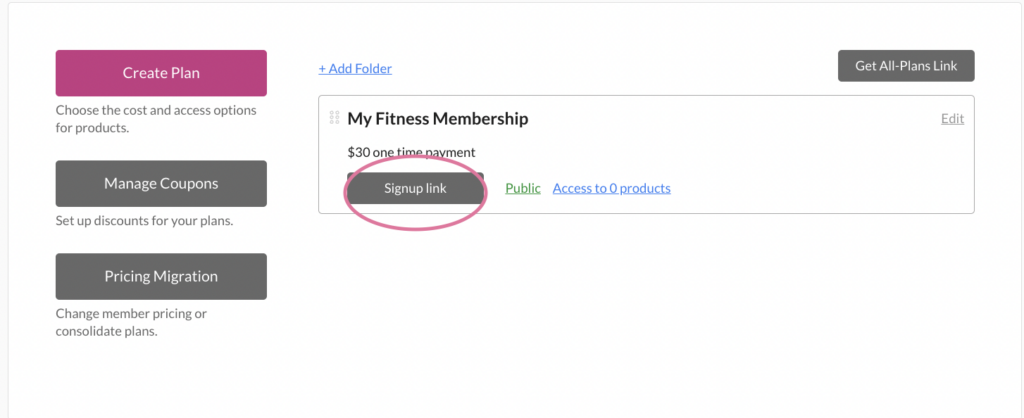
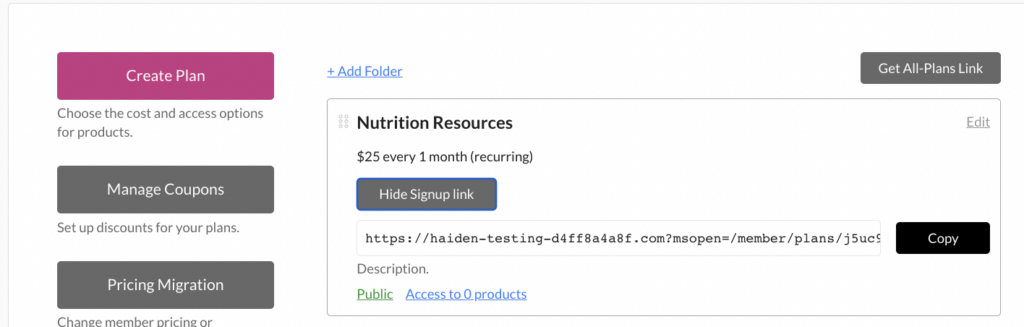
 Be sure to include in your request the name of your customers’ current plan and the new one to which you want to migrate them. Also, let us know if you’d like to migrate customers immediately or have them pay full price on their next billing date.