Our view at Stack - MemberSpace allows you to add membership functionality to any website. It offers customizable membership options, flexible payment gateways including Apple Pay and Google Pay, drip content, and tiered access. It provides bank-grade security, GDPR compliance, and easy member management with analytics and email campaigns.
Haiden Hibbert
Creating an online course is an exciting way to share your knowledge and expertise with a wider audience. While there are many course platforms available, they often come with limitations that can hinder your ability to create a truly unique and customized learning experience. If you want complete control over your course content, design, and pricing, the best solution is to build your course directly on your own WordPress website using the MemberSpace plugin.
With WordPress and MemberSpace, you have the freedom and flexibility to structure your course exactly how you want, with no restrictions on layout, branding, or functionality. Plus, by keeping your course under the same umbrella as your blog and other digital products, you can provide a seamless experience for your audience. In this guide, we’ll walk you through the simple process of creating a professional online course with WordPress and MemberSpace, no tech expertise required!
Create an online course with WordPress!
The easiest way to accept membership payments or one-time charges for digital products like online courses, communities, content libraries, and more — all from your own website!
Start selling now
Get started for free! 5 minutes to set up.
Table of Contents
Step 1: Create your online course pages
The first step in creating your online course with WordPress is to add your course materials to pages on your website, including sections for:
- Modules
- Lessons
- Free downloads
- Quizzes
- Certifications
- Navigation menu
Module pages
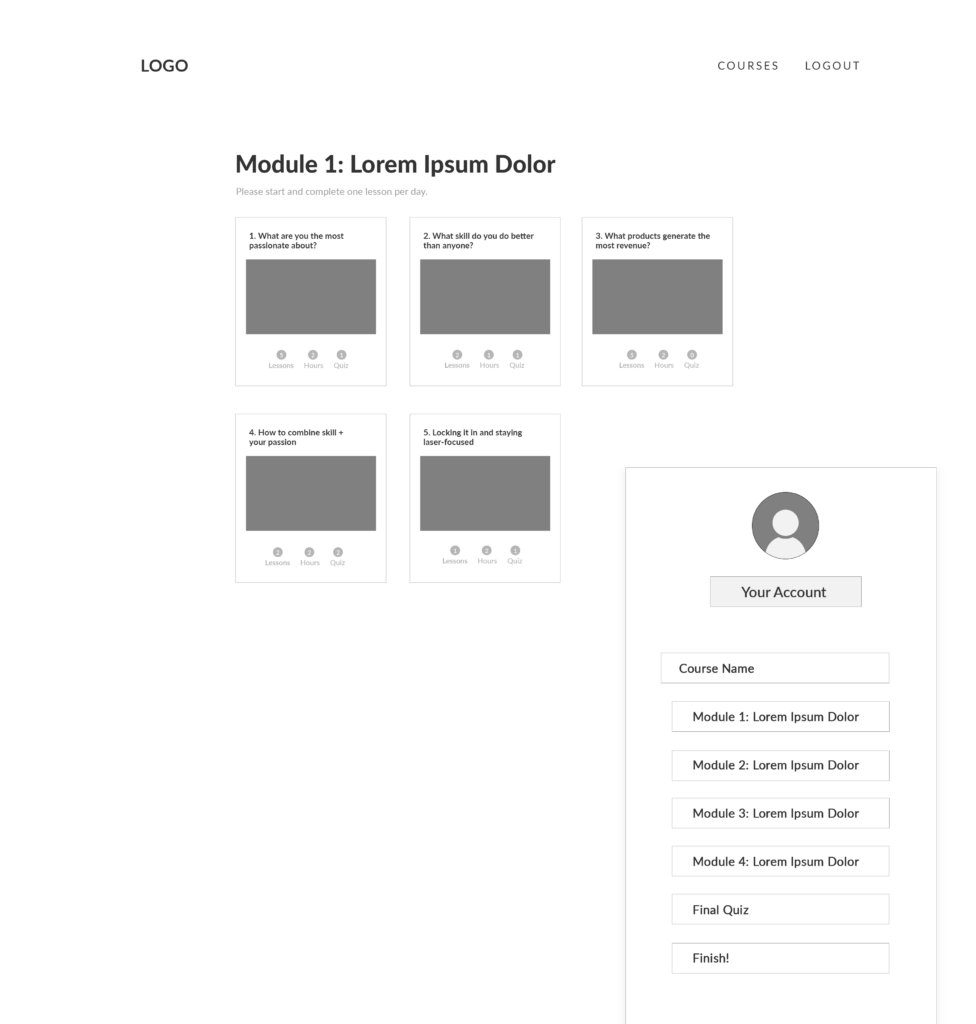
Module pages should include a preview of all of the lessons within each module. You can display all of the lesson videos on the page, or link a preview of each lesson to its own page.

Lesson pages
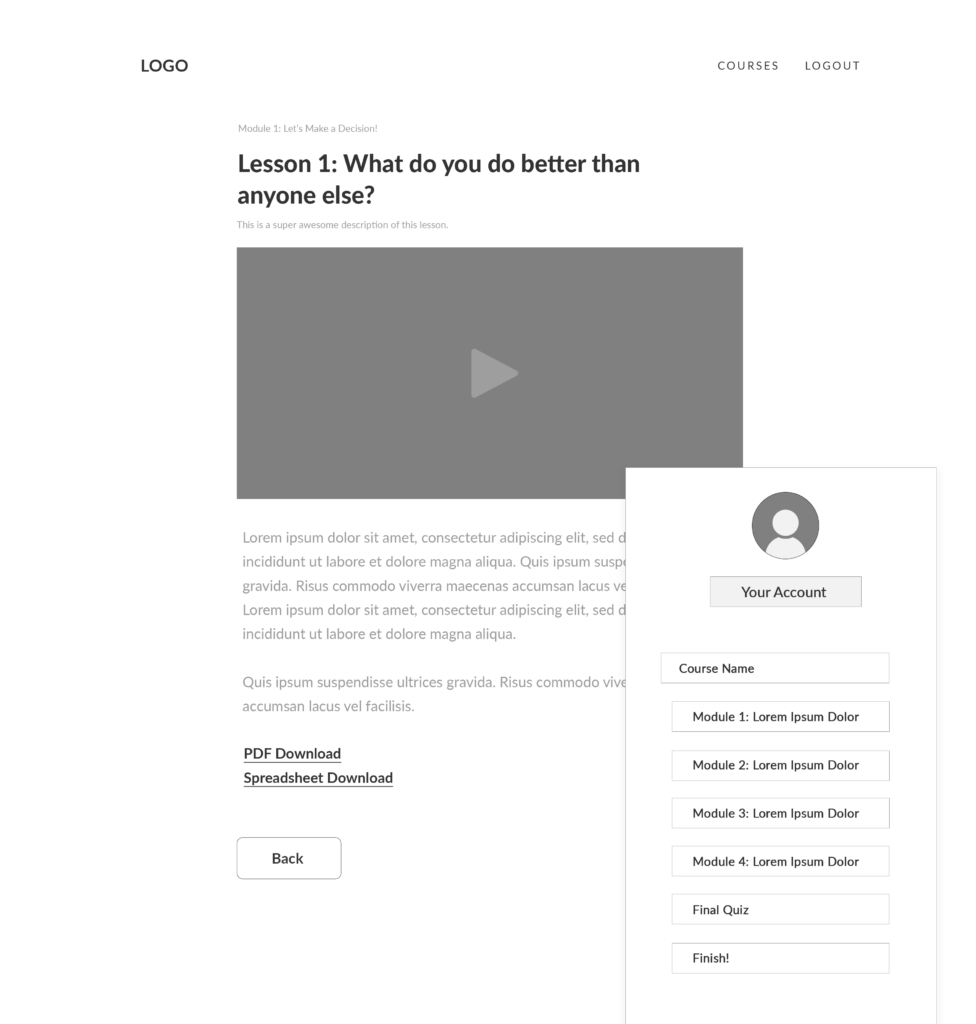
If you plan to use individual lesson pages, they should include the information you’re providing students for that specific lesson, such as a video, written guide, or free download. Don’t forget to include “Back” and “Next” buttons that link to the previous and following lessons, making it easy for students to navigate your course.
Free downloads
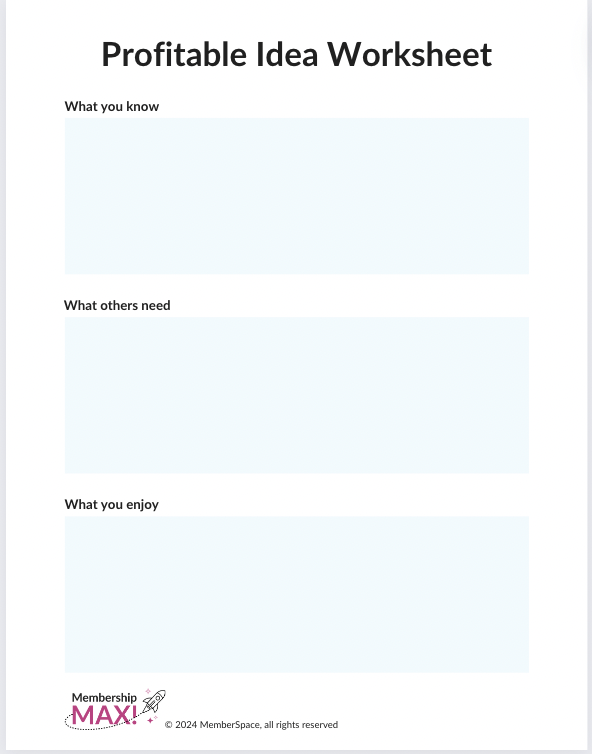
Using free downloads, like templates, wireframes, and worksheets, within your online course is a great way to keep students engaged and increase the value of your teaching.
Quizzes
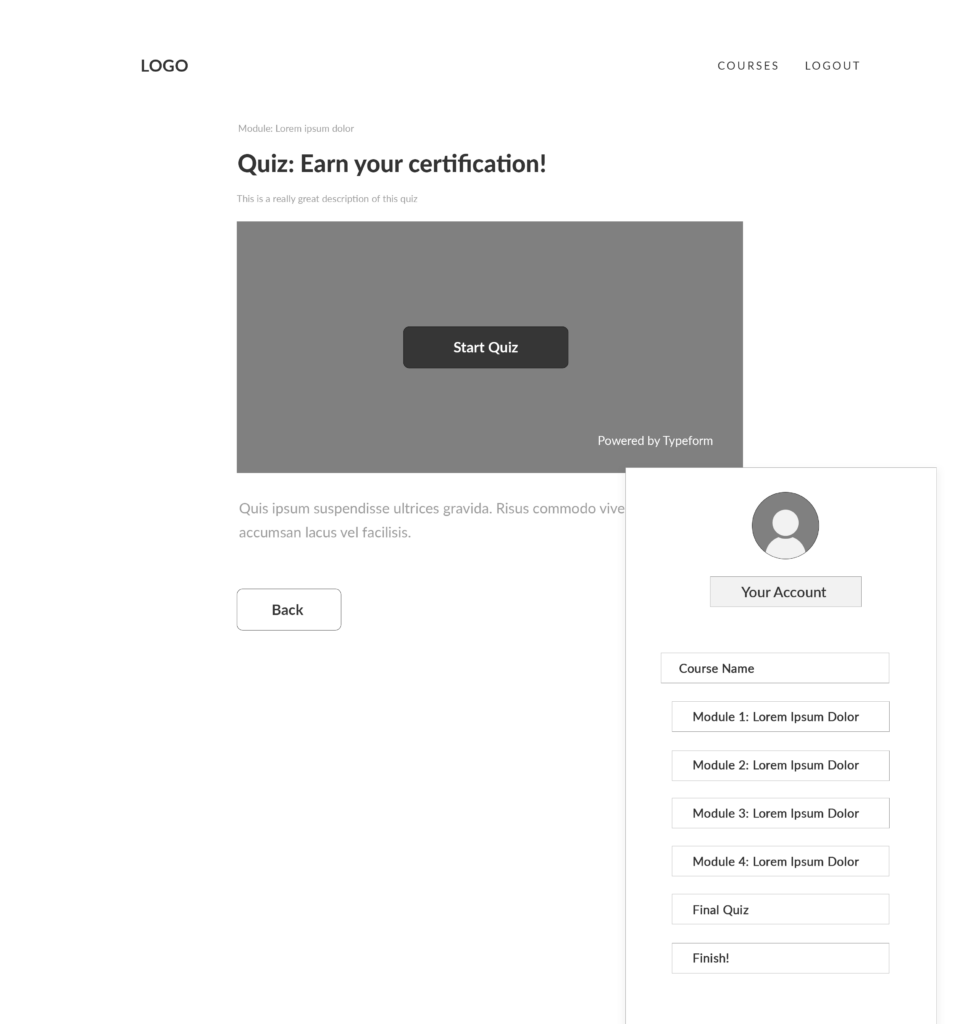
If you plan to include quizzes in your online course, display them after the course material you’re covering in the assessment. For example, if you want to do a brief quiz after each lesson, create a page for each quiz and link to it from the corresponding lesson.
If you plan to do a quiz after each module, link the quiz on the last lesson page of each module. For a final assessment that covers the entire course, add a link to the quiz on the very last lesson page. You can either embed the quiz on a web page or simply link to the quiz tool that you used to build it.
Certifications
Offering a formal certification program or certificate of completion as a part of your online course is a great way to increase student engagement and completion rates, as well as attract more potential students to your course! There are several free certification generators that make the process of designing your certificate really simple.

Navigation menu
You have two options for your navigation menu:
- MemberSpace Member Menu (recommended): The Member Menu is the easiest way to help your students seamlessly navigate your online course. Logged-in students can locate the Member Menu in the floating button in the bottom right corner. In the next section, we’ll go over how to add your online course content to your Member Menu.
- Custom Menu (for experienced web designers): Since your online course is built on your website, you have the freedom and flexibility to build it however you’d like. Although more time-consuming and requiring more web design skills, you can create a custom navigation menu for your online course if you prefer. In our wireframe above, we have an example of how you might set this up: a sidebar that displays on all course pages and allows students to navigate to any page by clicking on the module, lesson, or quiz.

Step 2: Install MemberSpace to protect your online course pages
After setting up your online course pages on your website, head to the backend of your WordPress site and the install MemberSpace online course plugin. This only takes a few minutes. With MemberSpace, you can:
- Password protect your online course pages
- Accept payments on your website
- Sell access to other digital products
- Access revenue growth features!
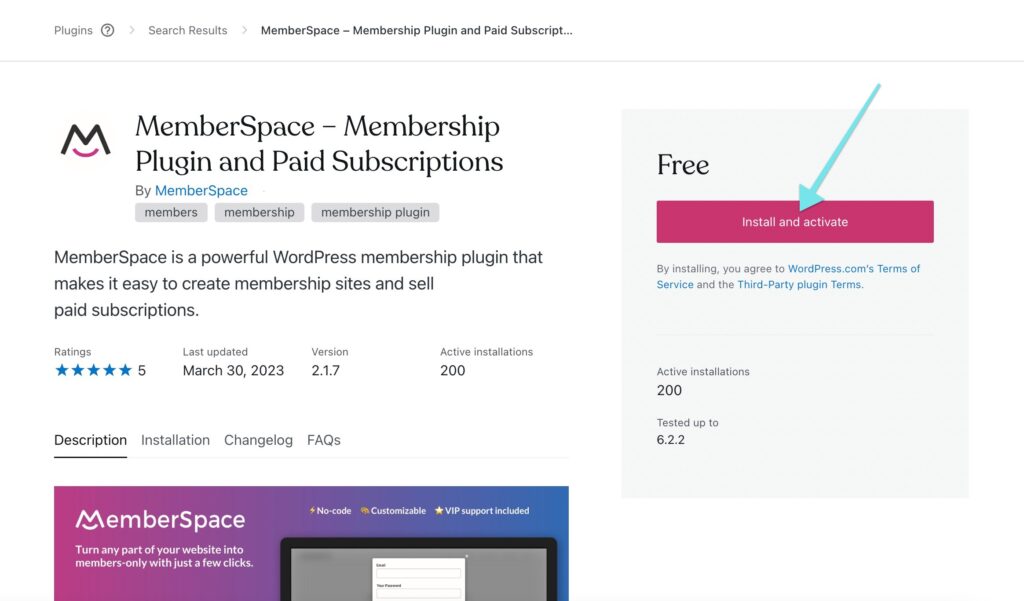
Then, go to your MemberSpace account to restrict access to those pages, ensuring only paying students can view them.
To do this, go to Products > Add product > What type of product are you selling? > Online Course. Then, fill in the name of your course and the URLs you want to protect. This is also where you would activate the Member Menu.
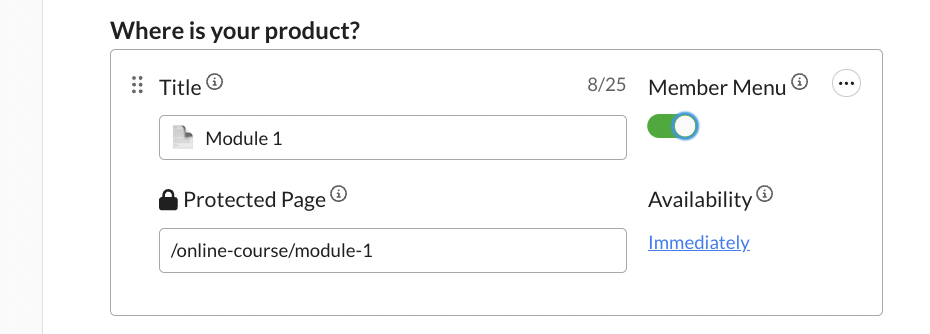
It’s also important to have a clear and organized URL structure for your online course pages. Here are some best practices:
Structure your online course the way you would a blog (i.e., yoursite.com/blog/category/post-name). For your online course, it might look something like this:
- yourwebsite.com/courses
- yourwebsite.com/courses/module-name/
- yourwebsite.com/courses/module-name/lesson-name
With MemberSpace, you can also protect pages en masse. For example, protecting /courses/* will protect all pages that begin with /courses/, which in the example above would include all module and lesson pages.
Step 3: Set a price for your online course
You can choose from one-time, multiple, or recurring payments, or even offer your course for free. MemberSpace has a built-in Stripe integration that makes it easy to securely and quickly accept payments on your website via credit card, Apple Pay, and Google Pay.
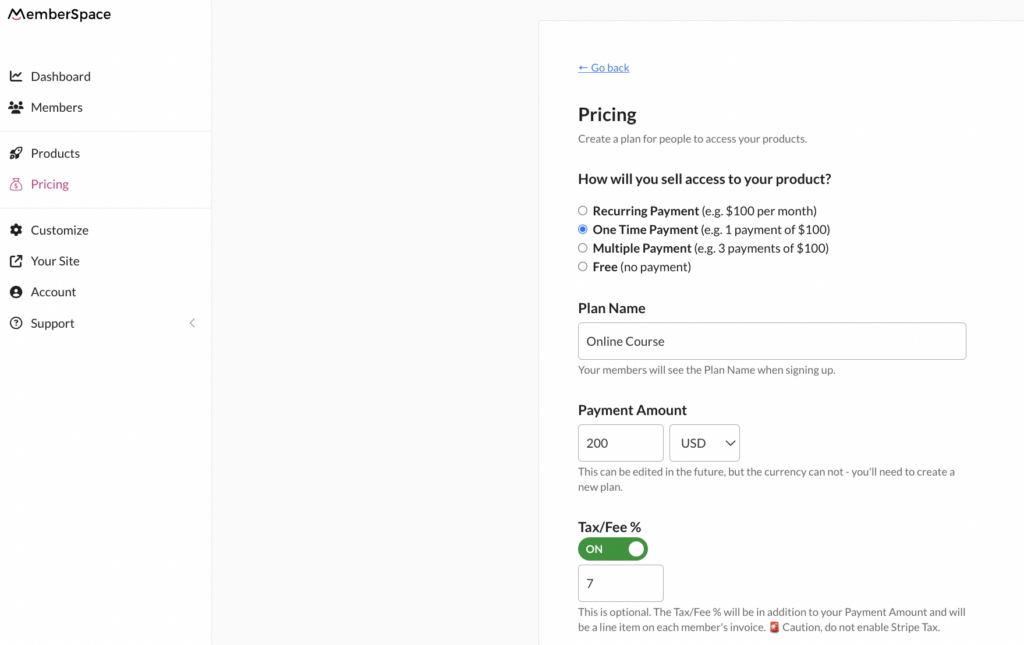
Step 4: Add signup links or buttons to your website
MemberSpace will generate a unique signup link that you can add to a sales page on your website, emails, social media, and anywhere else you want to sell your online course. The link opens up a signup form, allowing students to create an account and pay for access.
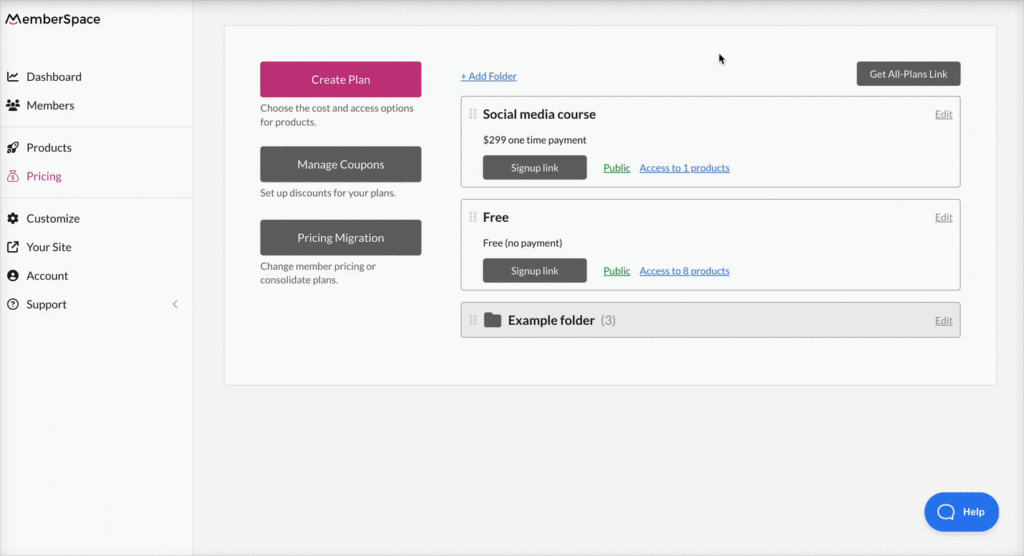
Final Thoughts
By following the steps outlined in this post – setting up your course pages, protecting them with MemberSpace, setting your price, and adding signup links – you’ll be able to launch a professional online course that provides a great experience for your students. Online courses are only growing in popularity, so there’s never been a better time to package your expertise into a digital product! For more tips and strategies on scaling your business, check out MemberSpace University.

Need help with your online course?
Connect with our friendly team, weekdays 10am – 6pm ET.
Let’s chat!
The post How to Create an Online Course with WordPress appeared first on .
If Memberspace is of interest and you'd like more information, please do make contact or take a look in more detail here.
Credit: Original article published here.
