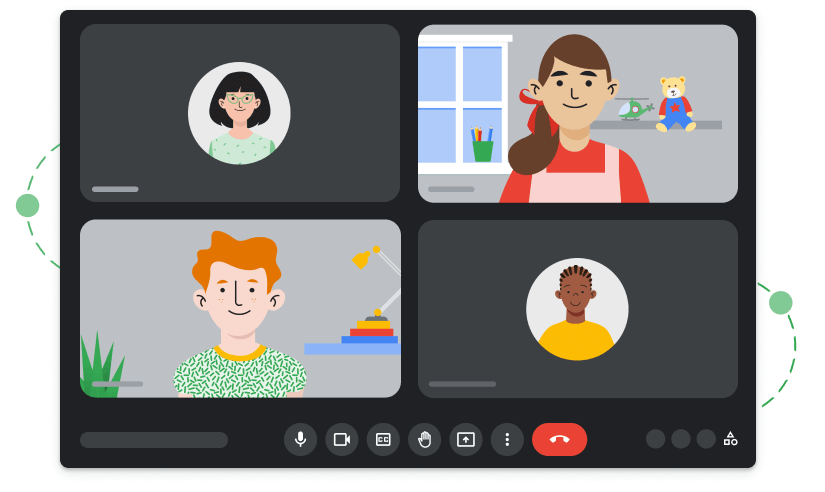
The video conferencing market has shown significant growth in recent years. For instance, in 2023, North America had a substantial share of the video conferencing market thanks to giants like Google Meet and Zoom.
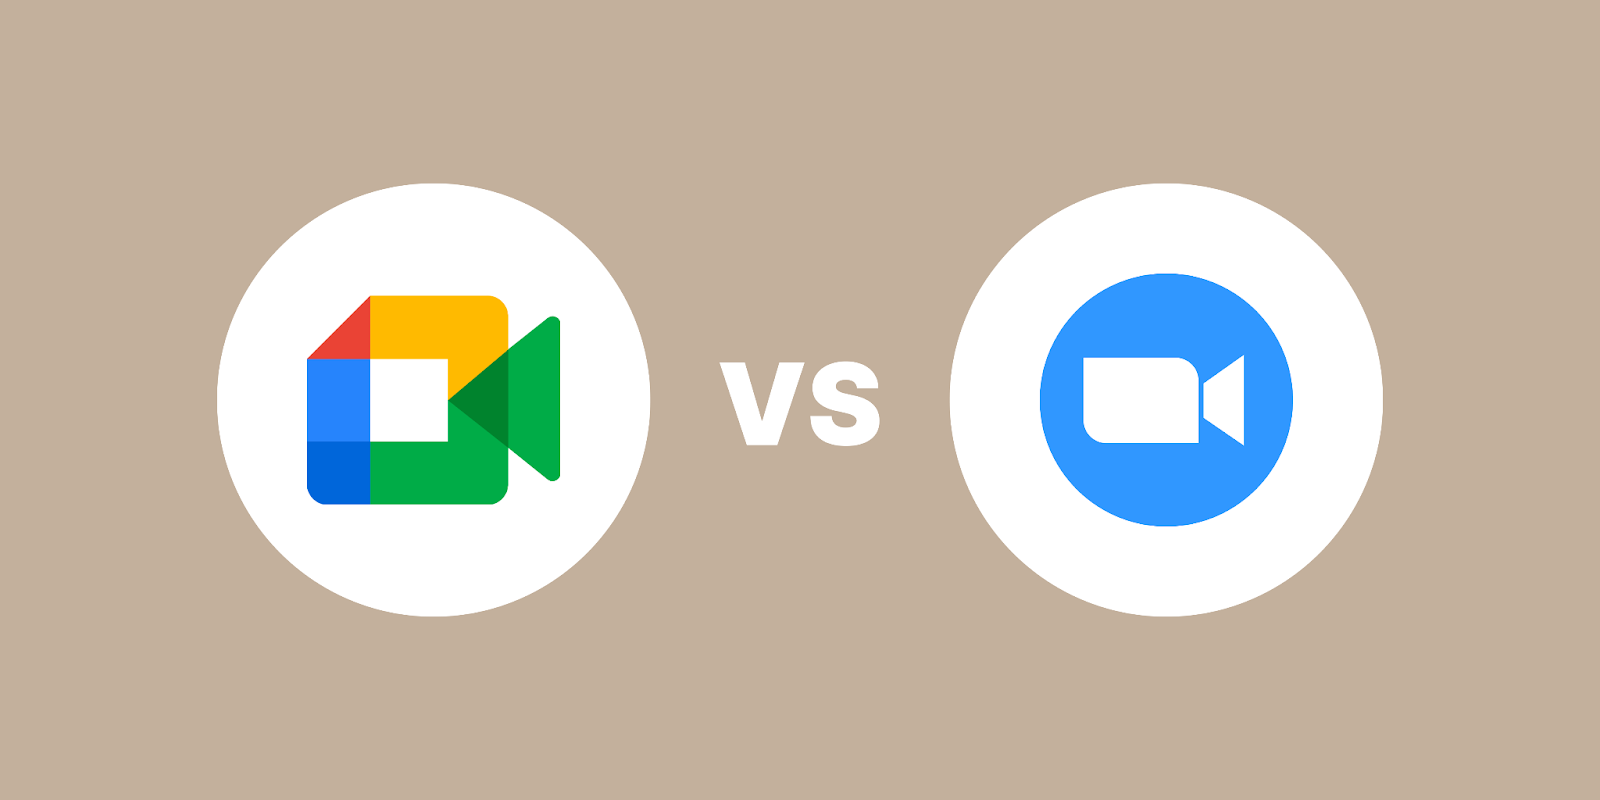
Of course, the choice of video conferencing software can make a significant difference in the success of live courses and webinars—but which one reigns supreme for your educational needs?
In this comprehensive article, we’ll explore the nuanced differences between Google Meet and Zoom, focusing on features that matter most for live instruction and interaction. From user interface and accessibility to unique functionalities for educators, we’ll guide you through each platform’s offerings to help you make an informed decision.
{{tableofcontents-component=”/blog-shortcodes/table-of-contents”}}
How to choose video conferencing software
When selecting video conferencing software for hosting live courses and webinars, it’s important to prioritize features that enhance interactivity, reliability, and user engagement. Look for platforms offering robust video and audio quality to ensure clear communication. High-definition video support and superior sound clarity can significantly impact the participant’s experience.
Interactivity tools such as live polling, Q&A features, and even breakout rooms are all essential for engaging participants and fostering interaction in educational settings. You should also consider the software’s scalability, and it should accommodate your expected audience size without compromising performance.
Key features of Google Meet
Google Meet offers a suite of features tailored to facilitate effective online courses and webinars, ensuring a seamless and interactive experience for both hosts and participants.
- High-Quality Video and Audio: Google Meet provides high-definition video and audio conferencing, which is essential for clear communication and engagement. Its adaptive layout automatically adjusts to accommodate multiple participants efficiently.
- Screen Sharing and Presentation: Instructors can share their screens or present slides, documents, and videos, making it easier to convey complex information or demonstrate processes live.
- Real-Time Captioning: Utilizing Google’s speech recognition technology, Meet offers real-time captioning, enhancing accessibility for participants with hearing impairments and aiding comprehension in noisy environments.
- Breakout Rooms: This feature allows hosts to split participants into smaller groups for discussions or workshops, fostering collaboration and deeper engagement in the course material.
- Polls and Q&A: Engage participants with live polls and Q&A sessions, enabling real-time feedback and interaction, which is crucial for dynamic learning environments.
- Integration with Educational Tools: Google Meet integrates seamlessly with various educational platforms and tools, including Google Classroom and G Suite, providing a cohesive ecosystem for managing courses, materials, and communication.
- Recording and Replay: Hosts can record sessions for later review or for participants who couldn’t attend live, ensuring that the educational content is accessible anytime.
- Adjustable Layouts: Participants can choose their viewing layout, focusing on the presenter, a specific document, or a gallery view of all participants, tailoring the experience to their learning preferences.
- Security Features: With robust security measures in place, including encryption and meeting controls, educators can maintain a safe and secure learning environment.
Key features of Zoom

Zoom has emerged as a powerful tool for virtual learning and webinars, offering an array of features that cater to the needs of educators and hosts.
- HD Video and Audio: Zoom for webinars provides high-definition video and audio conferencing, which is essential for maintaining clear and effective communication. This clarity is crucial for keeping participants engaged and ensuring that content is delivered successfully.
- Interactive Breakout Rooms: A standout feature for education and training, breakout rooms allow hosts to divide larger groups into smaller, focused discussions or learning groups, enhancing engagement and collaboration.
- Webinar Tools: Zoom’s webinar functionality is robust, supporting large audiences with features like attendee registration, polling, and Q&A sessions, enabling real-time interaction and feedback.
- Screen Sharing and Whiteboard: Presenters can share their screens with ease, facilitating detailed demonstrations and presentations. The whiteboard feature allows for real-time collaboration and illustration of concepts.
- Recording and Transcription: Sessions can be recorded for later review or for those who cannot attend live. Automatic transcriptions help provide an accessible text version of the content discussed.
- Virtual Backgrounds and Touch-up Features: These features help presenters maintain a professional appearance and minimize distractions in their background.
- Integration Capabilities: Zoom integrates with numerous educational and productivity tools to streamline the workflow and enhance the overall learning experience.
- Polling and Hand Raising: Engage participants with interactive polls and allow them to signal when they have questions or comments, fostering a dynamic and interactive learning environment.
- End-to-end Encryption: With enhanced security features, including end-to-end encryption, hosts can ensure that their sessions are secure and private.
{{checkplans-component=”/blog-shortcodes/call-to-action”}}
User experience: Google Meet vs Zoom
The user experience of Google Meet and Zoom directly reflects their design philosophies and target audiences, with each platform offering distinct features and interfaces that cater to various user preferences and requirements.
Ease of Use
Google Meet is renowned for its simplicity and integration with Google’s ecosystem. Its interface is straightforward, allowing users, especially those already familiar with Google products, to navigate and utilize its features effortlessly. Meeting setup is quick, and joining a meeting is intuitive, requiring just a few clicks, which is particularly beneficial for users with varying levels of tech-savviness.
In contrast, Zoom offers a more feature-rich interface that, while slightly more complex, provides quick access to a broad range of functionalities. Its user interface might require a bit of a learning curve compared to Google Meet, but it allows for more flexibility and customization by catering to users who may require more advanced features.
Features and Interactivity
Zoom takes the lead in terms of interactive features, such as breakout rooms, virtual hand raising, polling, and a wider range of reactions, which all enhance and improve participant engagement. These features make Zoom particularly suited for dynamic and interactive webinars or classes.
Google Meet, while more limited in interactive features compared to Zoom, offers a clean and uncluttered interface, focusing on simplicity and ease of use. Its recent updates have introduced more interactive options, such as hand raising and polling, but it still maintains a focus on straightforward, no-fuss functionality.
Google Meet also has better image quality, which can be great for video presentations and especially for people who are joining via smartphone and want to view things like images or documents in a React app more clearly. Designers and other visual creators should definitely prioritize this.
Performance and reliability comparison
When comparing the performance and reliability of Google Meet and Zoom, it’s crucial to consider various factors like stability, video/audio quality, and scalability to gauge which platform offers the most dependable experience.
- Stability and Uptime: Both Google Meet and Zoom are known for their high uptime and stability. However, Zoom has carved out a reputation for robust performance, even under heavy loads, which is vital for hosting large webinars or meetings without interruption. Google Meet also offers reliable performance, particularly benefiting from its deep integration with Google’s infrastructure, ensuring a stable service for users.
- Video and Audio Quality: Zoom provides superior video and audio quality, which remains consistent even with larger participant numbers. Its ability to deliver high-definition video and clear audio without significant lag is a key strength. Google Meet also offers high-quality video and audio, though some users report slightly lower consistency in quality during large or extended meetings compared to Zoom.
- Scalability: Zoom stands out for its scalability by effectively accommodating a large number of participants without a drop in performance. This capability is particularly important for webinars or large classes. Google Meet has improved its scalability, but Zoom still leads, especially in handling large-scale and complex meetings.
- Technical Support and Reliability: Both platforms offer substantial support, but Zoom’s extensive support resources and rapid response can be crucial for troubleshooting during important sessions. Google Meet benefits from Google’s overall infrastructure and support but may not match Zoom’s specialized attention in every scenario.
Integrations with online course platforms
The integration of video conferencing tools like Google Meet and Zoom with online course platforms significantly enhances the digital learning experience, providing seamless interaction and content delivery. Here’s how each platform fares in terms of integration with popular educational platforms.
Google Meet’s Integrations
As part of Google Workspace, Google Meet offers natural and straightforward integration with Google Classroom and other Google apps, facilitating a unified educational environment. Teachers can schedule and start Meet sessions directly from Google Classroom, streamlining the process and enhancing the user experience.
Zoom’s Integrations
Zoom offers more extensive integration capabilities with a range of learning management and educational platforms, including:
- Canvas
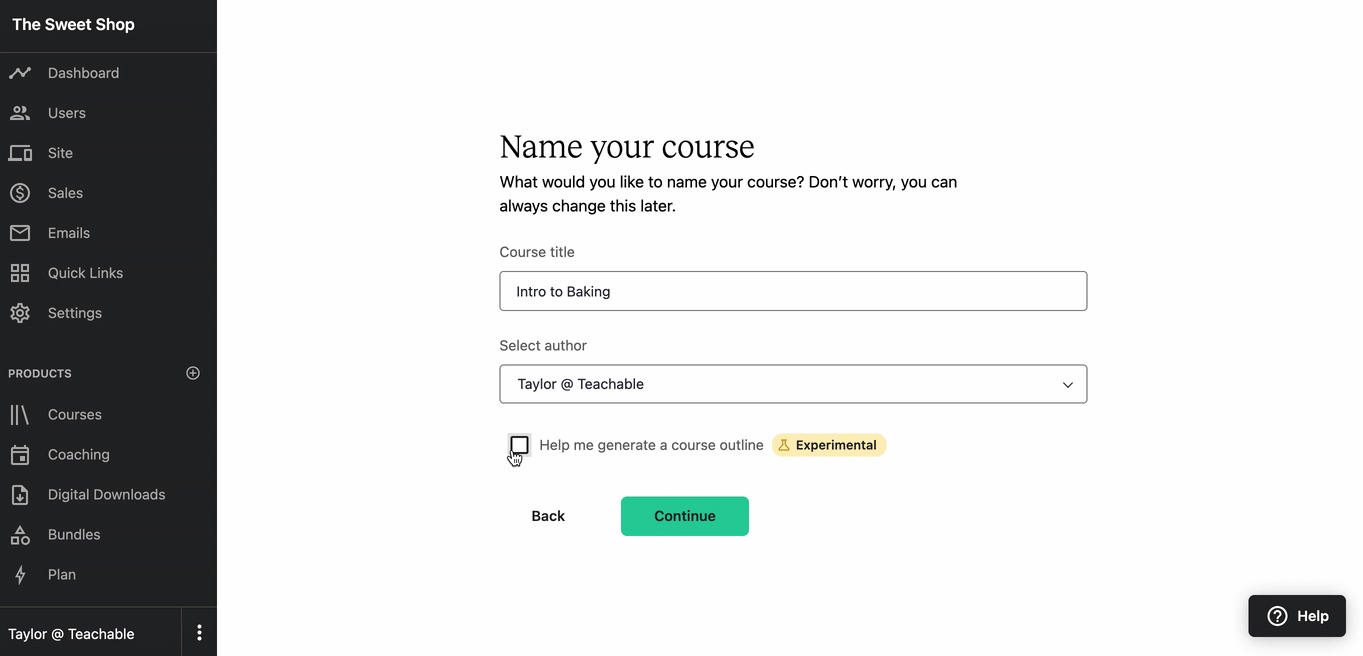
- Teachable
- Moodle
- Blackboard
- Google Classroom
These integrations allow educators to schedule and launch Zoom meetings directly from within the course management system, providing a seamless transition for students. Moreover, Zoom’s features, like attendance tracking, recording storage, and in-depth analytics, all add value to its integration, offering educators enhanced tools for monitoring and engagement.
Both platforms facilitate easy access to video conferencing within course platforms, making it easy for Teachable course creators to present their content the way they imagined it.
However, Zoom’s broad integration capabilities and additional features give it an edge, particularly for institutions using a variety of learning management systems. In contrast, Google Meet’s advantage lies in its deep integration with Google Workspace, ideal for educators and institutions already embedded in Google’s ecosystem.
{{checkplans-component=”/blog-shortcodes/call-to-action”}}
Pricing and plans
The pricing structures of Google Meet and Zoom are designed to cater to a range of needs, from casual users to large enterprises, with specific considerations for those hosting webinars and courses.
In comparing overall value for money, Zoom typically offers more flexible pricing, especially if you require specific webinar features without needing a broader suite of business tools. Google Meet, on the other hand, provides better value if you’re already using or plan to use the Google Workspace suite extensively.
Google Meet
Initially free for basic use, Google Meet’s more advanced features, which are particularly relevant for hosting courses and webinars, require a subscription to Google Workspace.
The Workspace plans start with a Business Standard tier, which provides meeting recordings and larger participant capacities, and scale up to Enterprise levels, offering advanced control and security features. It’s perfect for those who don’t like long-term subscriptions and want to escape vendor lock-in that’s often the result of longer-term software purchases.
Pricing for Google Workspace begins at $12 per user per month for the Business Standard plan, escalating to higher tiers for more extensive needs.
Zoom
Zoom provides a free Basic plan, suitable for smaller, more informal meetings. However, for hosting larger webinars and courses, their paid plans are necessary. The Pro plan starts at $14.99 per month per host and supports up to 100 participants with meeting durations longer than 40 minutes.
For webinars and larger meetings, Zoom offers specific add-ons; the Webinar plan can accommodate up to 10,000 view-only attendees. Zoom’s pricing escalates with the number of participants and additional features, like increased cloud recording storage.
Because of this, you shouldn’t overburden your small business savings account with Zoom’s higher-tier plans if your primary need isn’t for large webinars or extensive meeting durations. Overinvestment in such specific features can lead to unnecessary financial strain, especially if your business doesn’t frequently host large-scale events.
Security and privacy: which is safer?
When evaluating the security and privacy of Google Meet and Zoom, it’s essential to consider the measures each platform employs to protect users and data.
- Google Meet: Built on Google’s secure infrastructure, Google Meet benefits from the same robust security measures that safeguard other Google services. This includes things like two-factor authentication, encryption in transit and at rest, and advanced protection against phishing and malware. Google Meet automatically encrypts all data, and meetings are given unique, encrypted IDs to help prevent unauthorized access. Google’s commitment to user privacy ensures that Meet does not use customer data for advertising and complies with stringent global compliance certifications.
- Zoom: Following some initial security concerns, Zoom has significantly strengthened its security features. It now offers end-to-end encryption for all users, password protection for meetings, and waiting rooms to control access. Zoom’s role-based user security, meeting locks, and watermarks add layers of security, especially for sensitive communications. Furthermore, Zoom complies with a range of compliance certifications and conducts regular third-party security audits.
Both platforms are continuously updating their security measures to address evolving threats and maintain user trust. However, the choice between them might depend on specific security needs or organizational compliance requirements.
For instance, organizations deeply integrated into the Google ecosystem might prefer Google Meet for its seamless integration and uniform security policies. At the same time, those requiring detailed user access controls and customization might lean towards Zoom.
Likewise, one has to imagine how both platforms will be vulnerable to things like employment identity theft down the road—AI deepfakes are on the rise, and we all know how trusting everyone is to a colleague’s smiling face on video.
Pros and cons of Google Meet
Pros of Google Meet
- Integration: Meet seamlessly integrates with Google Workspace, enhancing productivity and collaboration through shared calendars, documents, and more.
- Simplicity: Known for its user-friendly interface that makes it accessible for users of all skill levels.
- Accessibility: Offers real-time captioning and is accessible on various devices, promoting a greater degree of accessibility and inclusivity.
- Security: Benefits from Google’s robust security infrastructure to ensure a high level of data protection and meeting privacy.
Cons of Google Meet
- Features: Lacks some of the advanced interactive features and customization options available in other platforms like Zoom.
- Scalability: While suitable for a range of meeting sizes, it may not perform as smoothly as competitors in very large webinars or events.
- Dependency: It’s best leveraged within the Google ecosystem, which might limit its appeal for users or organizations not fully invested in Google’s suite of products.
Pros and cons of Zoom
Pros of Zoom
- Feature-rich: It offers extensive interactive tools like breakout rooms, polls, and virtual hand-raising, enhancing engagement in webinars and courses of all kinds.
- Scalability: Excellently handles large numbers of participants without compromising on performance, ideal for big webinars.
- Customization: Provides numerous settings and options to customize meetings and webinars to suit specific needs.
- Integration: Integrates with a variety of educational tools and platforms, offering flexibility across different learning environments.
Cons of Zoom
- Security: Despite improvements over the years, early security concerns have left a lasting impression on some users’ perceptions of its safety.
- Complexity: The wide array of features can be overwhelming for new users, requiring a steeper learning curve compared to more straightforward platforms.
- Pricing: While it offers a free tier, access to advanced features necessary for larger webinars comes at a higher cost compared to some competitors.
Making the decision: which is right for your needs?
At the end of the day, choosing between Google Meet and Zoom hinges on your specific needs and preferences. If you prioritize a user-friendly interface and seamless integration with Google Workspace tools, Google Meet is the optimal choice. It’s particularly beneficial for those already embedded in the Google ecosystem, offering a straightforward, secure experience.
If you require a platform with advanced interactive features and customization options to engage participants actively, Zoom is more suitable. Its ability to handle large webinars, extensive integration capabilities, and detailed control over user interactions make it ideal for dynamic and large-scale events.
Learn more about Teachable’s Zoom integration
Check out these resources: