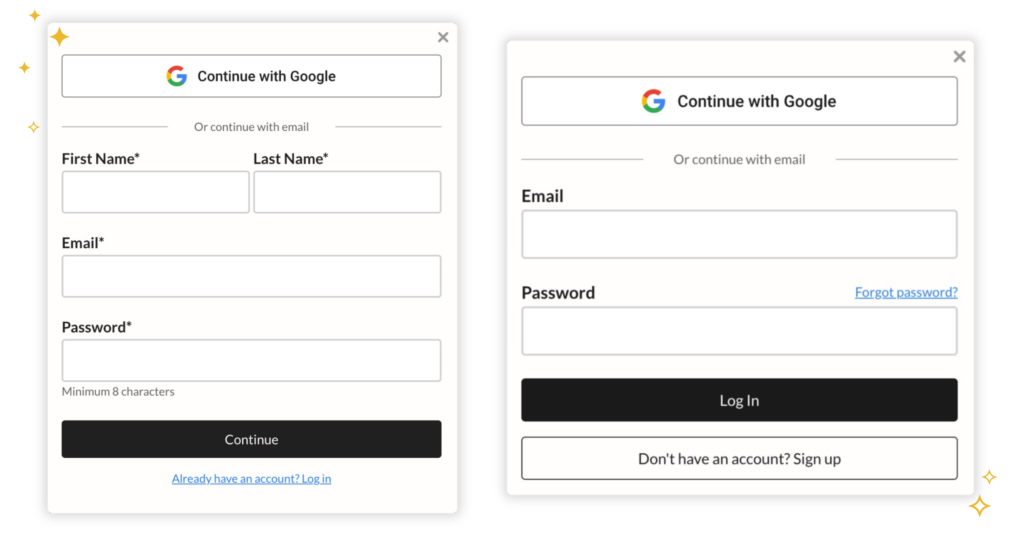
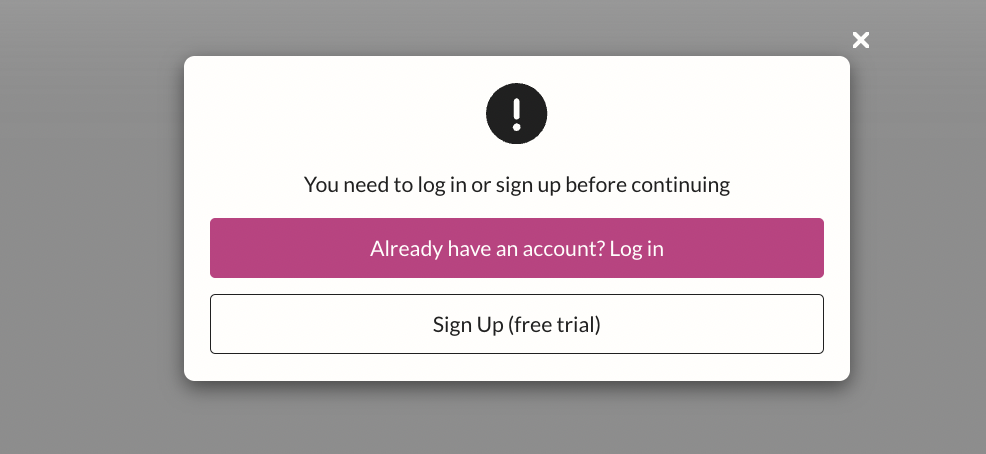
Google social sign-on (SSO) will automatically be enabled for new sites connected to MemberSpace starting April 30th, 2024.
If you connected your site before that date and want to enable Google SSO, or if you want to disable it, you can manage this feature in the Look & Feel editor within your MemberSpace admin.
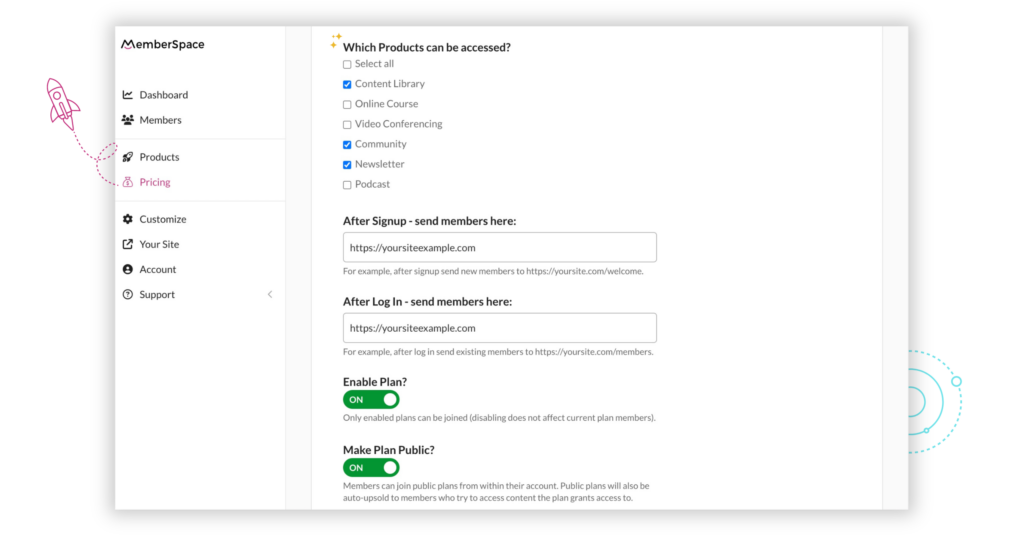
You can also customize how the Google SSO option appears on your signup and login forms within the Look & Feel editor. Change the button theme and shape to seamlessly fit your brand.
You asked, we listened…
reCAPTCHA will be soon replaced by an alternative security system that works in the background and is not noticeable by your members 99%+ of the time. This should lead to a faster and smoother signup process among other things. No more confusing bus pictures or sidewalks to click! 
If you still prefer to use reCAPTCHA on your site, you’ll have the option to turn it back on within your Look & Feel editor.
The post New feature: Easier member signup appeared first on .

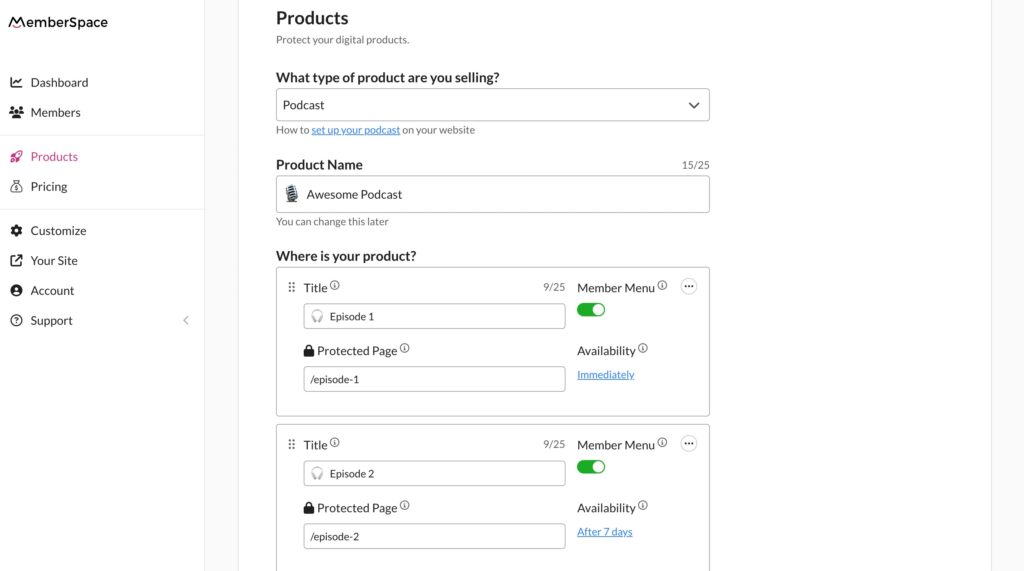
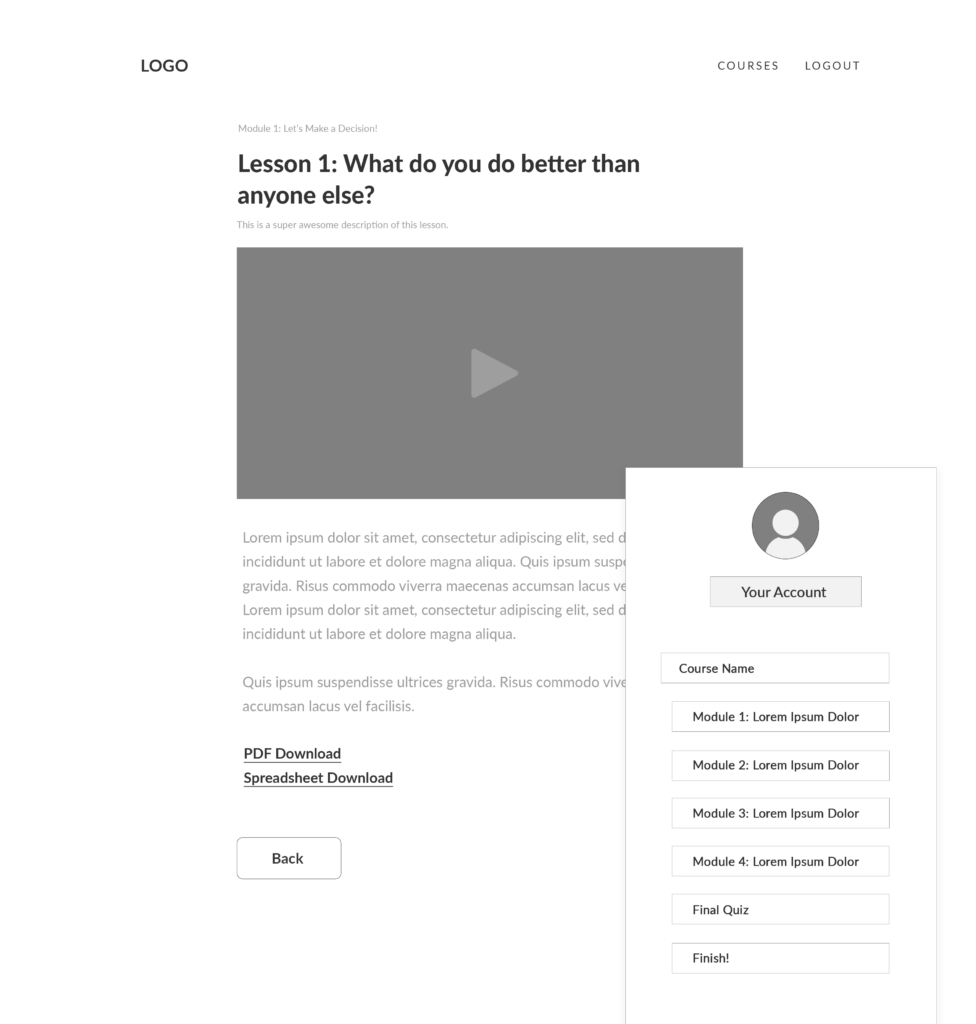
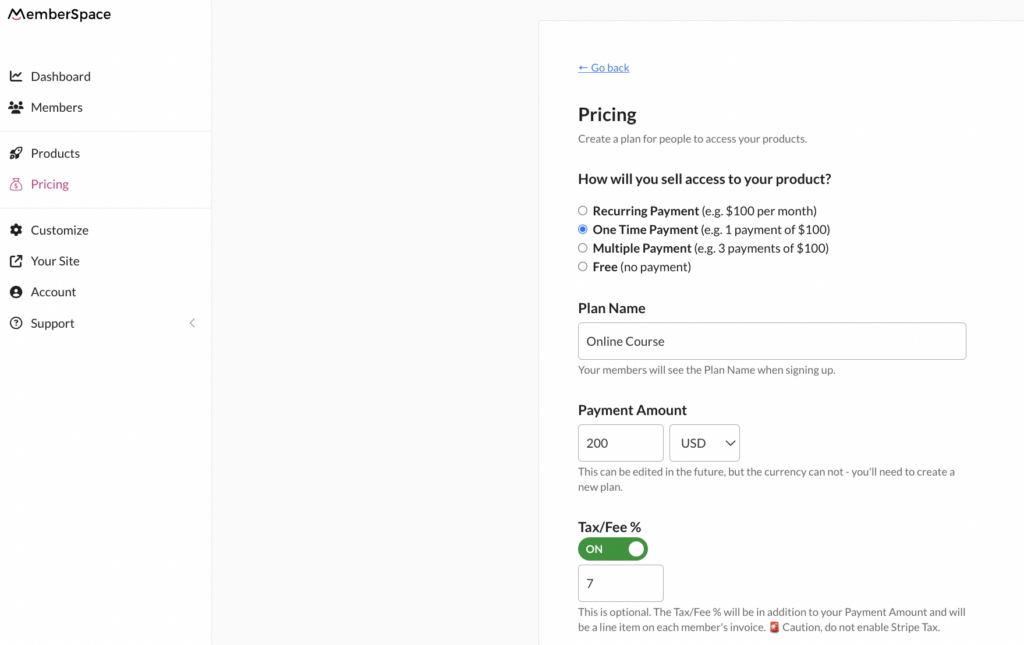
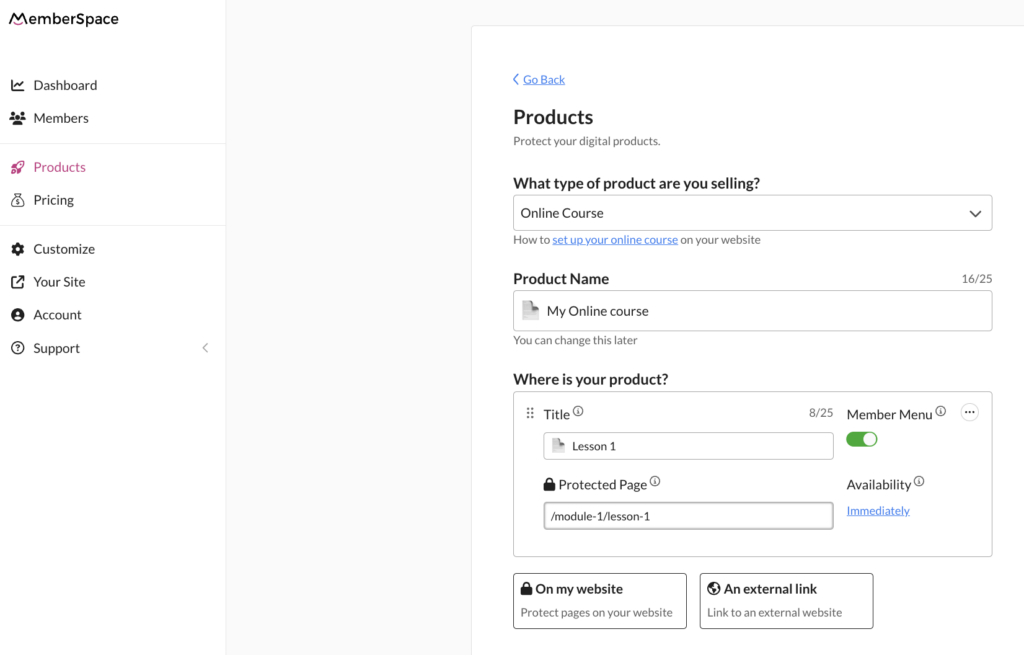
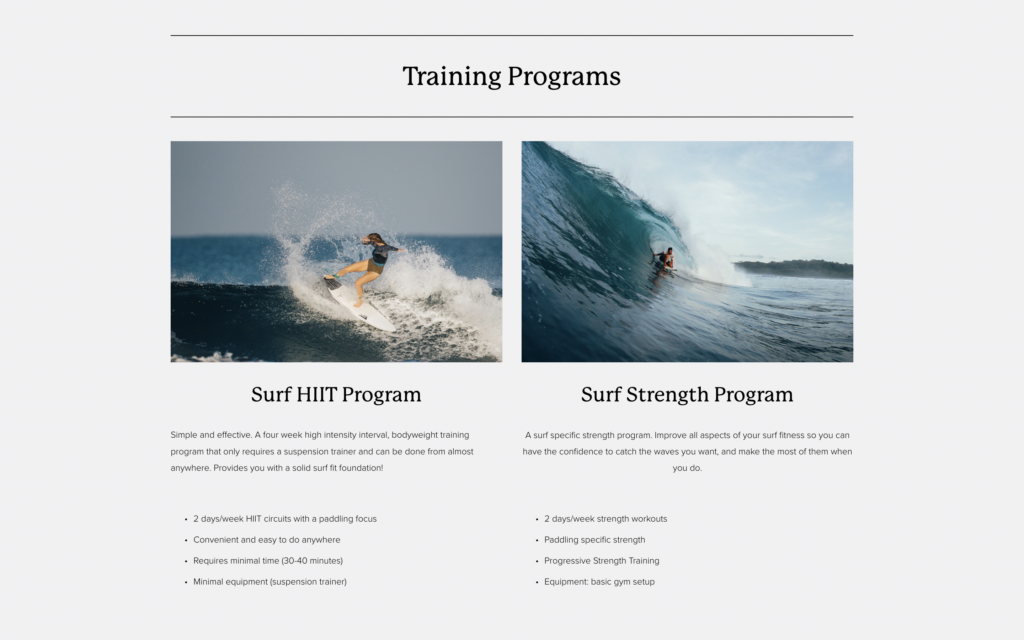
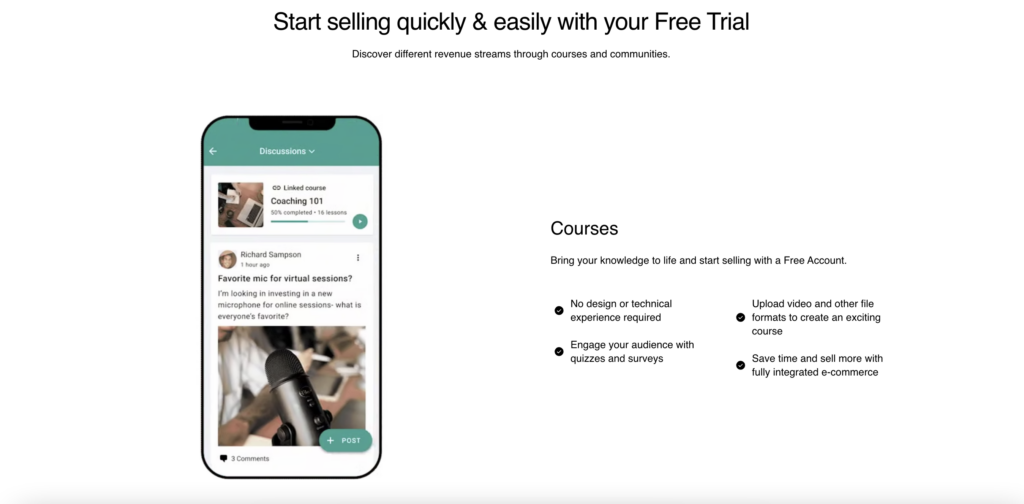
 Online Course Tip:
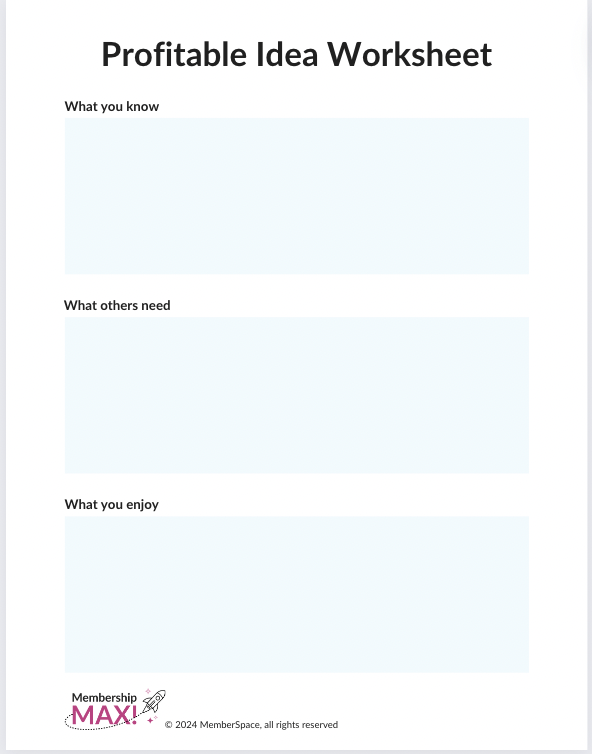


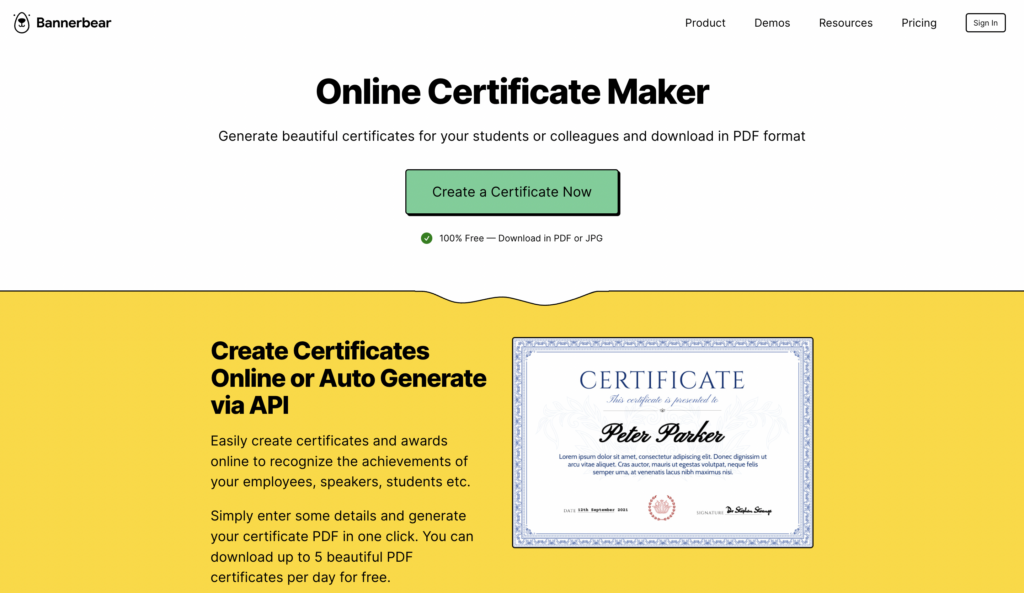

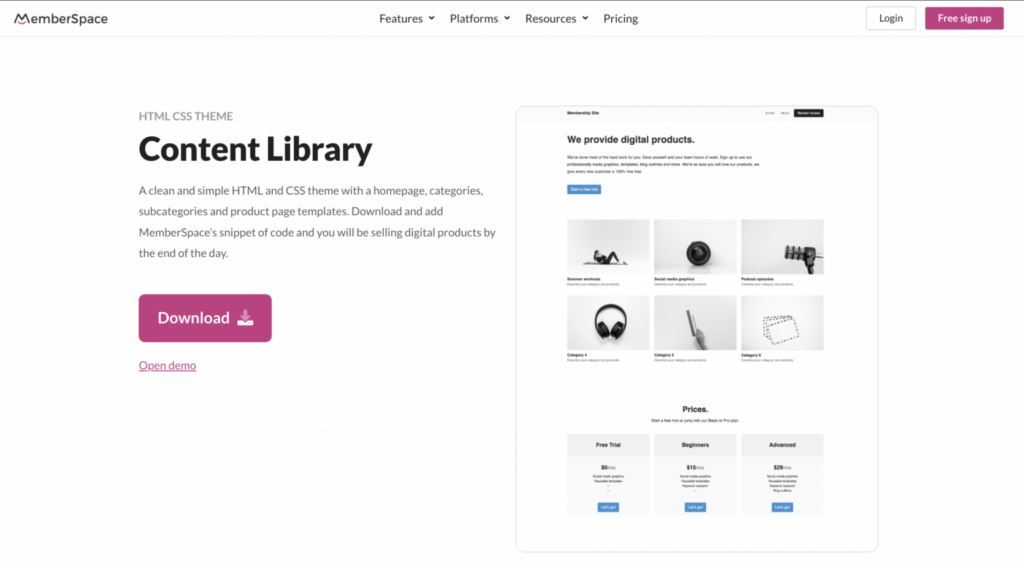

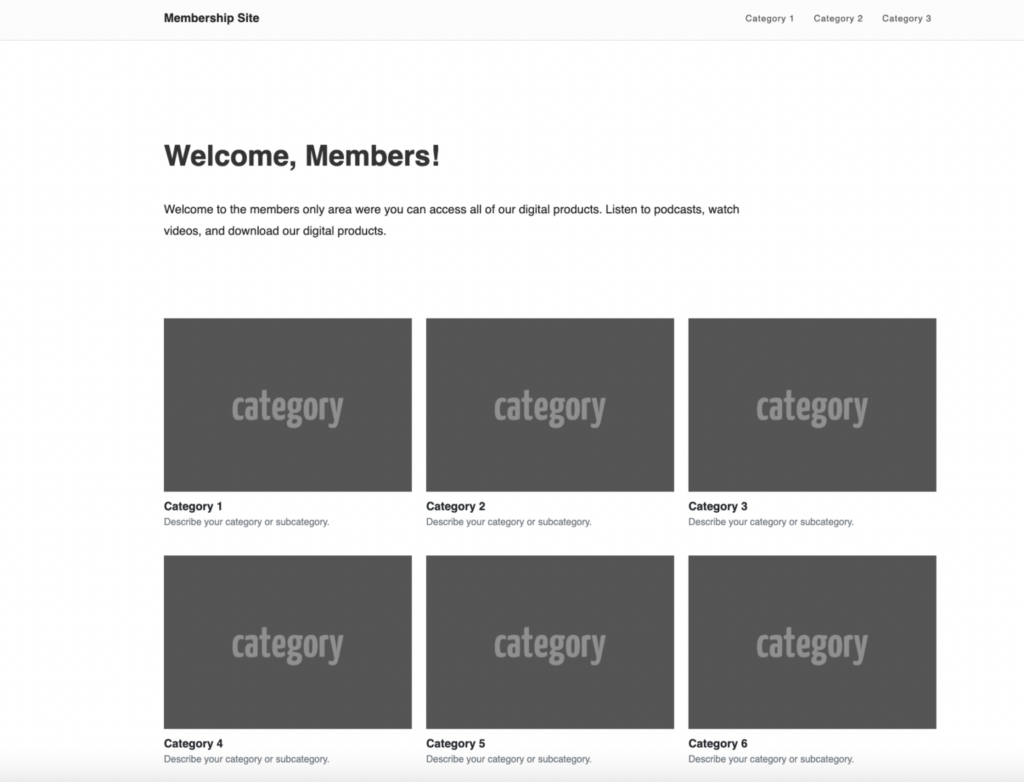

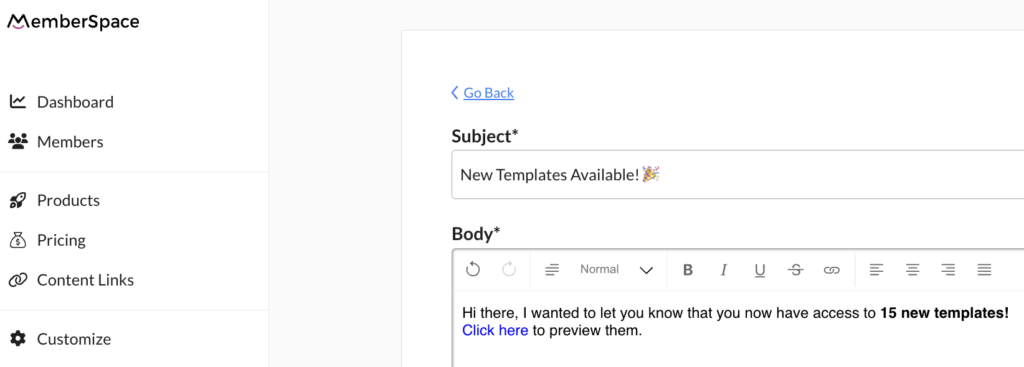
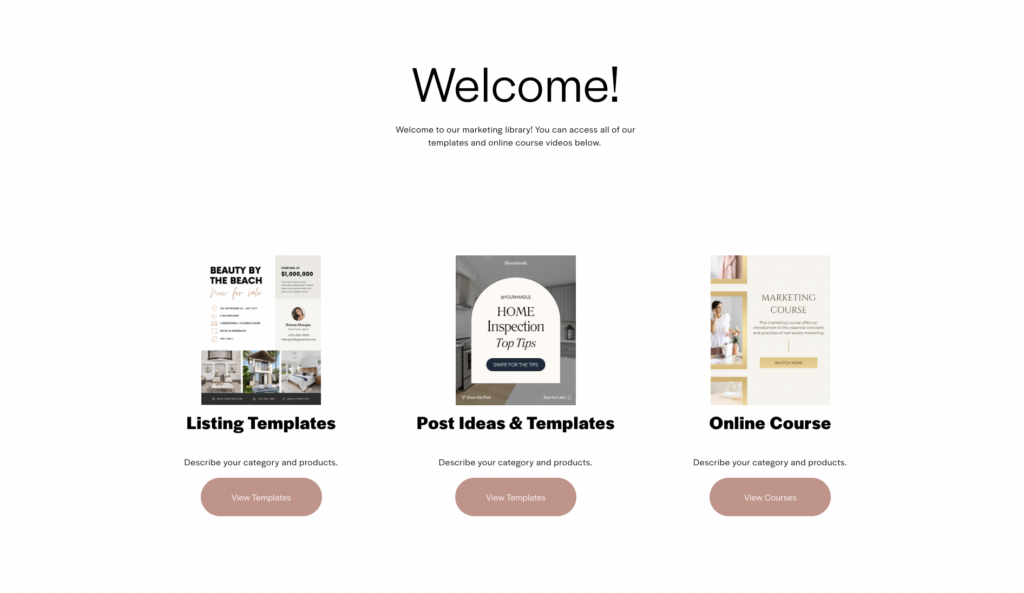
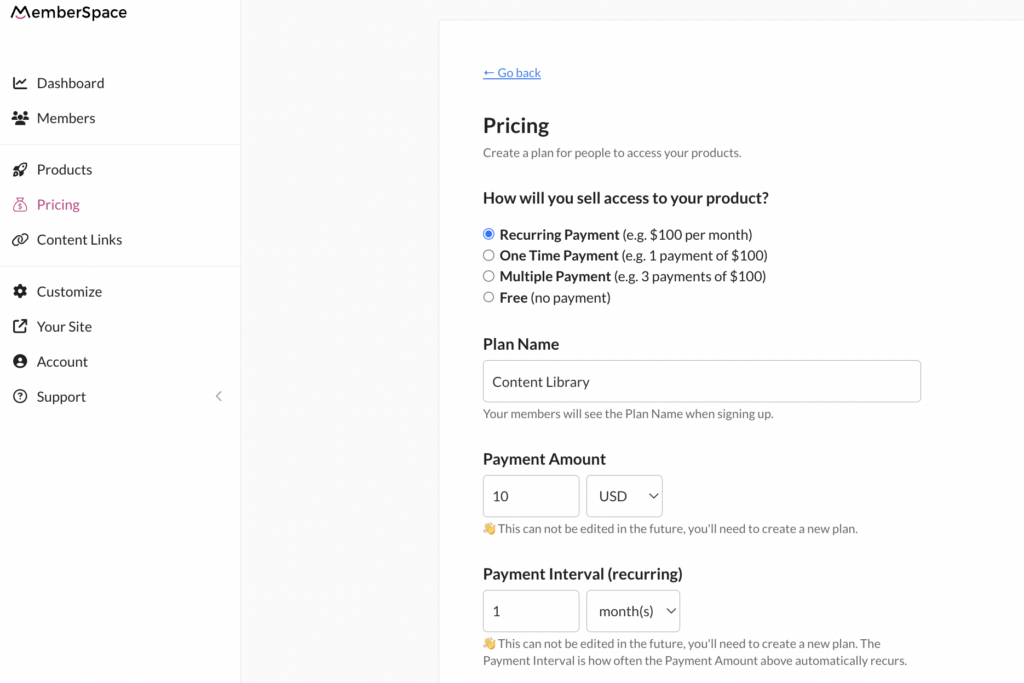
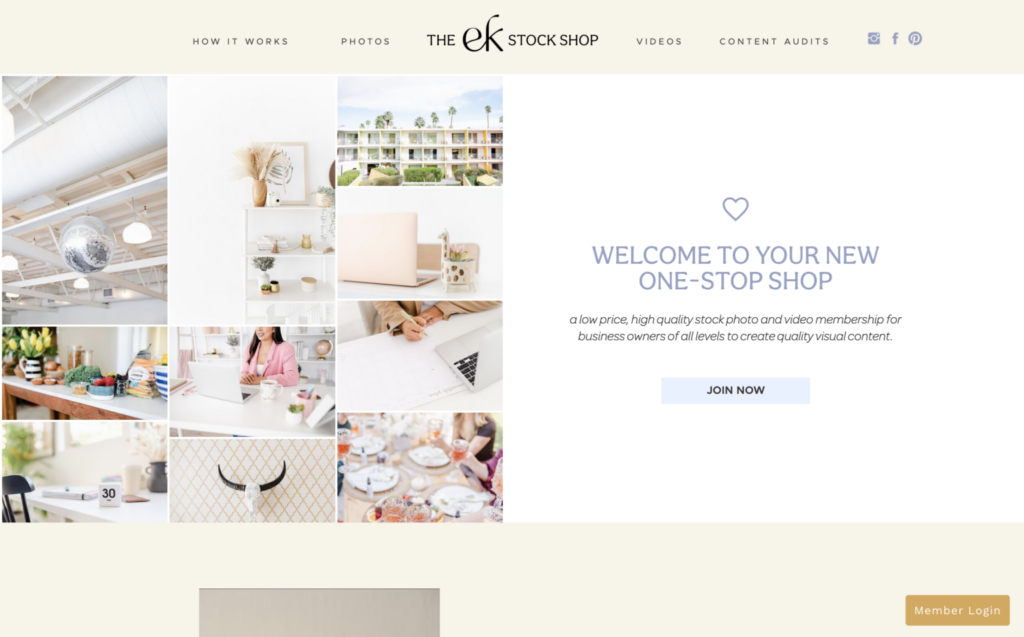
 Content Tip: Start small! You don’t have to have hundreds of templates or a comprehensive online course to launch your content library. You can start with a few types of content and add more resources overtime.

 New Features
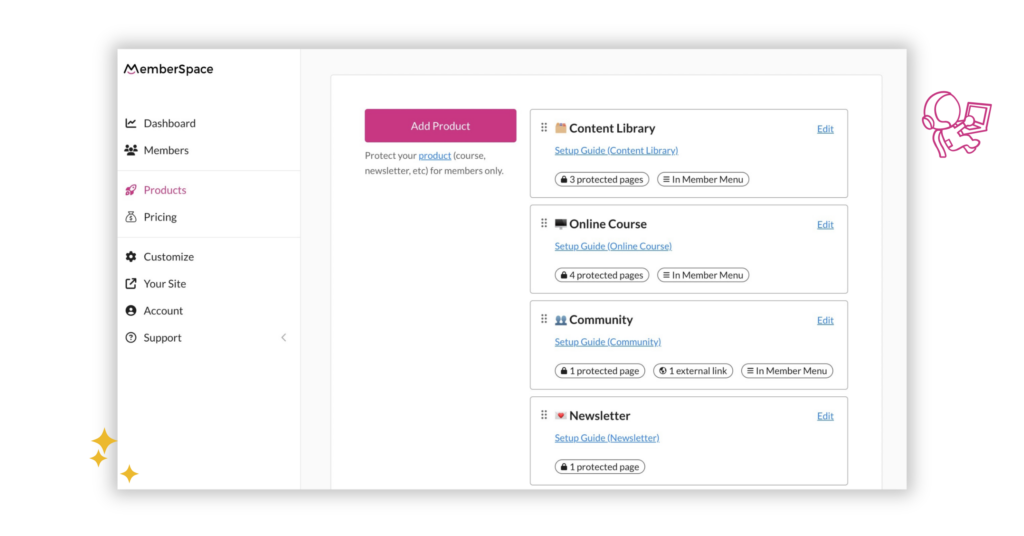
 Enhancements
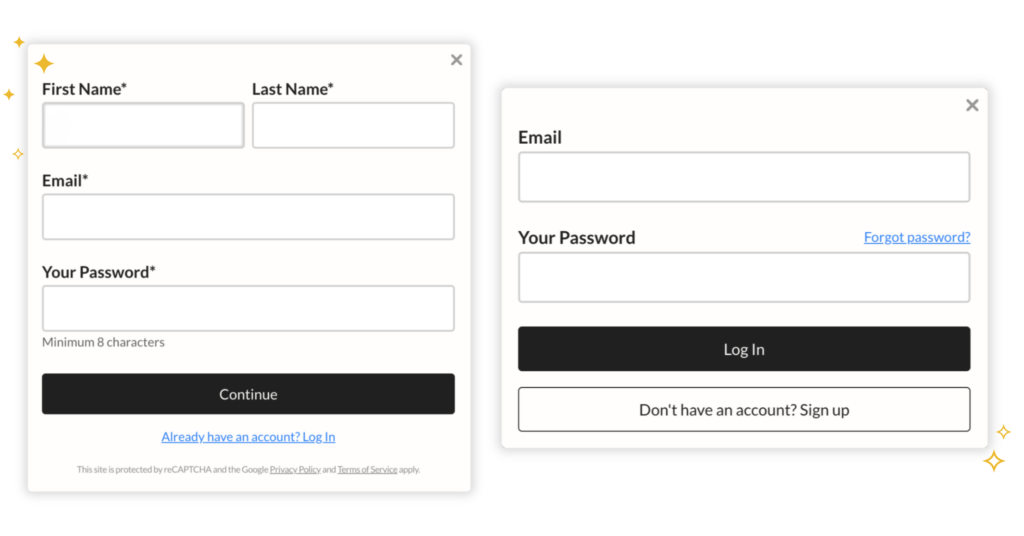
 Membership business resources


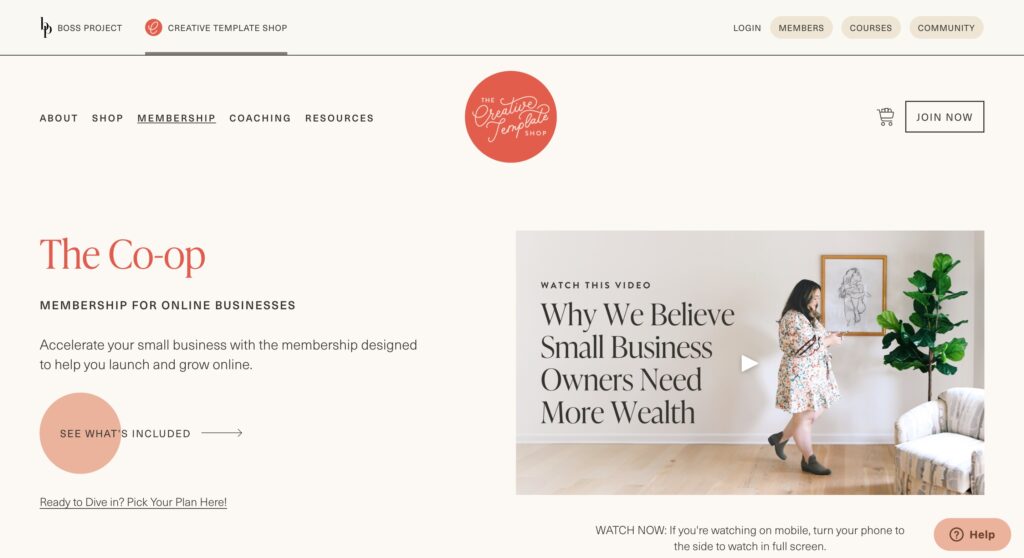

 Membership Tip