Haiden Hibbert
Are you a nutritionist or dietitian looking to grow your business online? You’re in luck! There are plenty of ways to monetize your expertise and build a sustainable income stream. In this post, I’ll walk you through some of the best strategies to make money as a nutritionist, whether you’re just starting or looking to scale your existing practice.
Make Money as a Nutritionist!
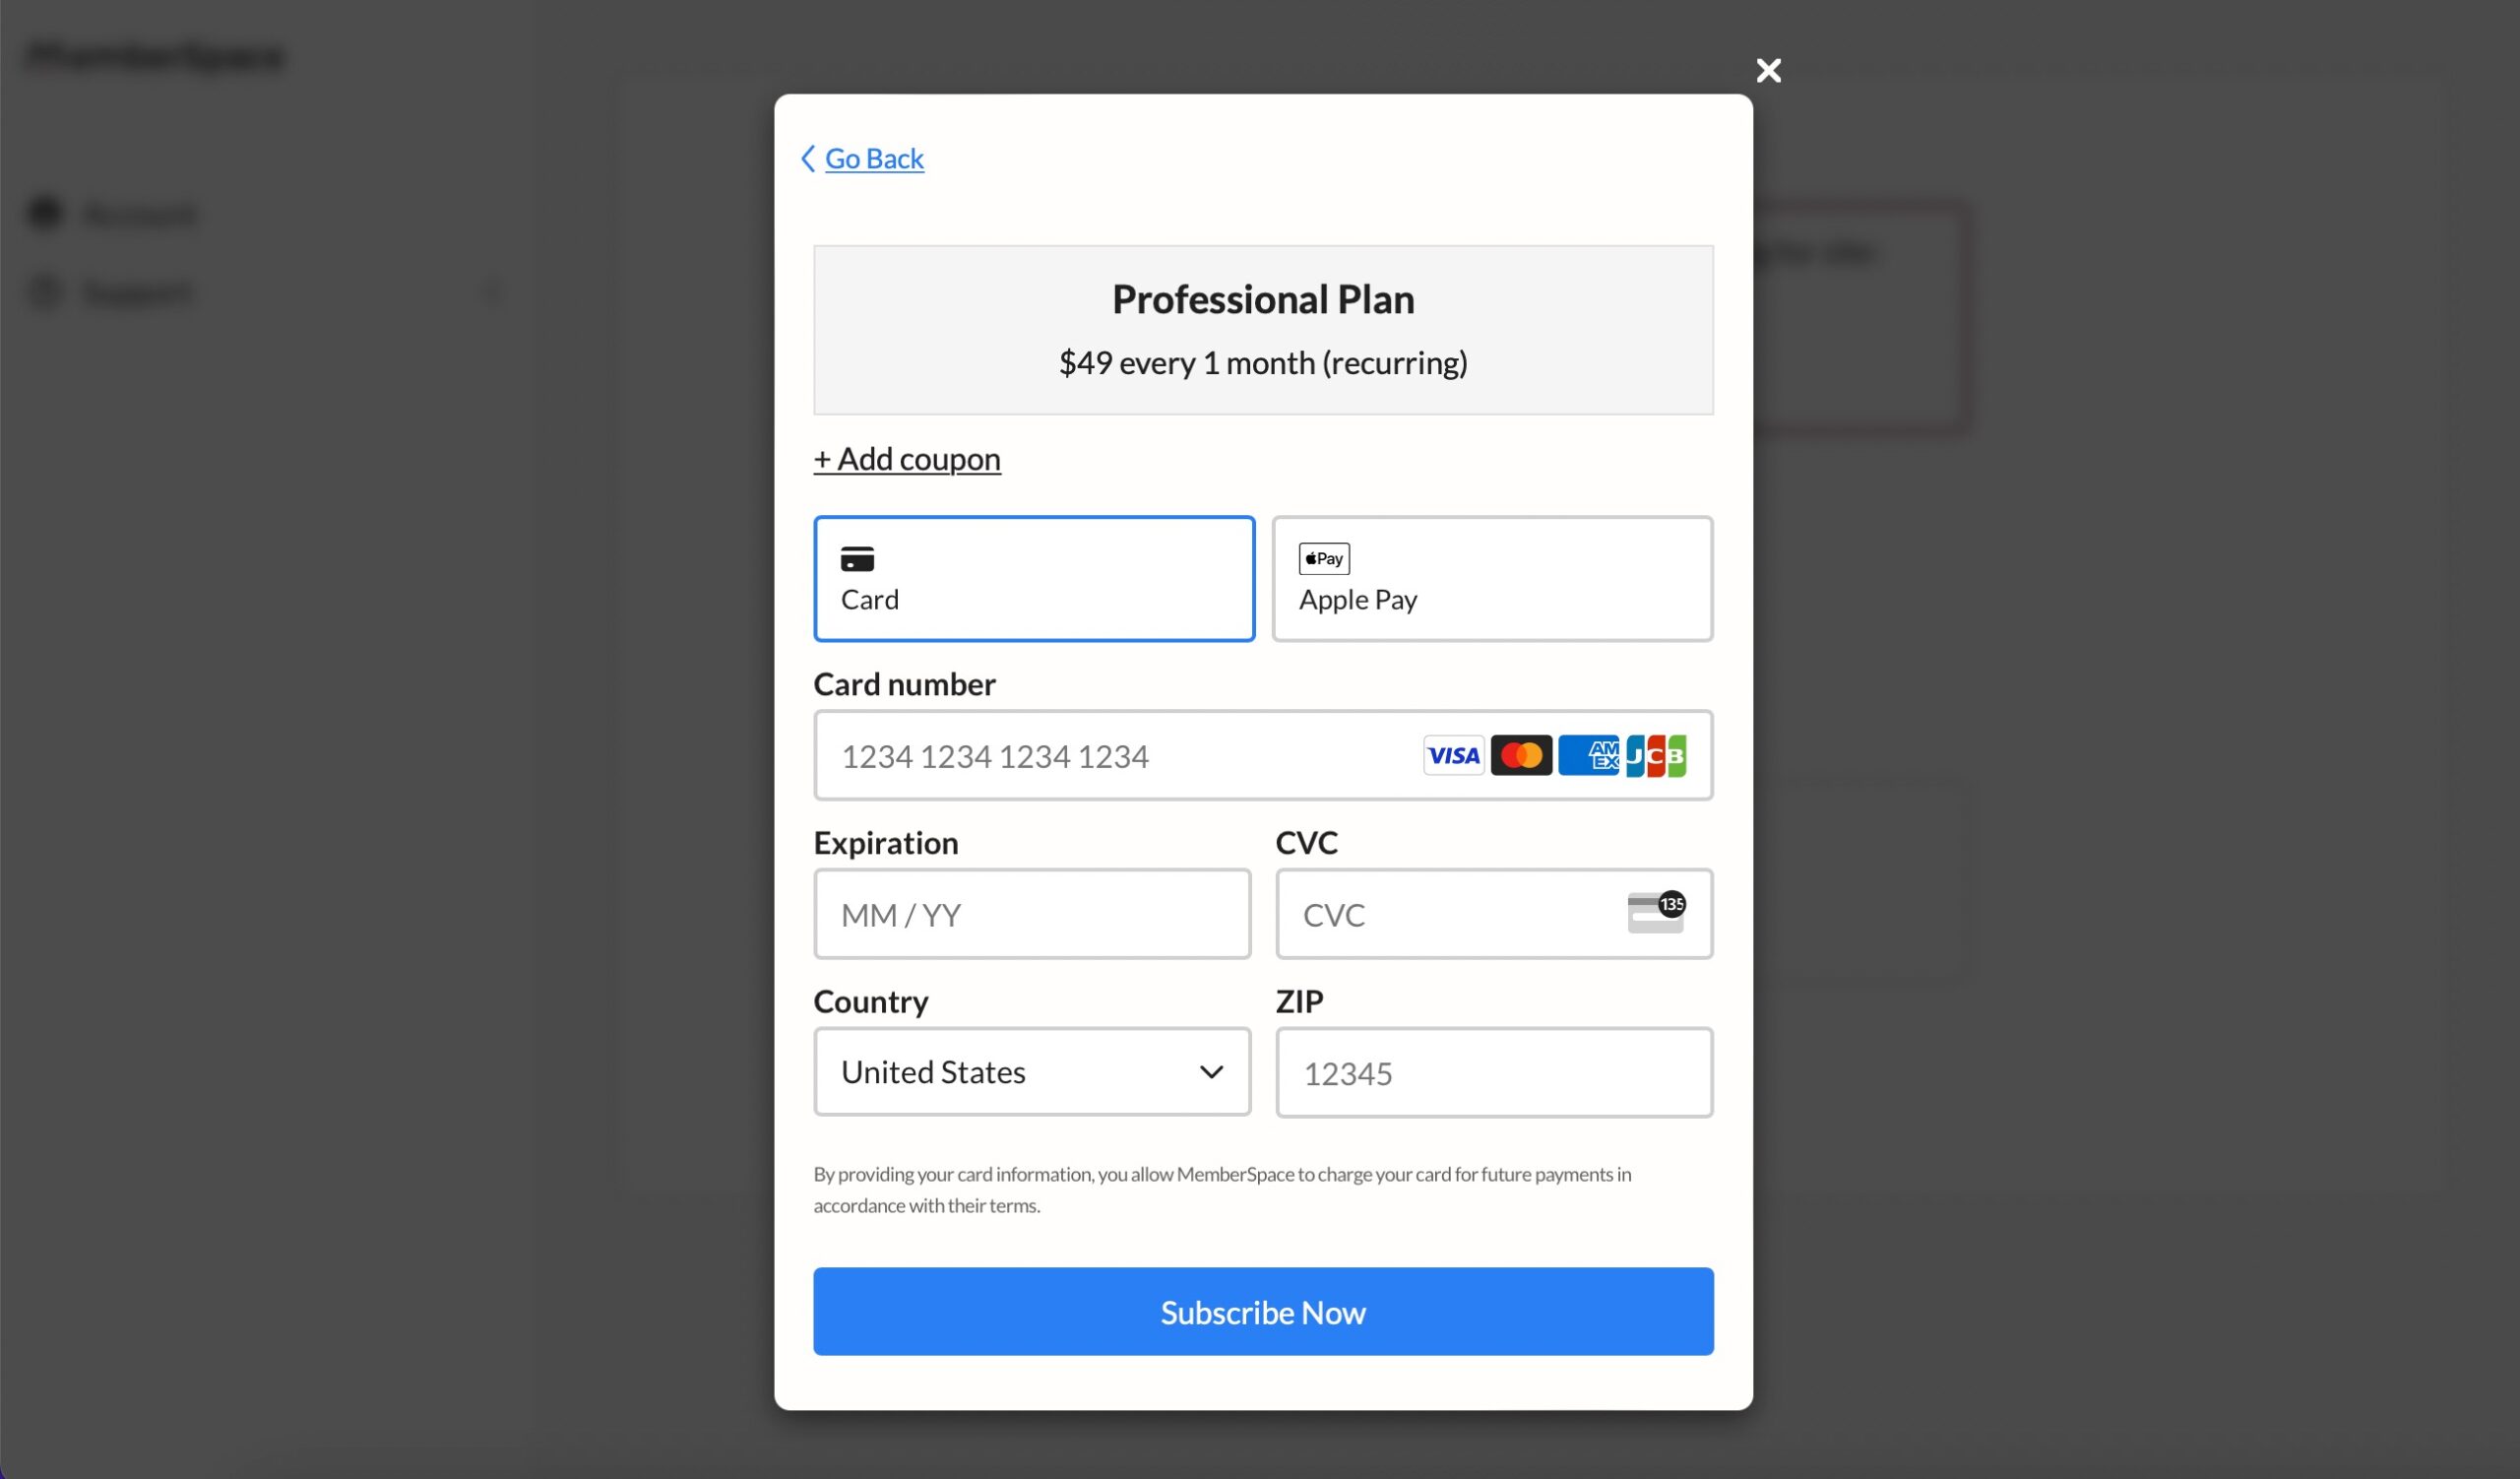
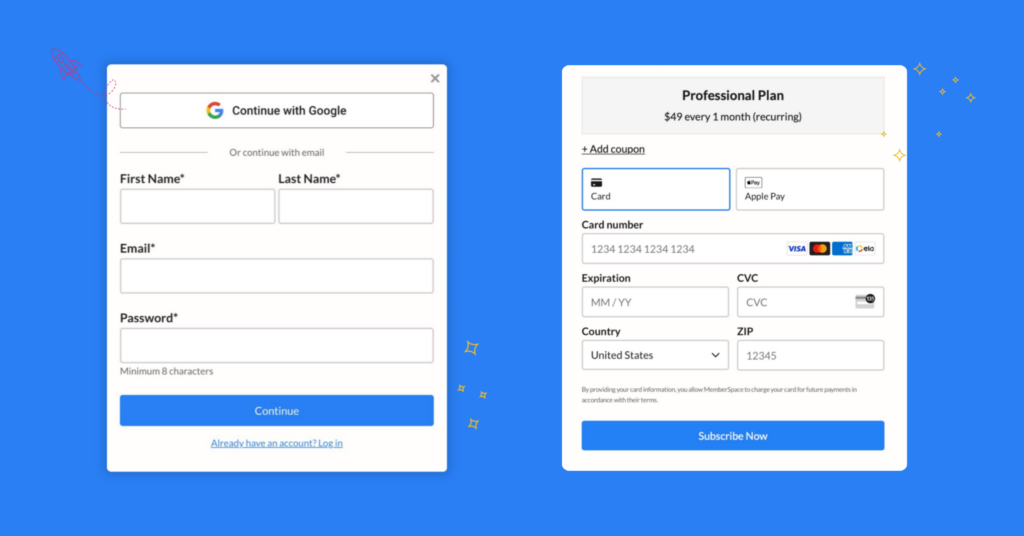
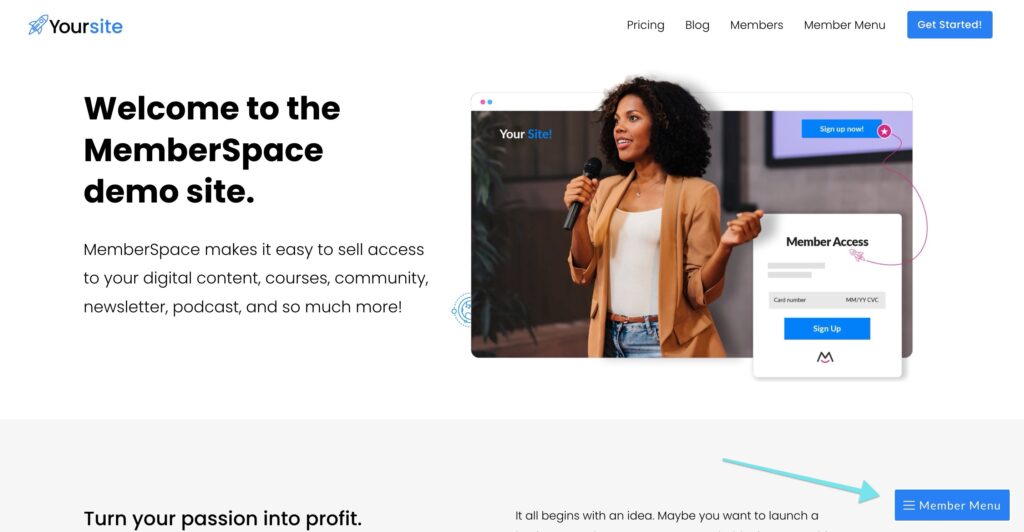
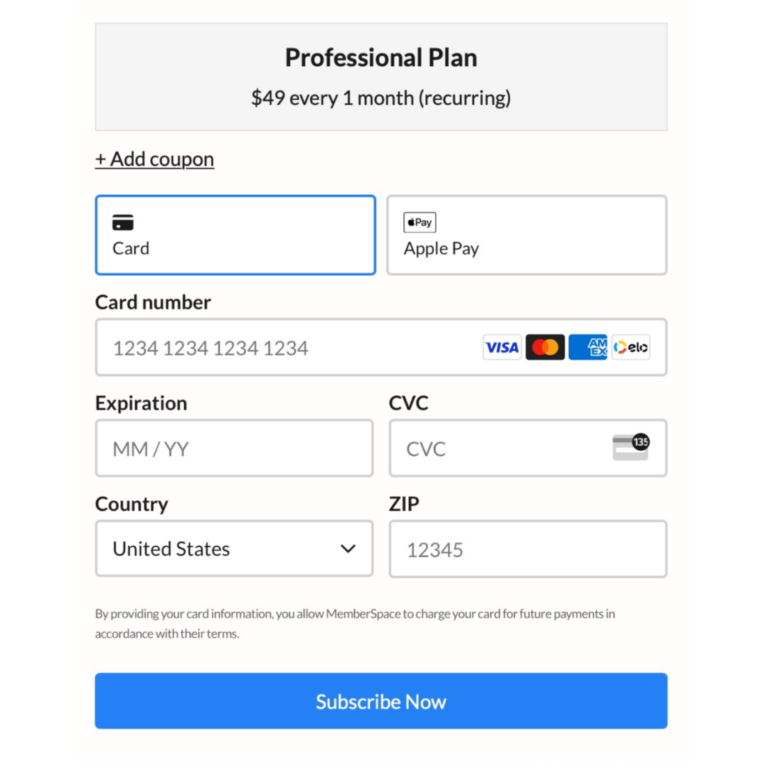
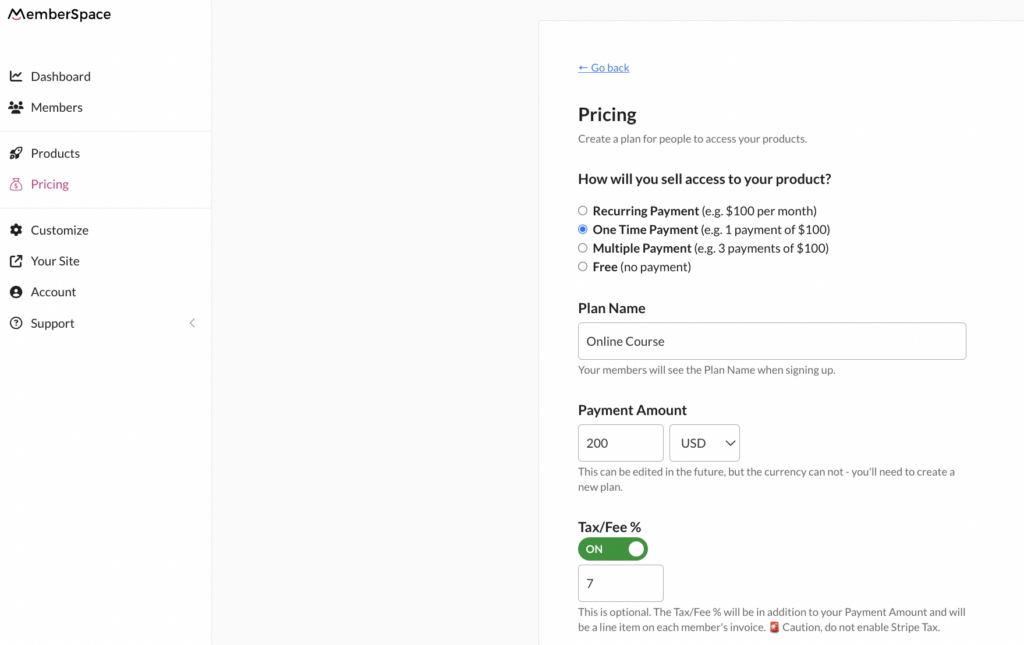
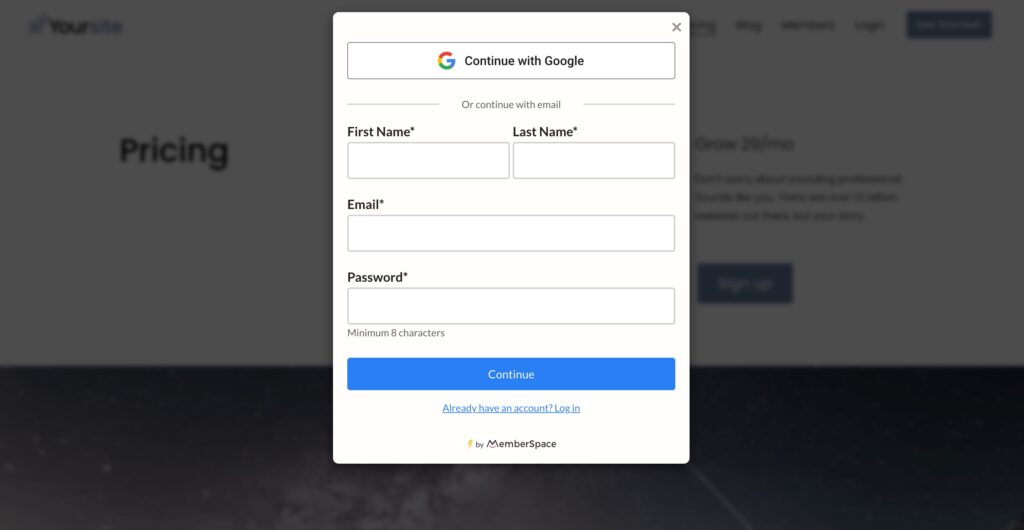
The easiest way to accept membership payments or one-time charges for digital products like online courses, communities, content libraries, and more — all from your own website!
Start selling now
Get started for free! 5 minutes to set up.
Table of Contents
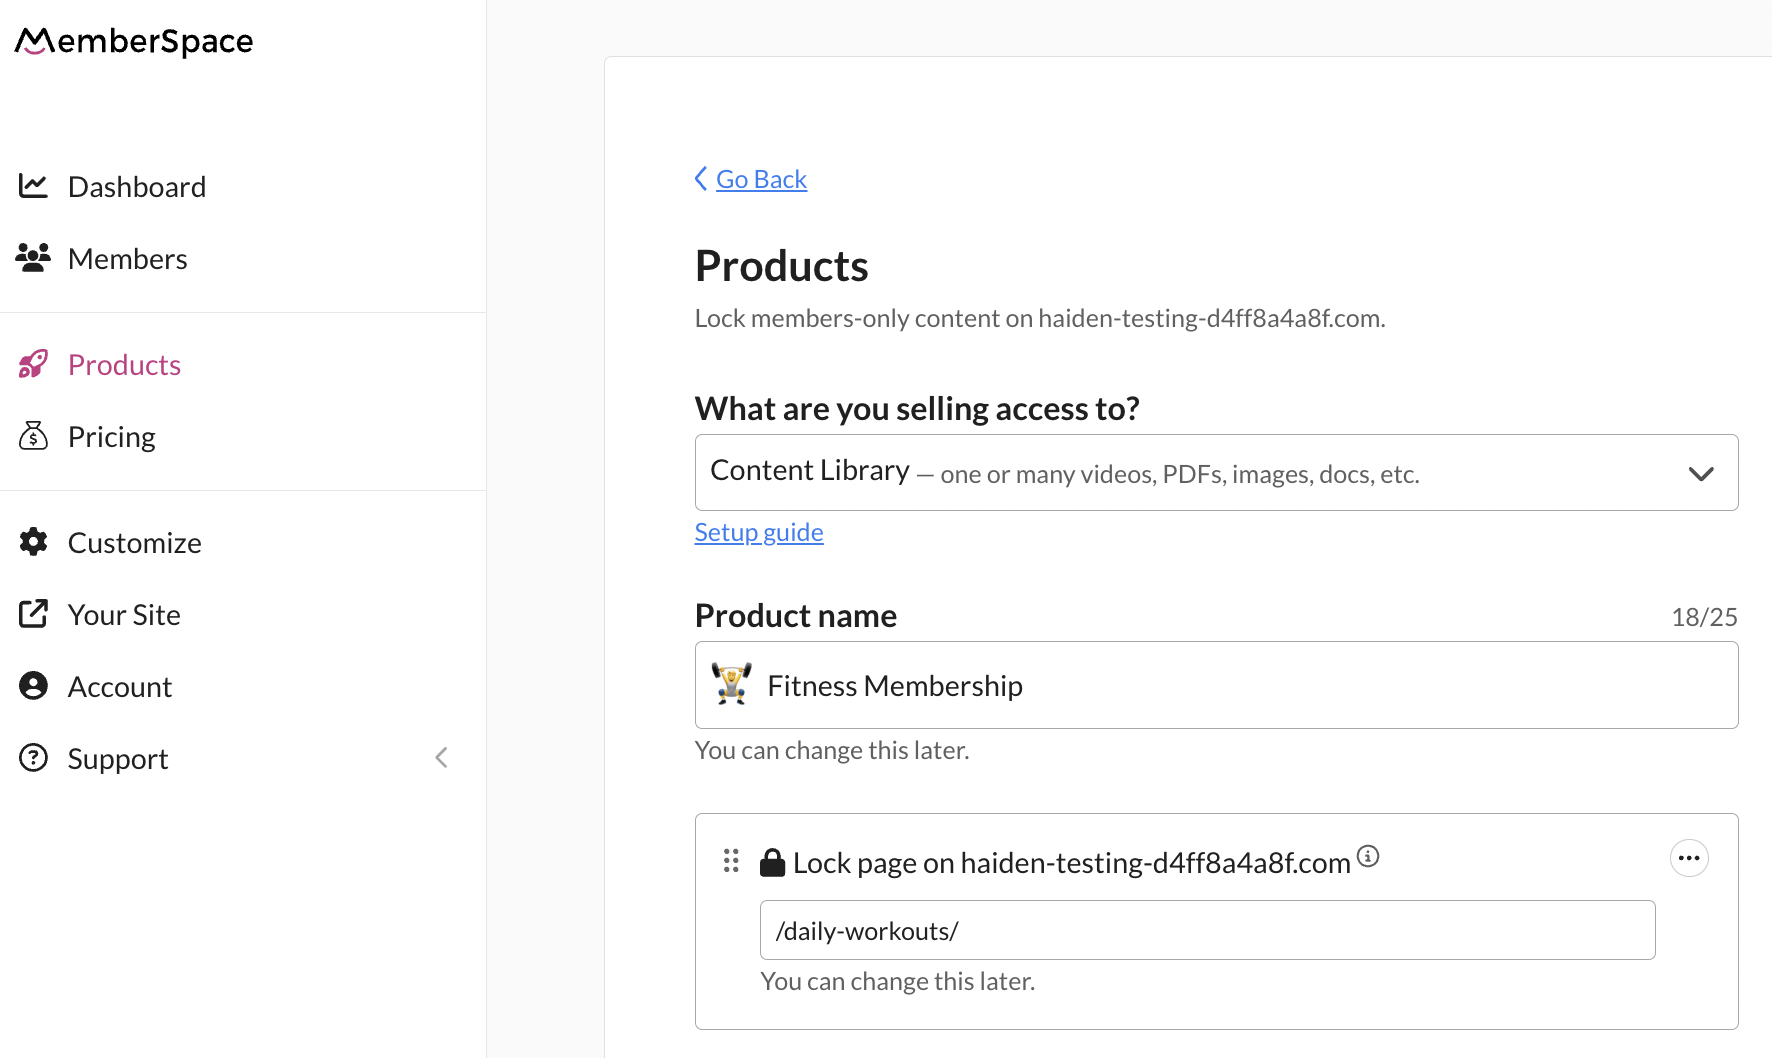
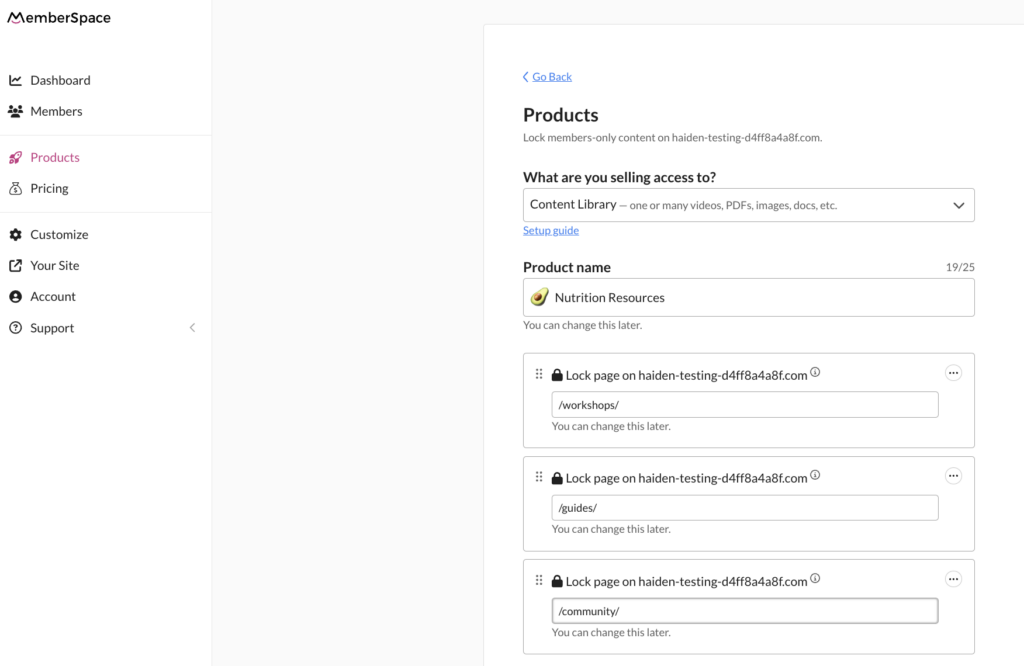
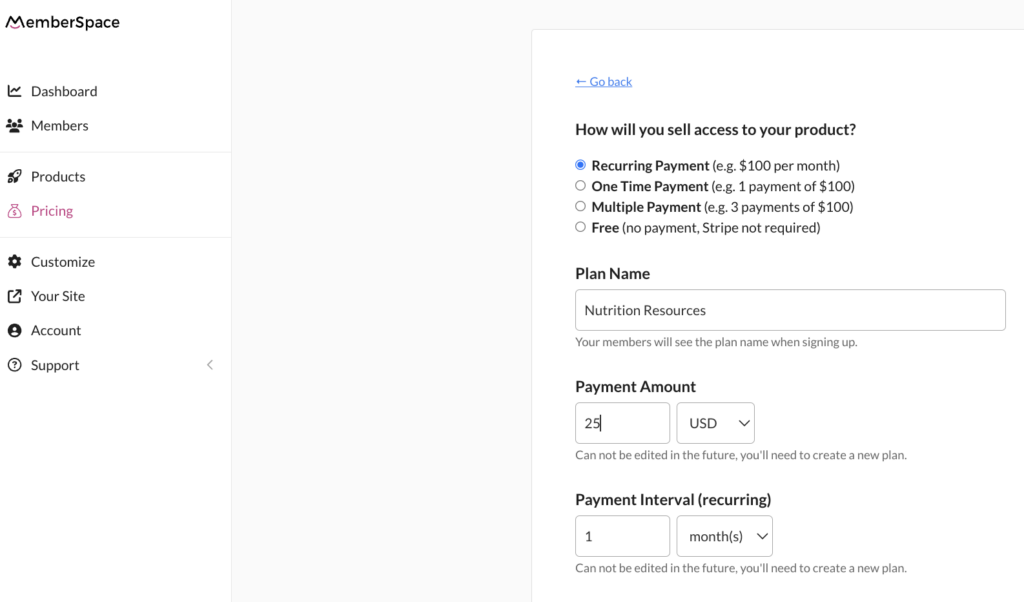
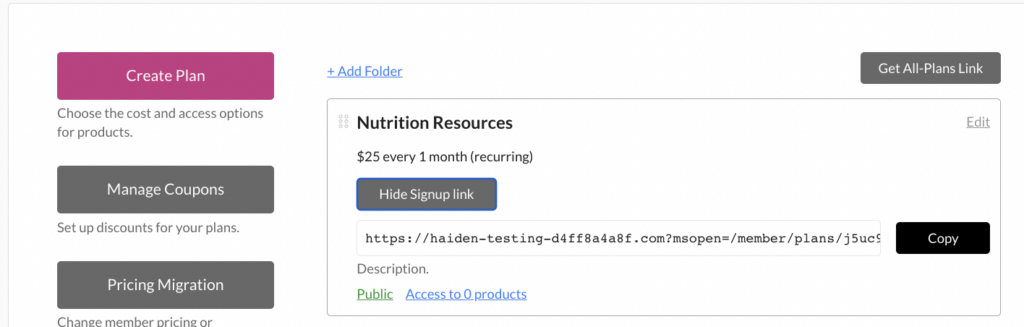
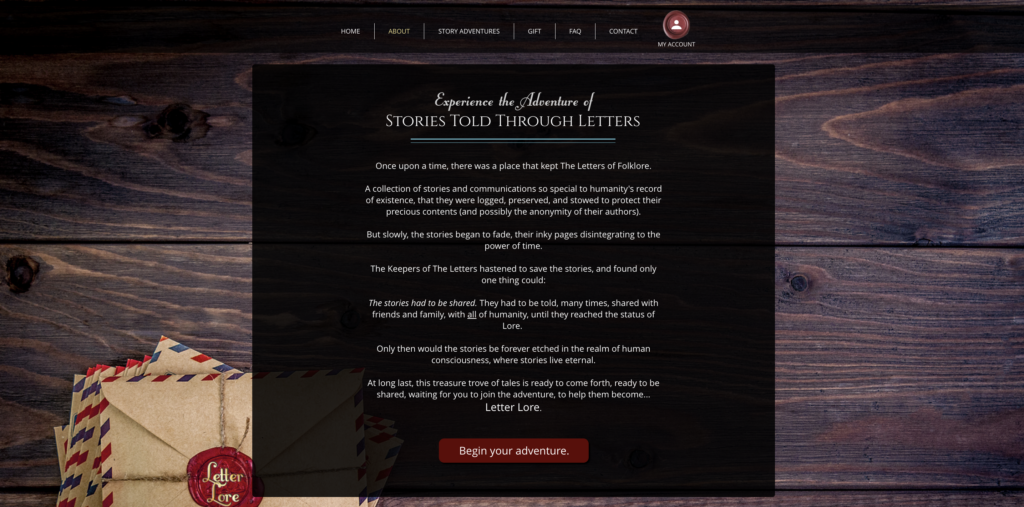
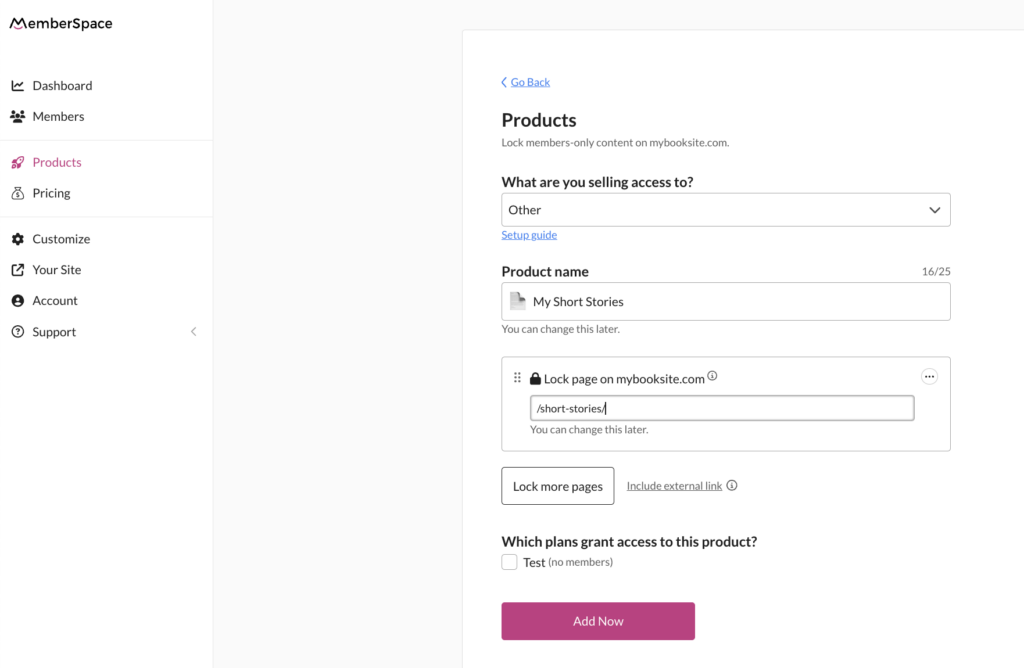
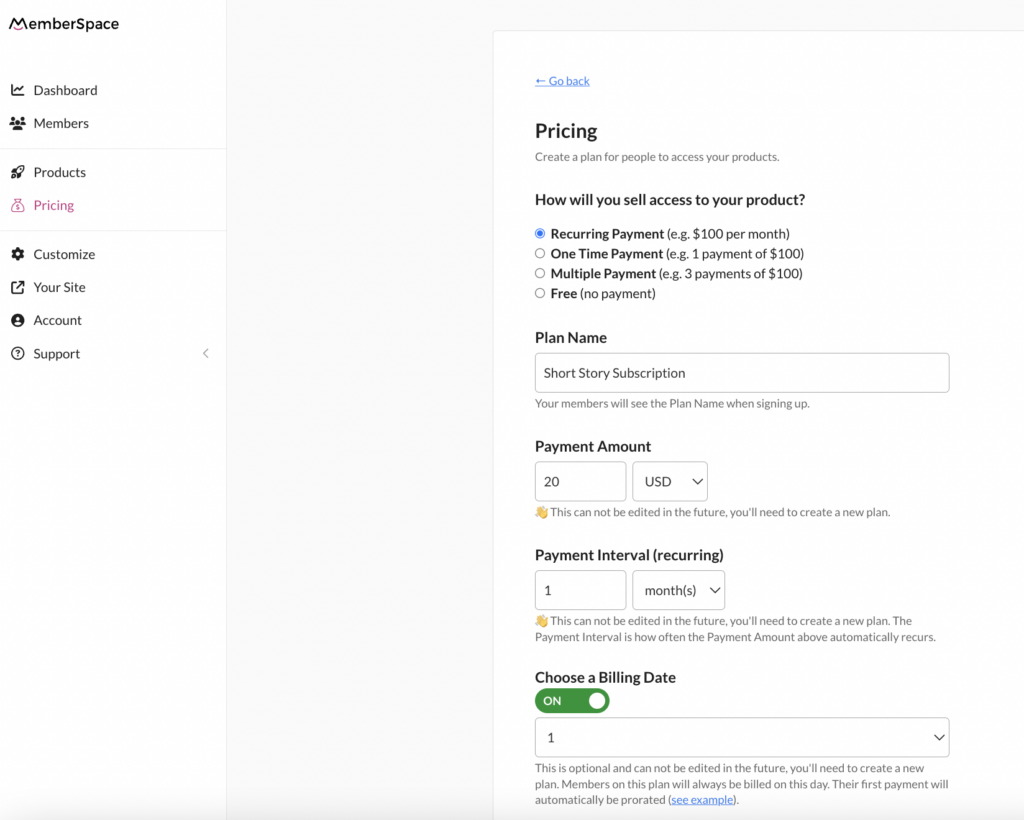
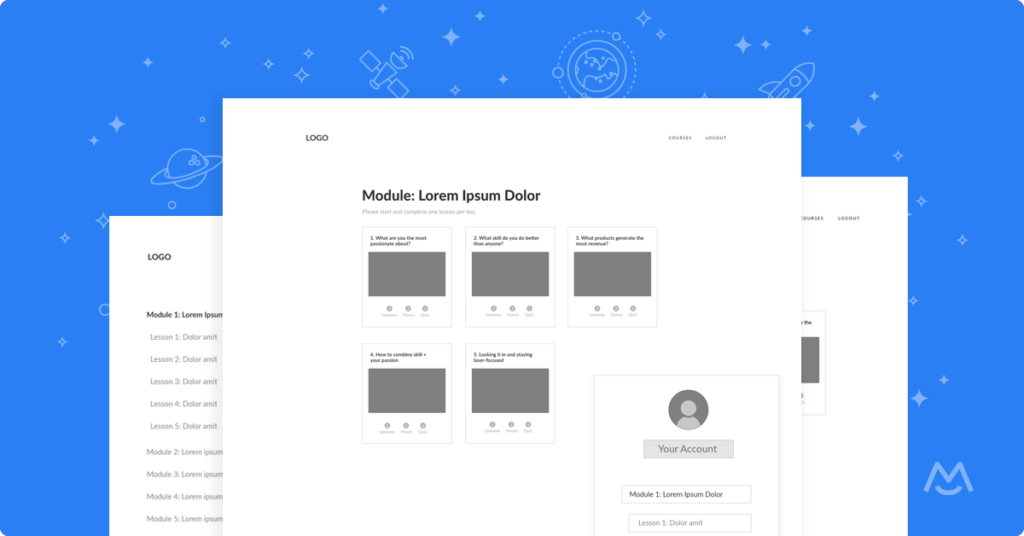
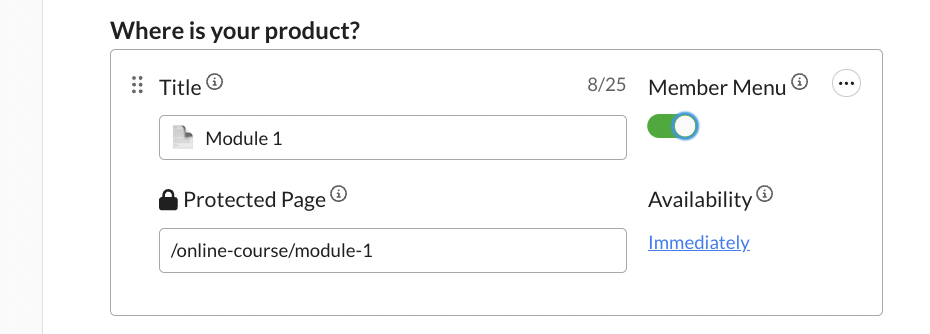
1. Offer a Content Library
One of the best ways to start making money as a nutritionist is by creating a content library. This can include digital products like:
- Nutrition templates
- Guides
- Personalized meal plans
- Videos
Clients love having on-demand resources they can access anytime. It’s a win-win because they get practical tools, and you get to offer a product that sells while you sleep. Plus, once it’s set up, it requires little ongoing effort.
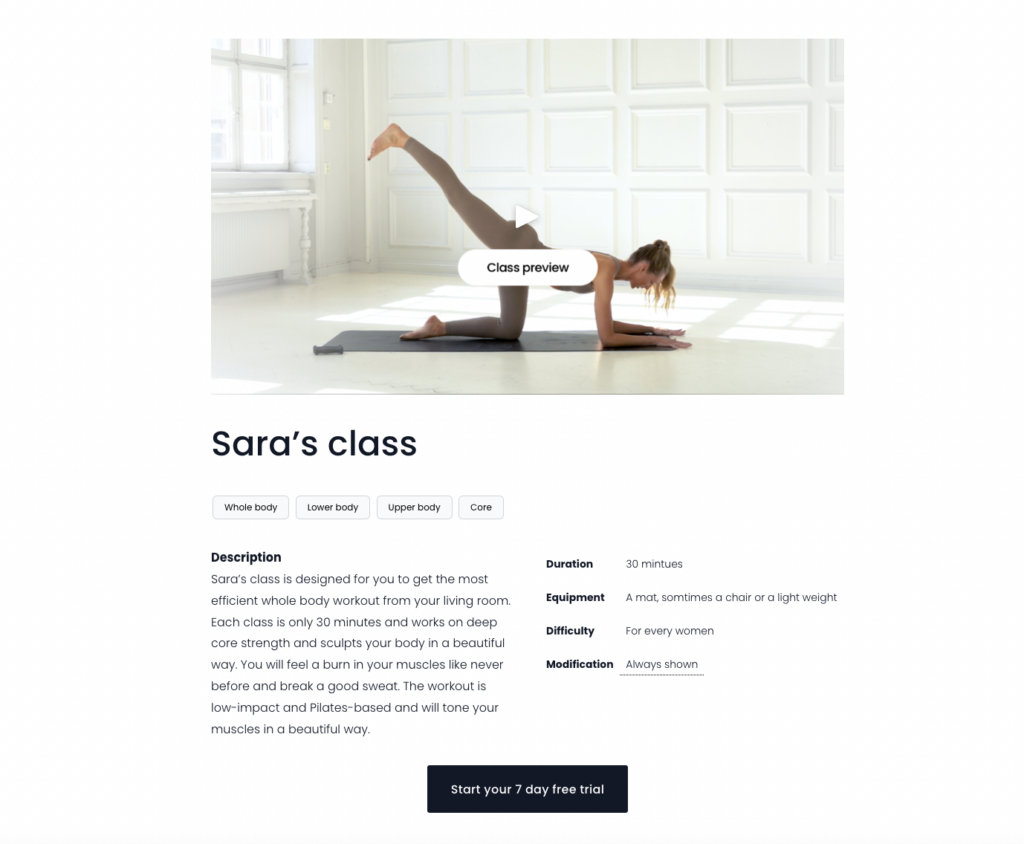
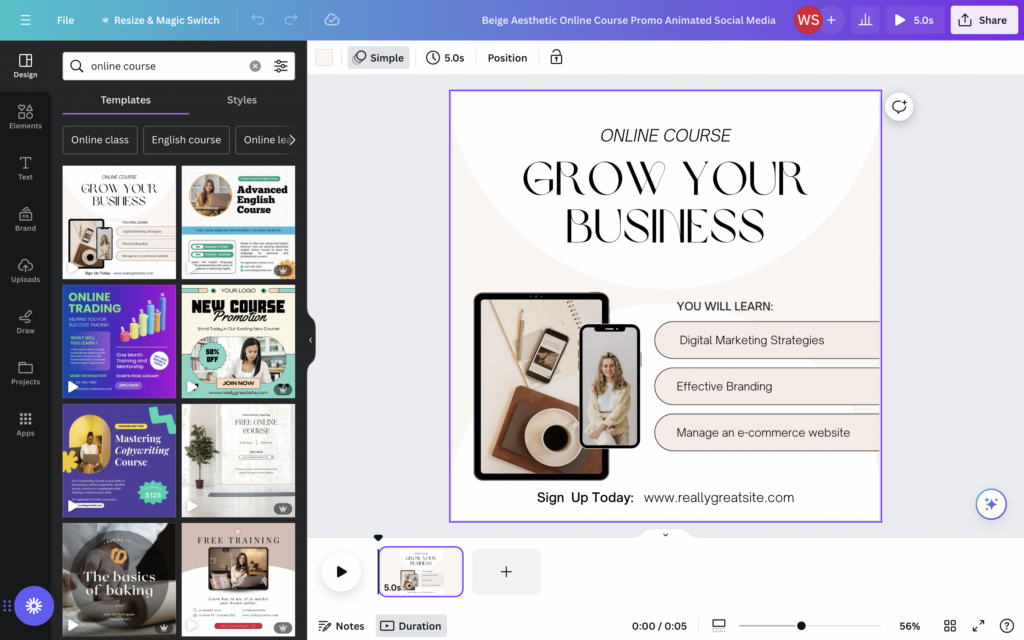
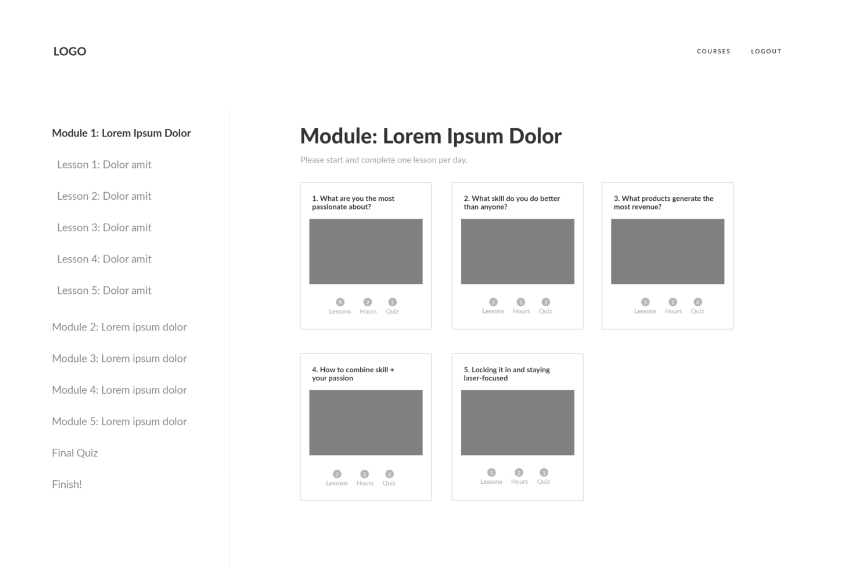
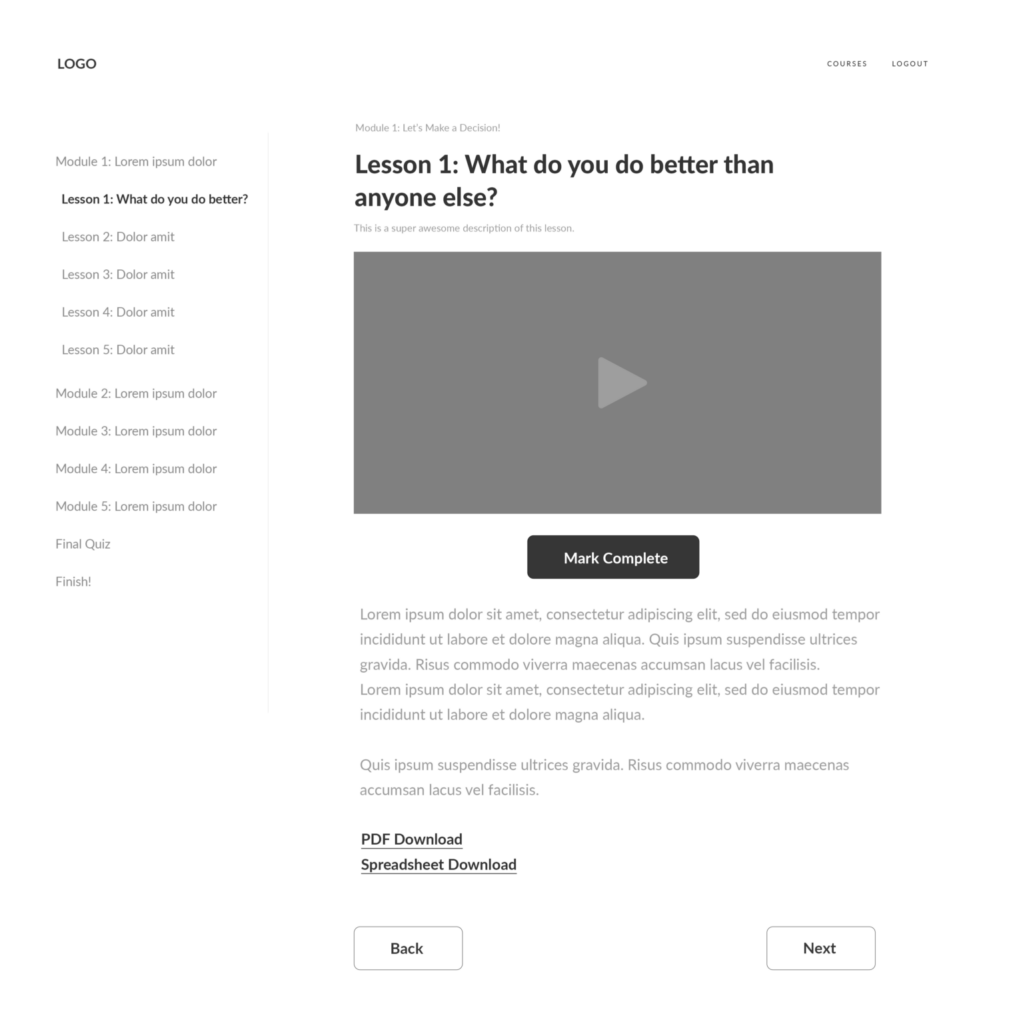
2. Launch an Online Course
Another excellent way to earn is by launching an online course. You could create courses that cover topics like meal prep, weight management, or specific diets like keto or plant-based nutrition. These courses allow you to:
- Reach a global audience
- Generate passive income
- Build your authority in your niche

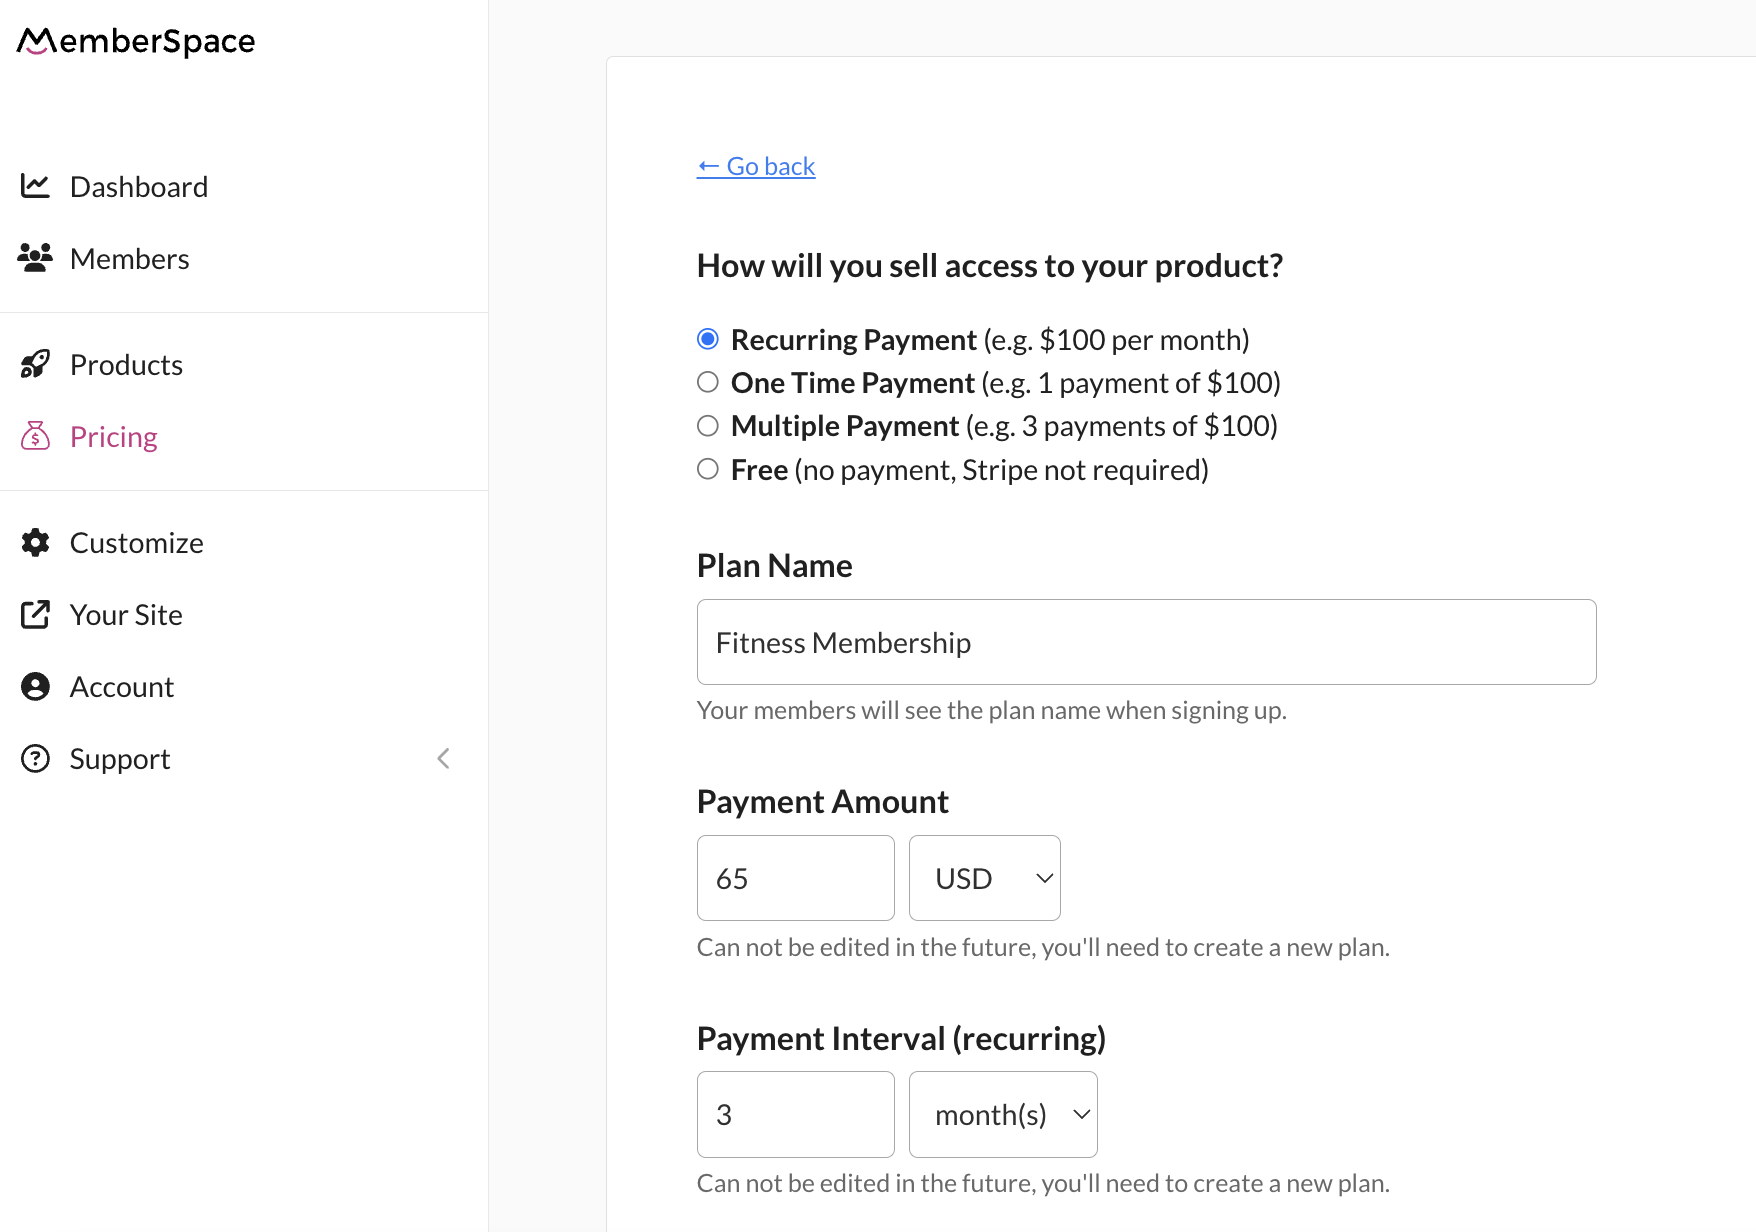
3. Offer 1:1 Coaching or Group Programs
If you prefer more personalized interaction, consider offering 1-on-1 nutrition coaching or group programs. Many people are willing to pay for tailored advice and guidance. You could provide things like:
- Weekly meal plans
- Fitness advice
- Accountability check-ins
With tools like Zoom, you can coach clients from anywhere, expanding your reach beyond just your local area.
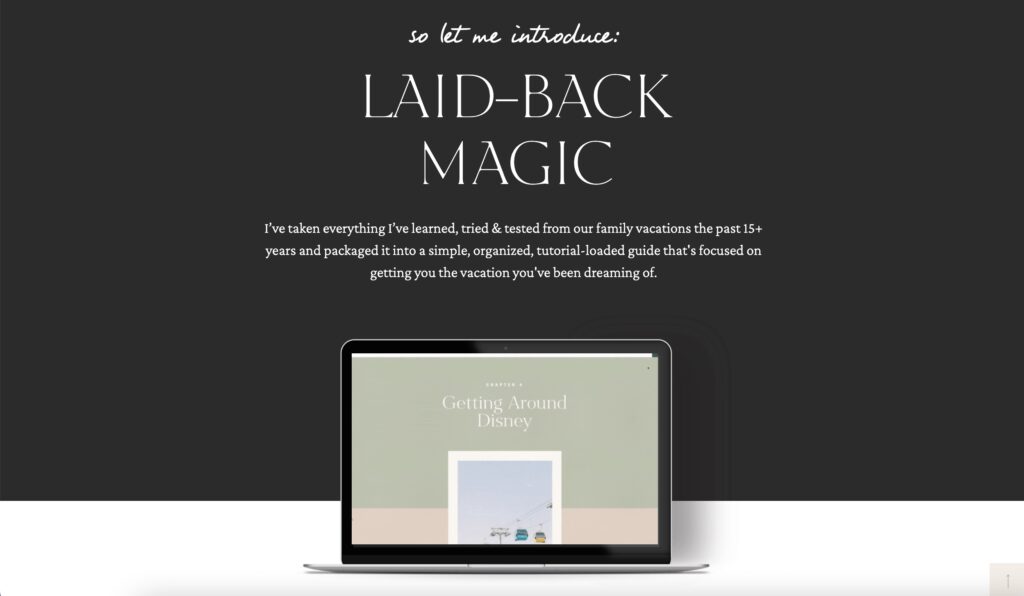
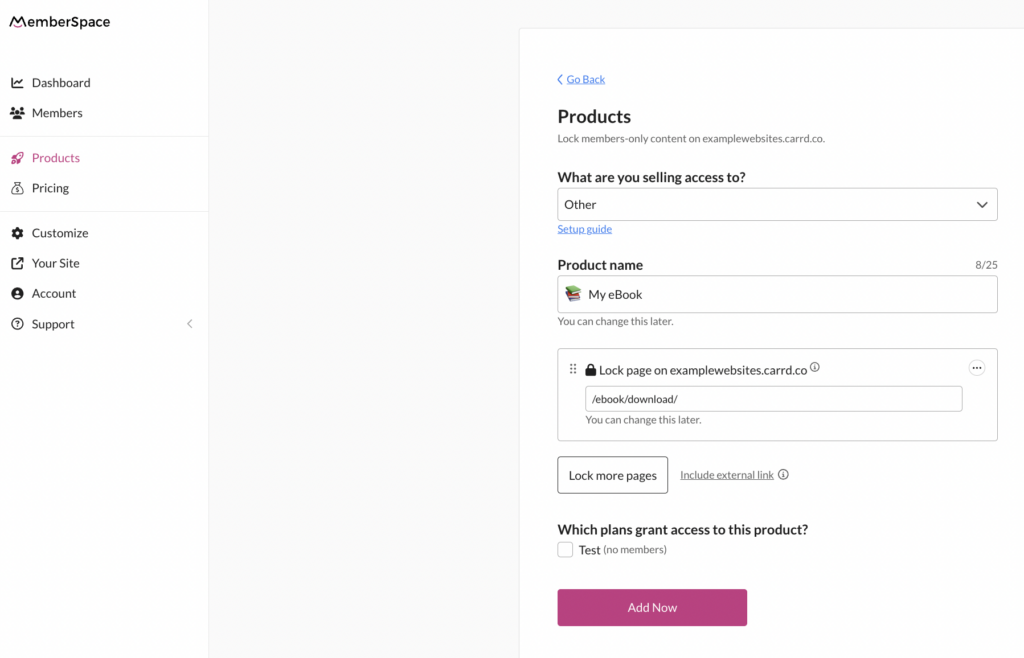
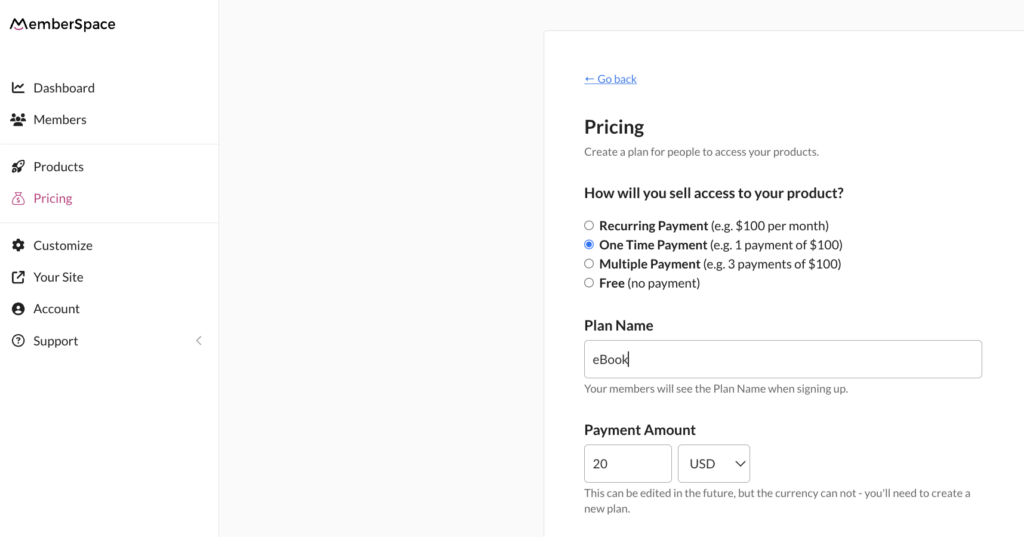
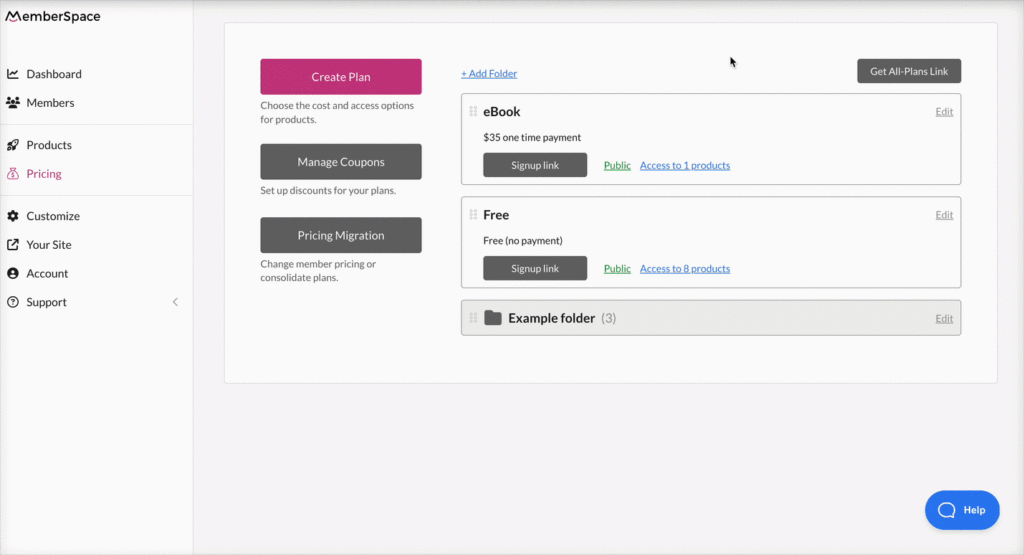
5. Create eBooks and Downloadable Guides
Another great way to make money as a nutritionist is by repurposing the content you’ve already created into eBooks or downloadable guides. For example, you can take your blog posts, meal plans, or video lessons and package them into a comprehensive resource. These could include:
- Step-by-step guides on specific diets
- Recipe collections
- Customizable meal planning templates
By selling these eBooks and guides on your website, you provide valuable resources to your clients while creating an additional stream of income with content you’ve already invested time in.
Final Thoughts
There are countless opportunities to make money as a nutritionist online. From offering a content library to providing coaching sessions or selling eBooks, the key is finding what works best for you and your audience. Start small, build your offerings, and watch your business grow!

Need help setting up your nutrition coaching website?
Connect with our friendly team, weekdays 10am – 6pm ET.
Let’s chat!


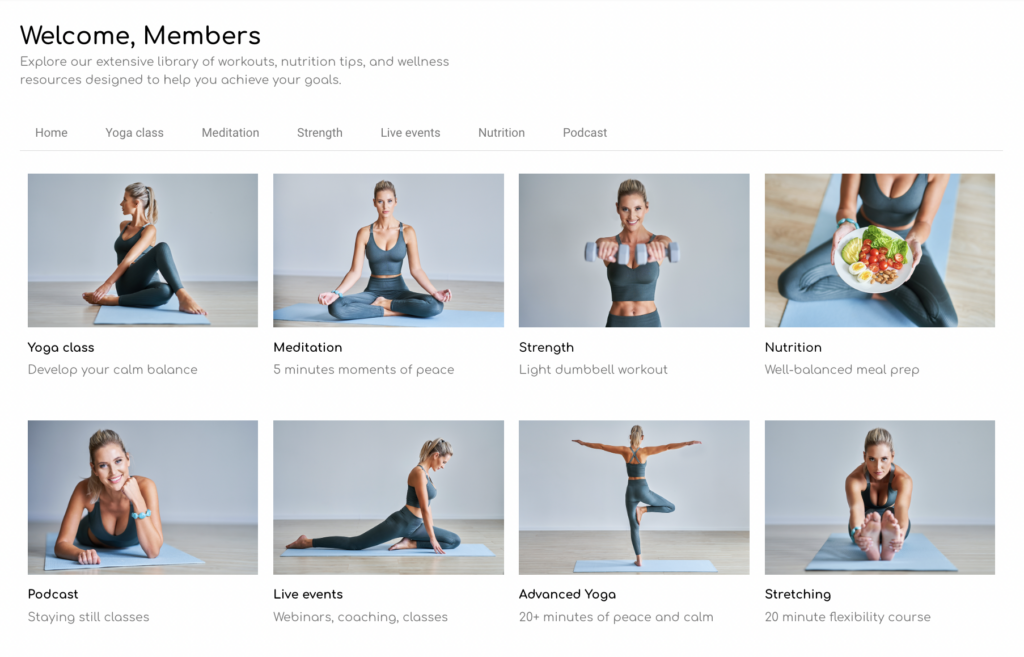
 Since launching Withsara, Sara’s members have completed over 150,000 workouts on her fitness membership site!
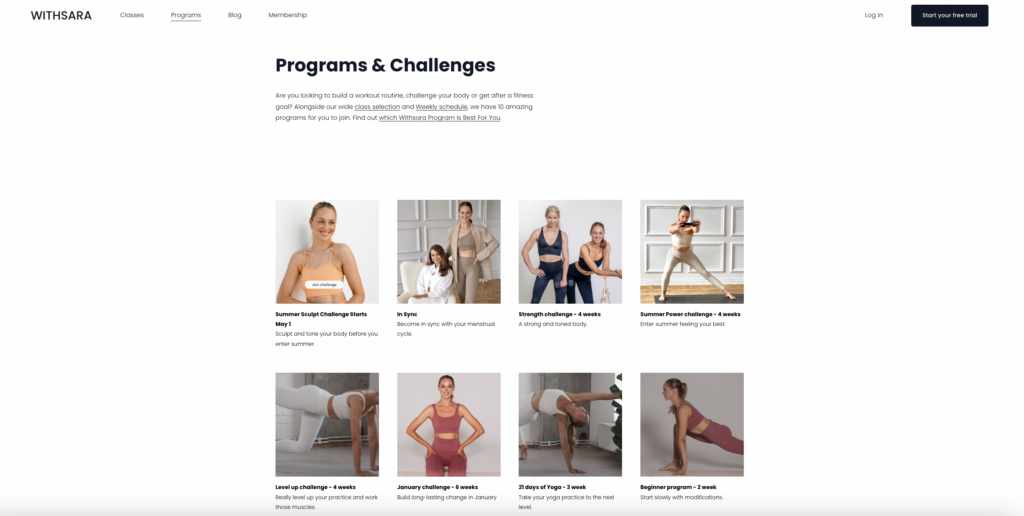
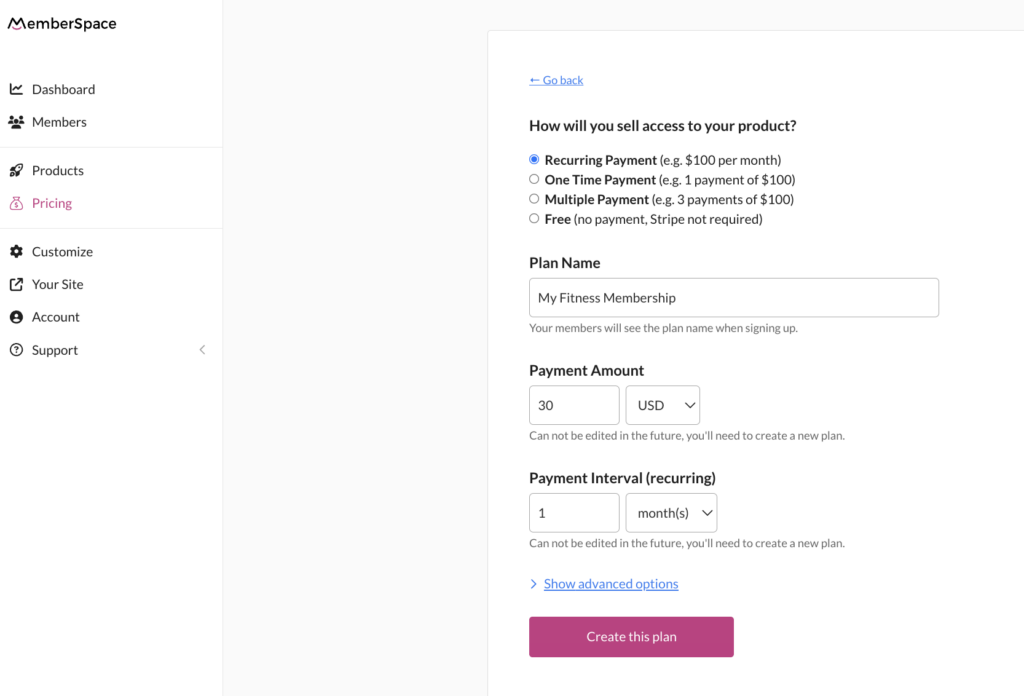
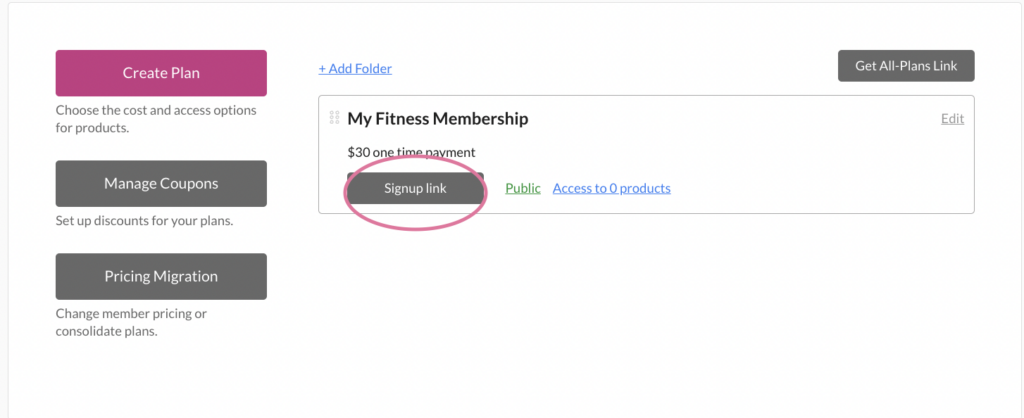


 Be sure to include in your request the name of your customers’ current plan and the new one to which you want to migrate them. Also, let us know if you’d like to migrate customers immediately or have them pay full price on their next billing date.
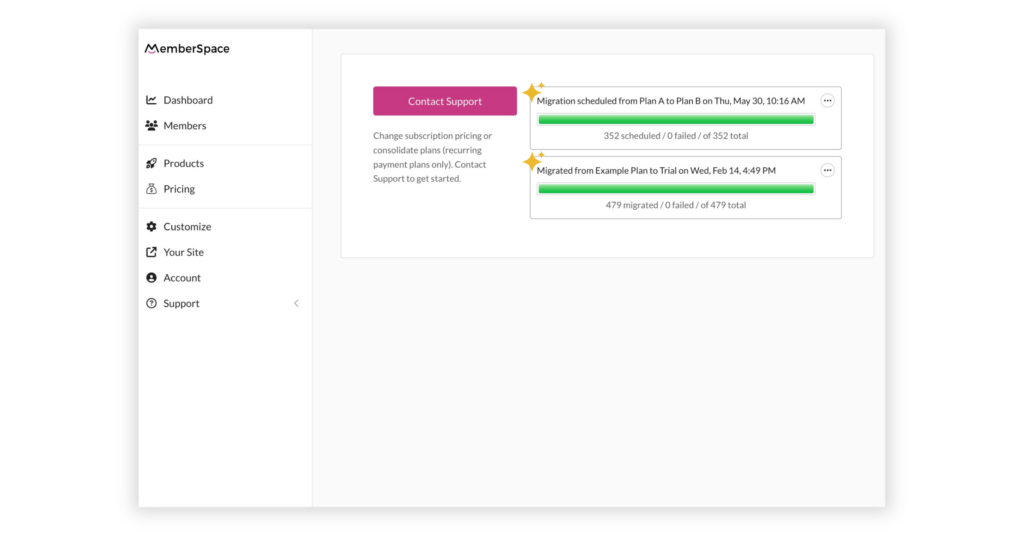


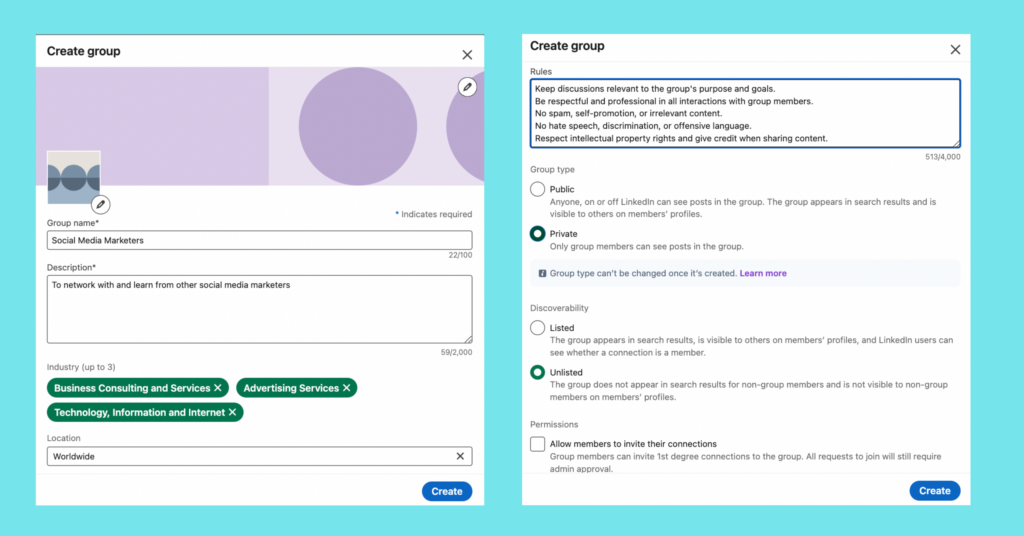

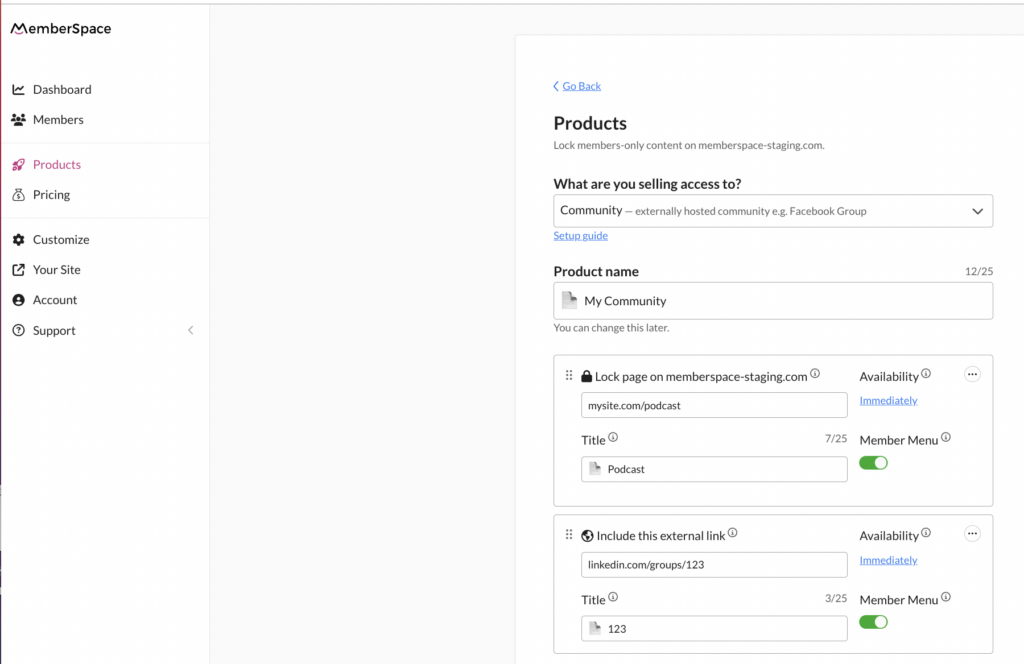

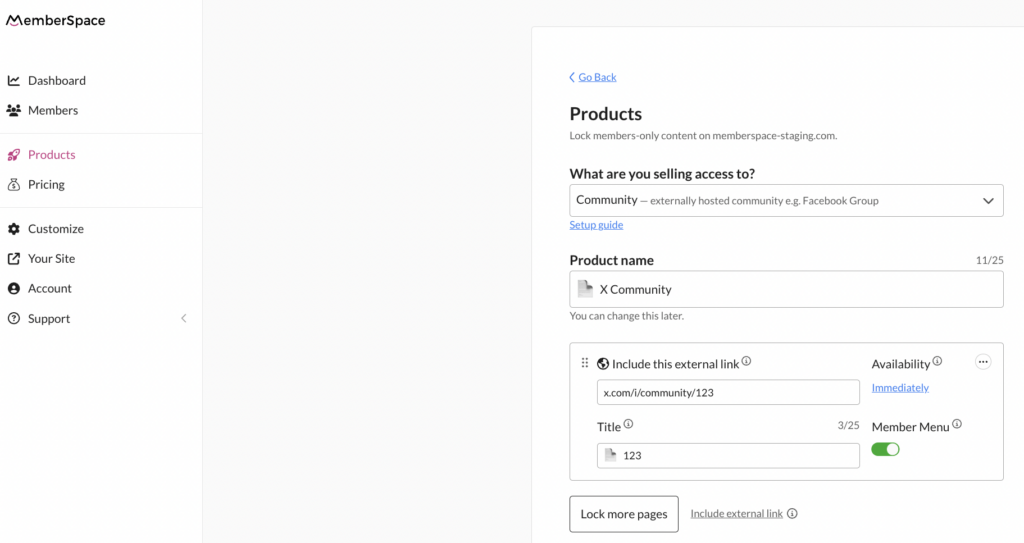


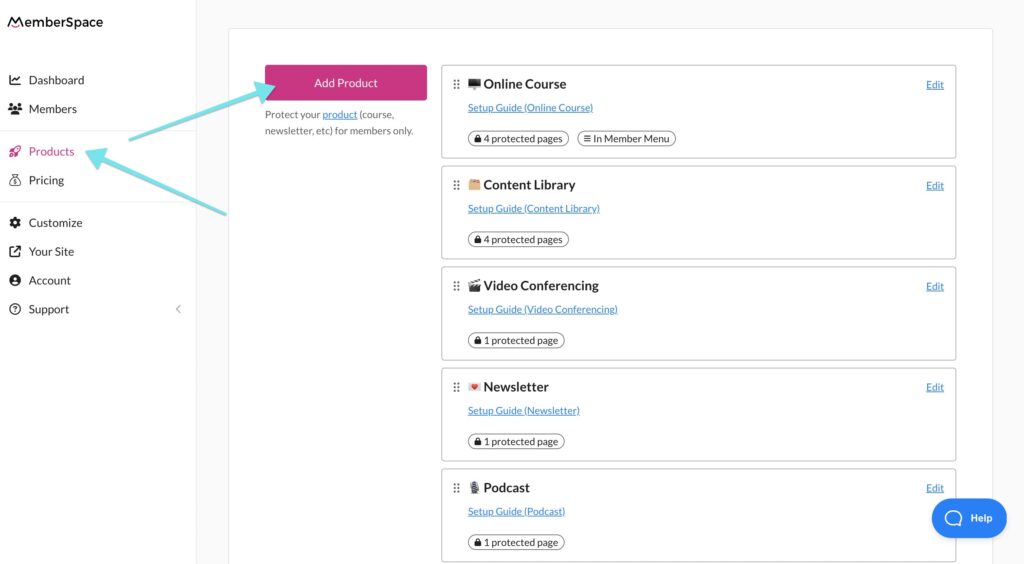
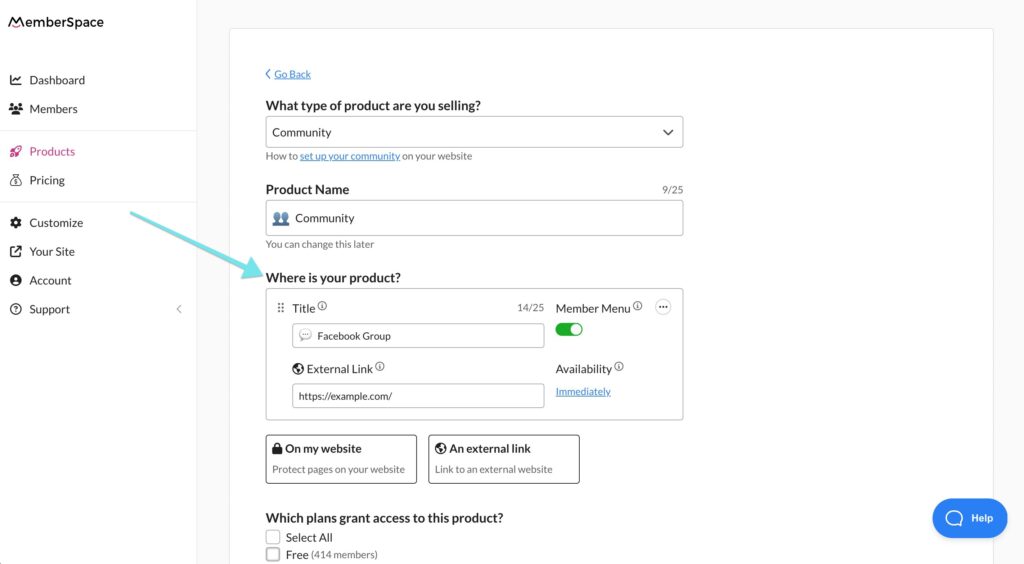
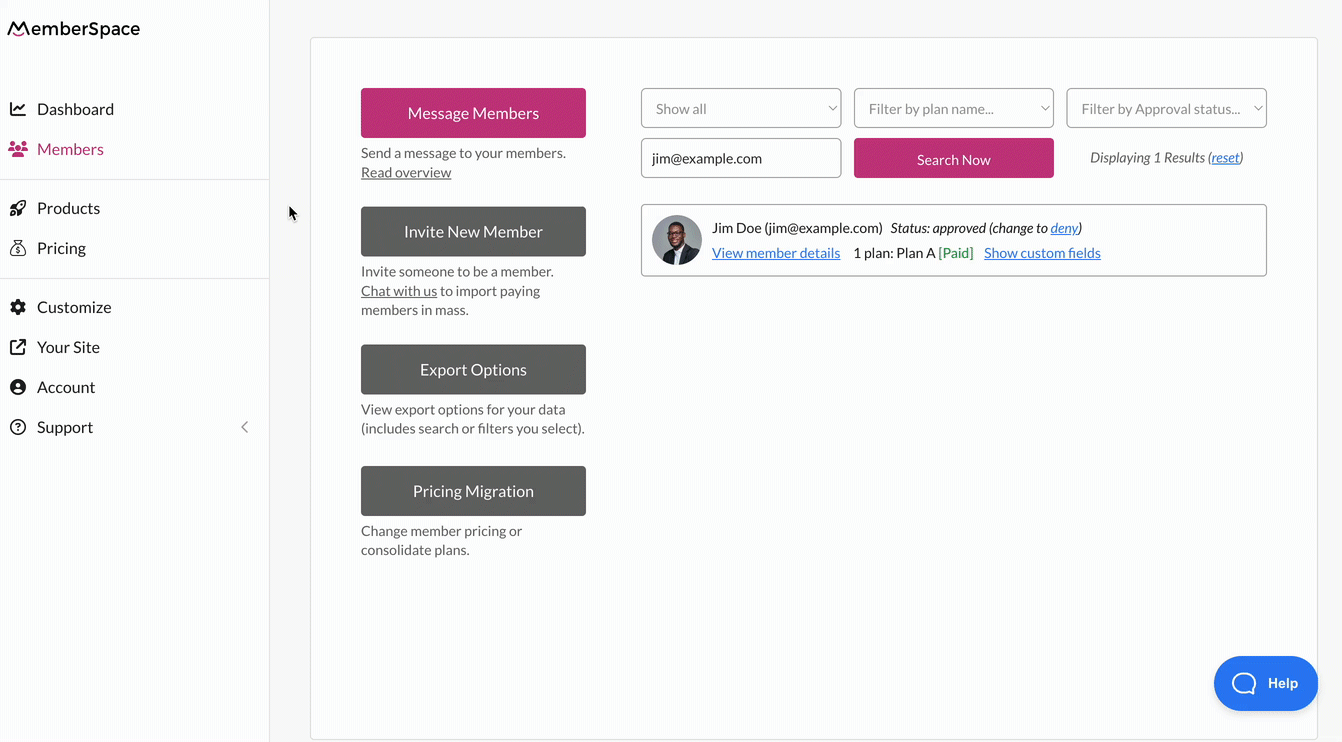
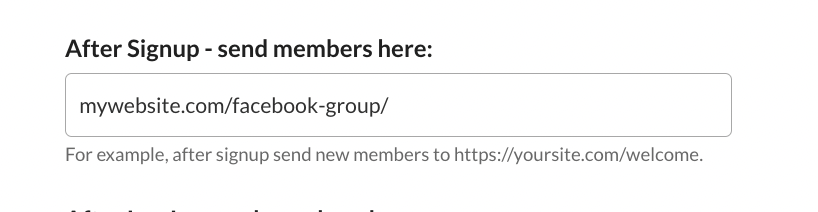
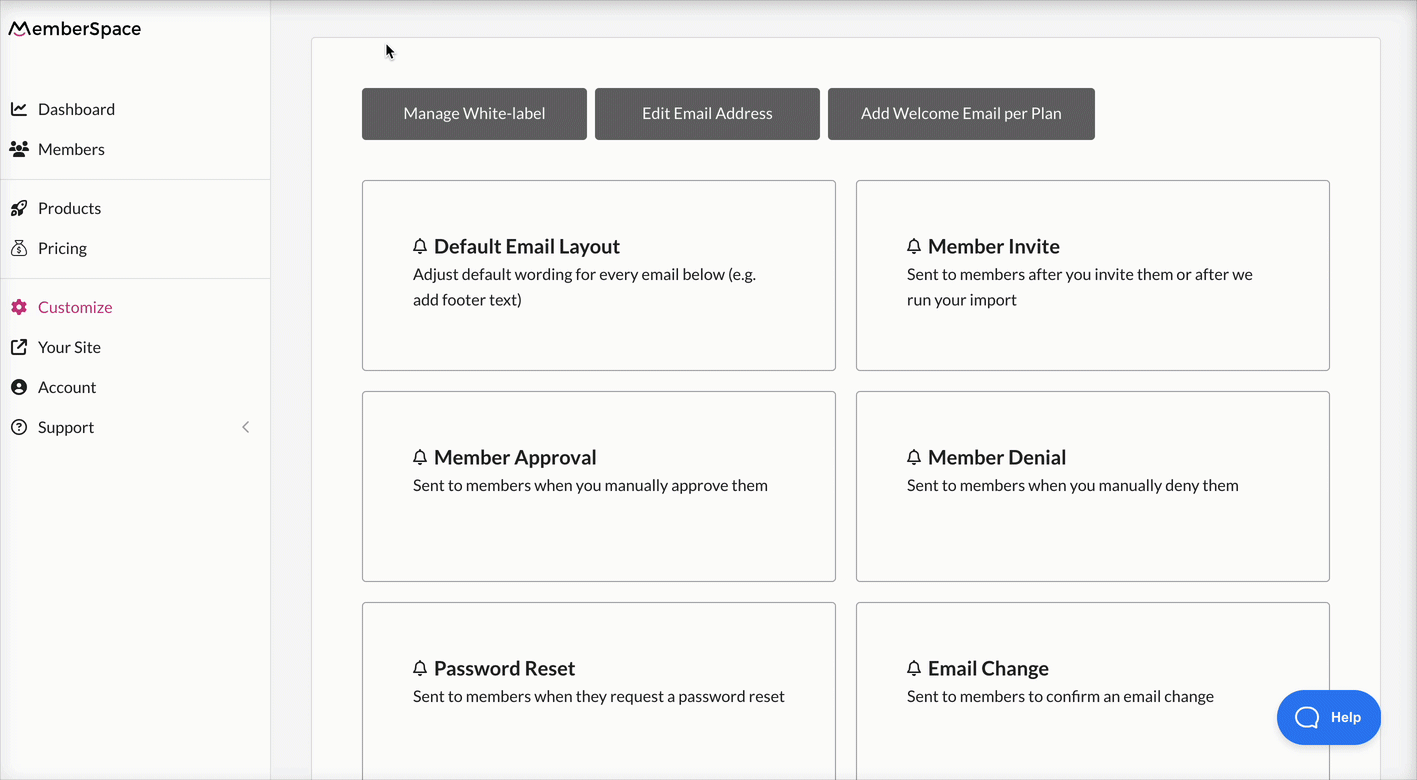
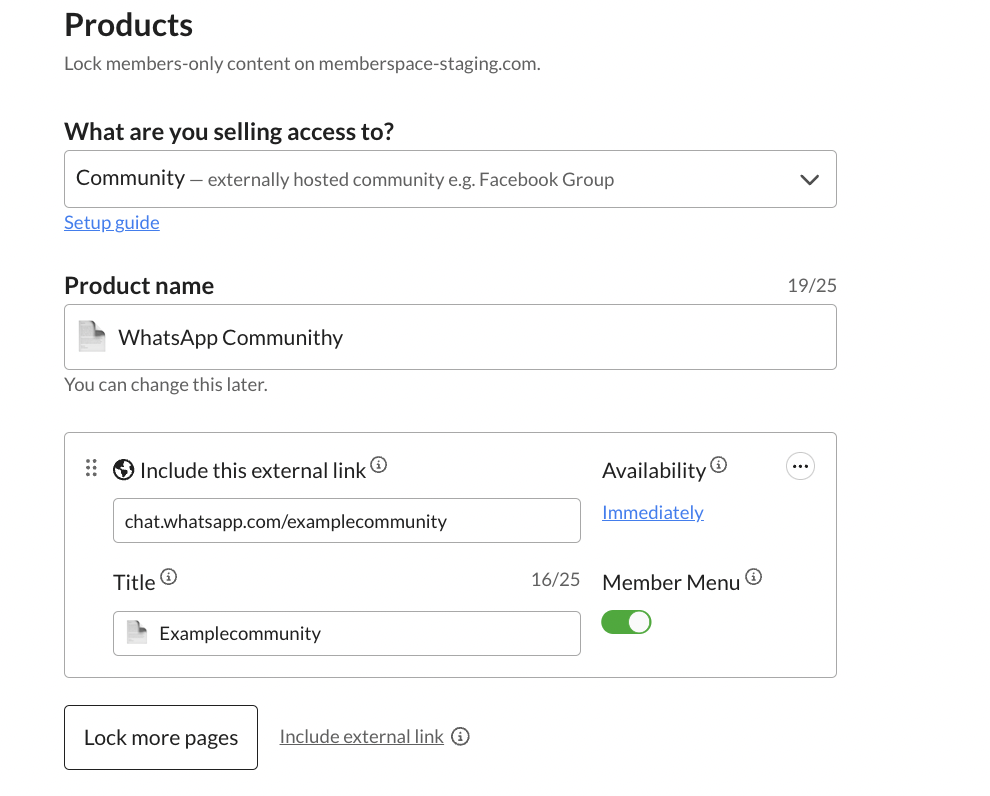
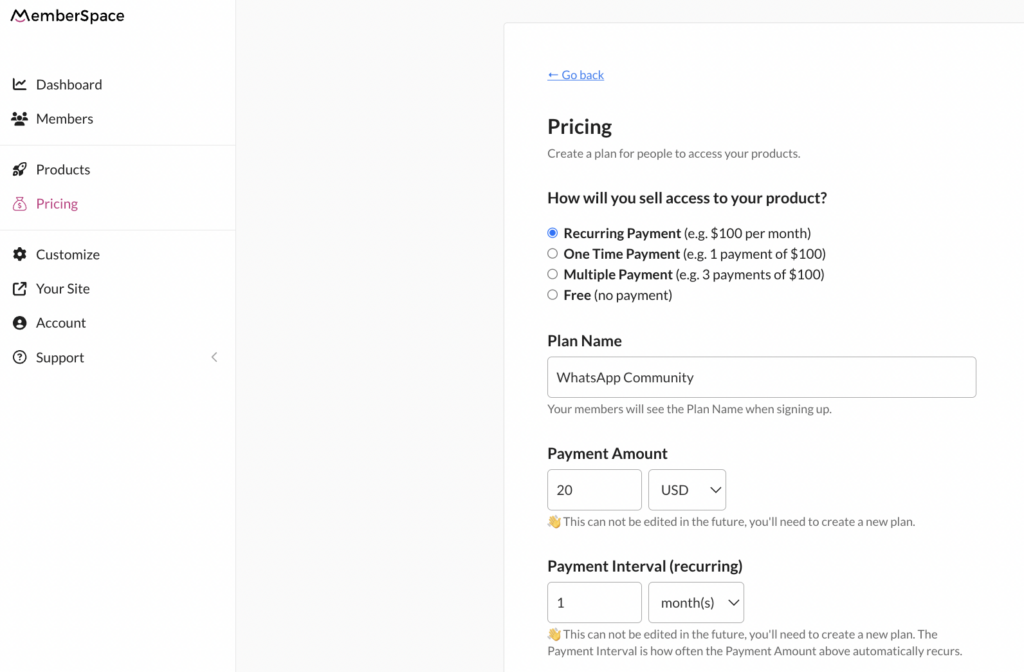
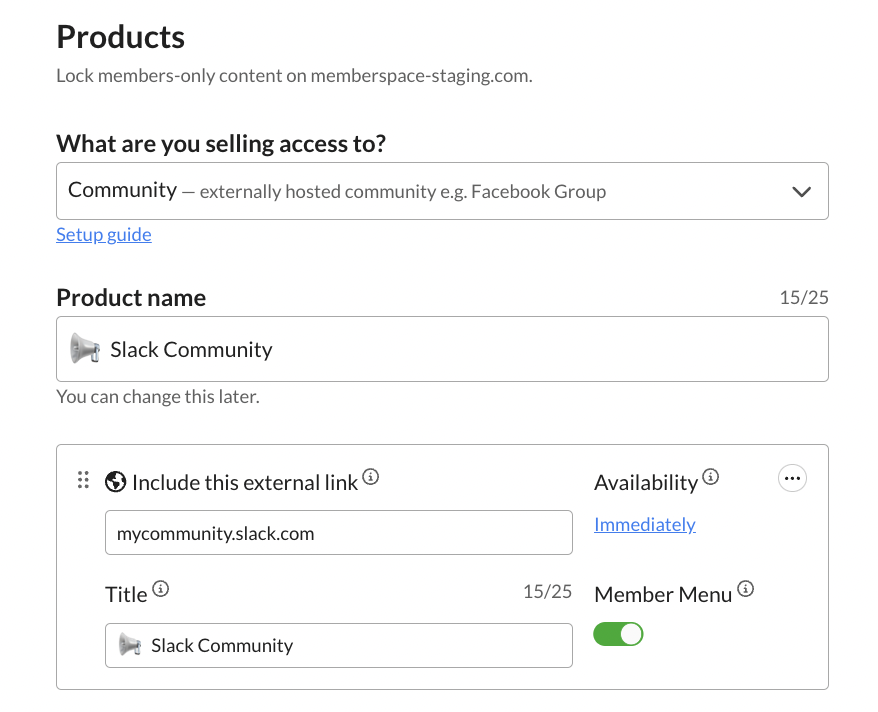
 Make sure Member Menu is enabled. This will add your Facebook Group link to a menu in the bottom right corner of your website that is only accessible once someone logs in or signs up and pays for group access.


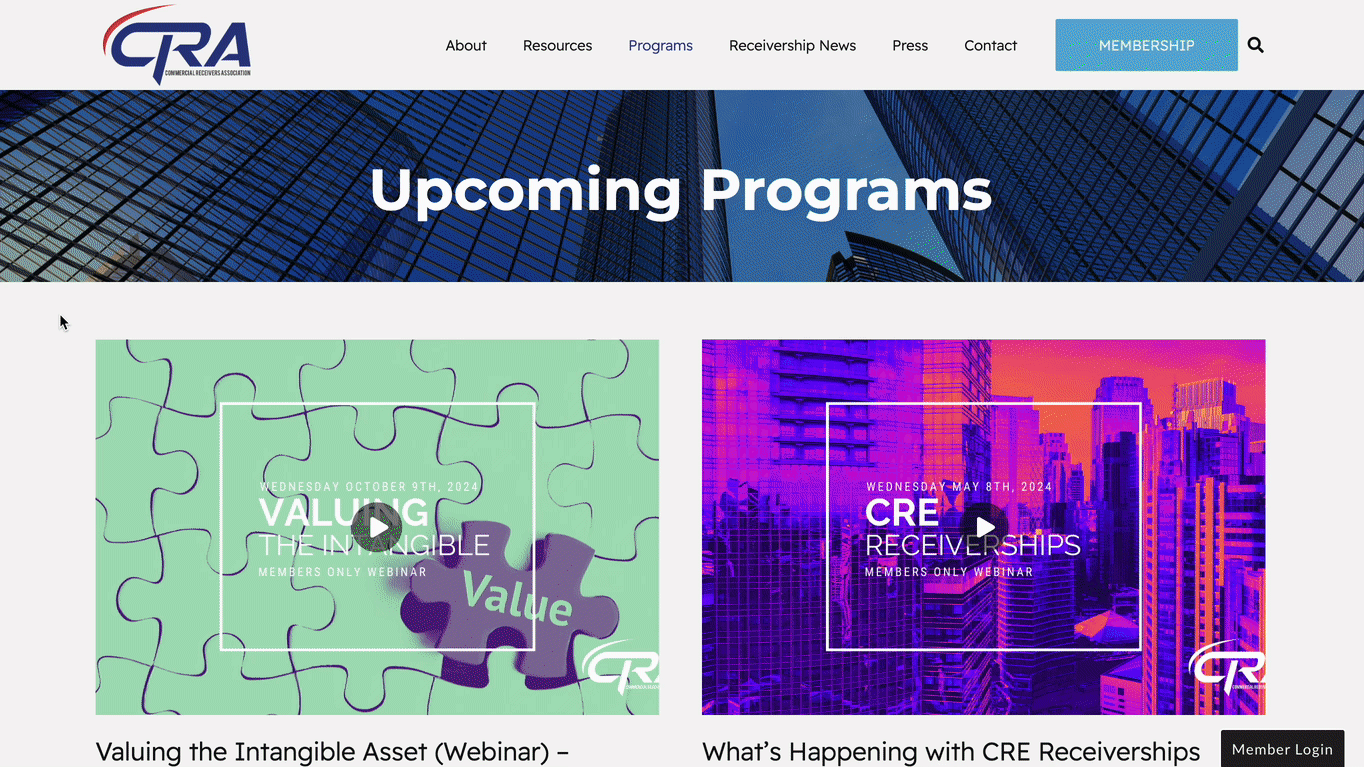
 Receivership is when a court appoints a third party, known as a receiver, to manage a financially troubled company. The receiver oversees the company’s assets and operations, typically aiming to pay off debts either by restructuring the company or liquidating its assets.

 Membership Tip