Haiden Hibbert
You’ve built your Squarespace website to grow your business, but now you want to sell access to an event—whether it’s a virtual workshop or an in-person class. The question is, how do you set up events on Squarespace without a ton of extra work?
The answer: keep it simple. With Squarespace and MemberSpace, you can create a streamlined way to sell tickets, share details, and focus on delivering a great experience. This guide will walk you through the process step by step.
Sell events on Squarespace!
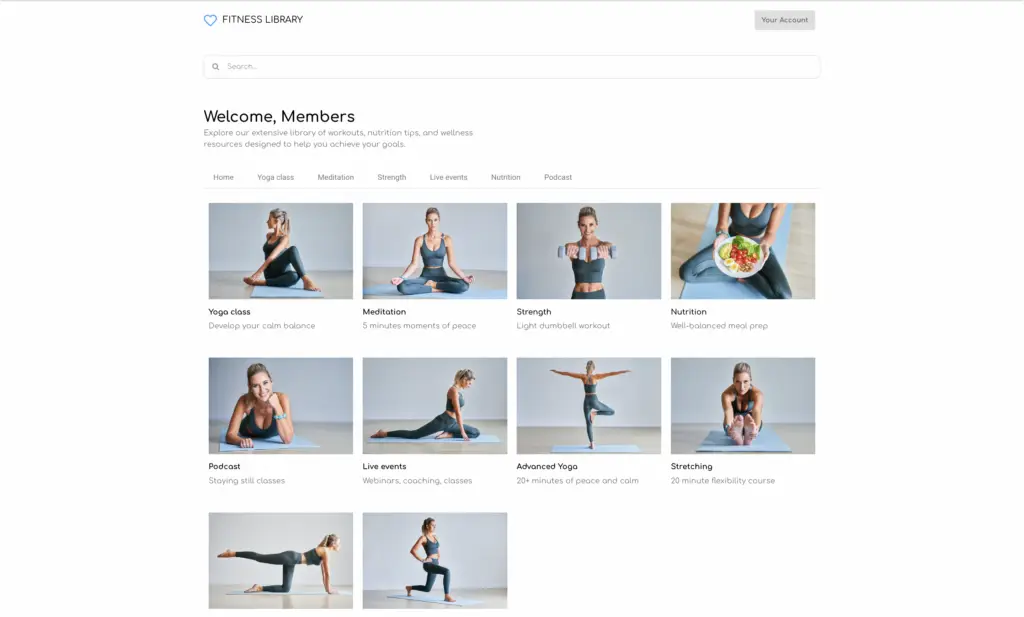
The easiest way to accept event registration payments or one-time charges for digital products like podcasts, online courses, communities, content libraries, and more — all from your own website!
Start selling now
Get started for free! 5 minutes to set up.
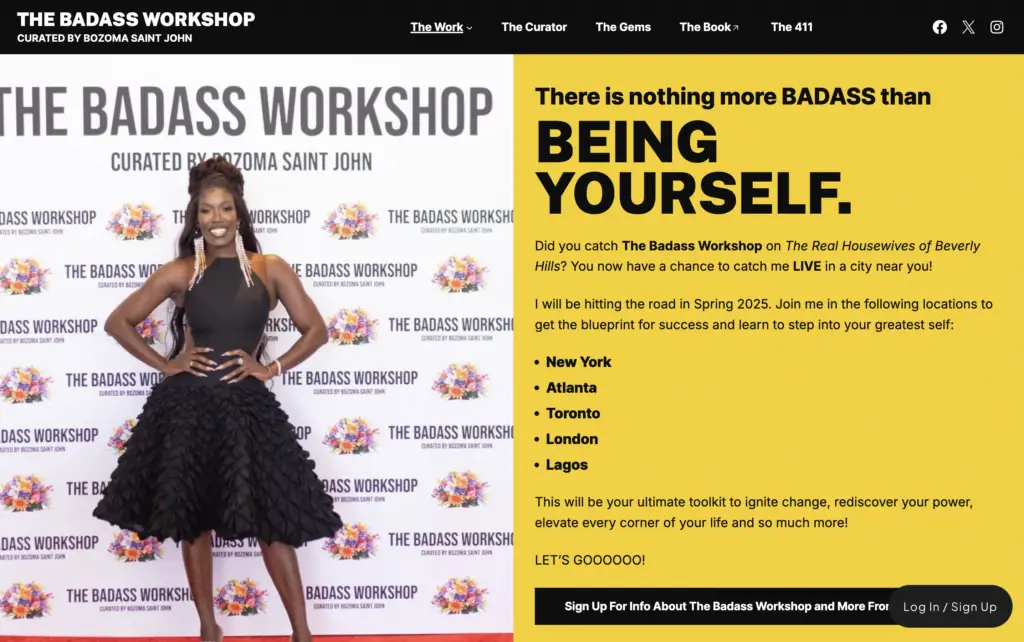
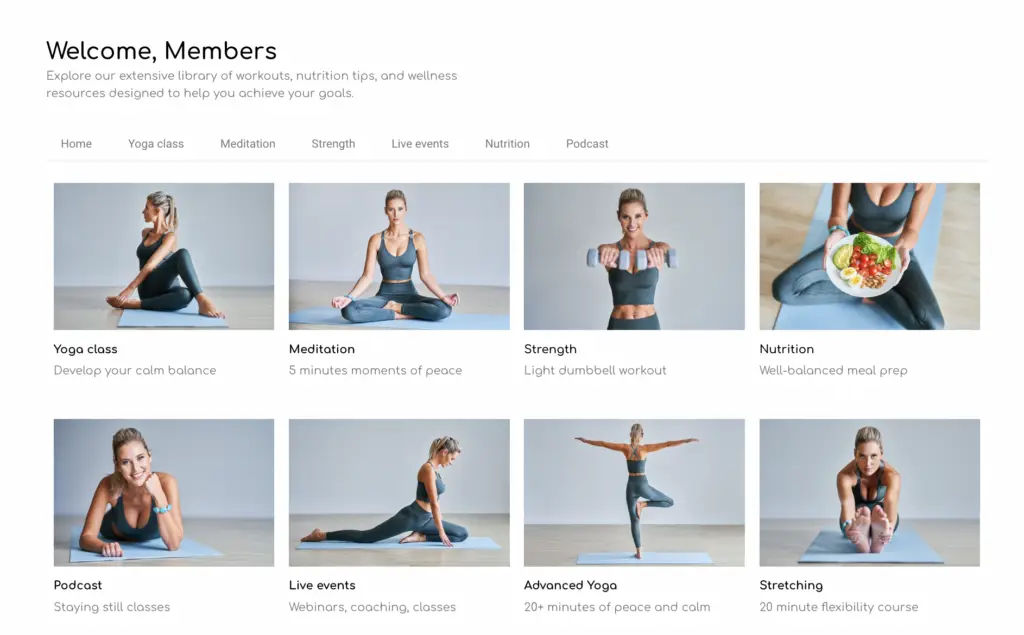
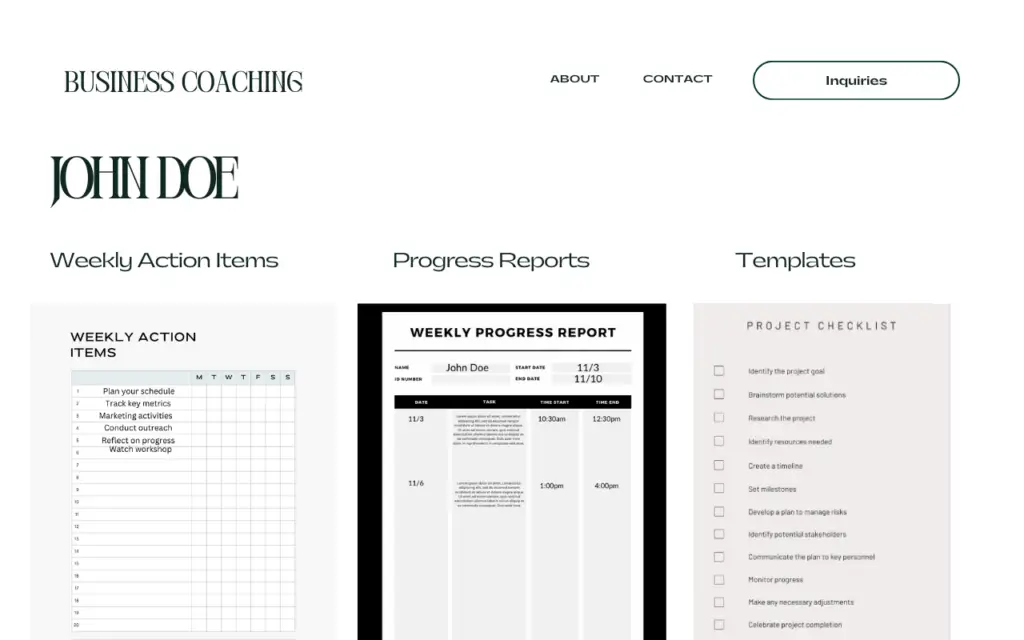
Step 1: Build Your Public Event Page
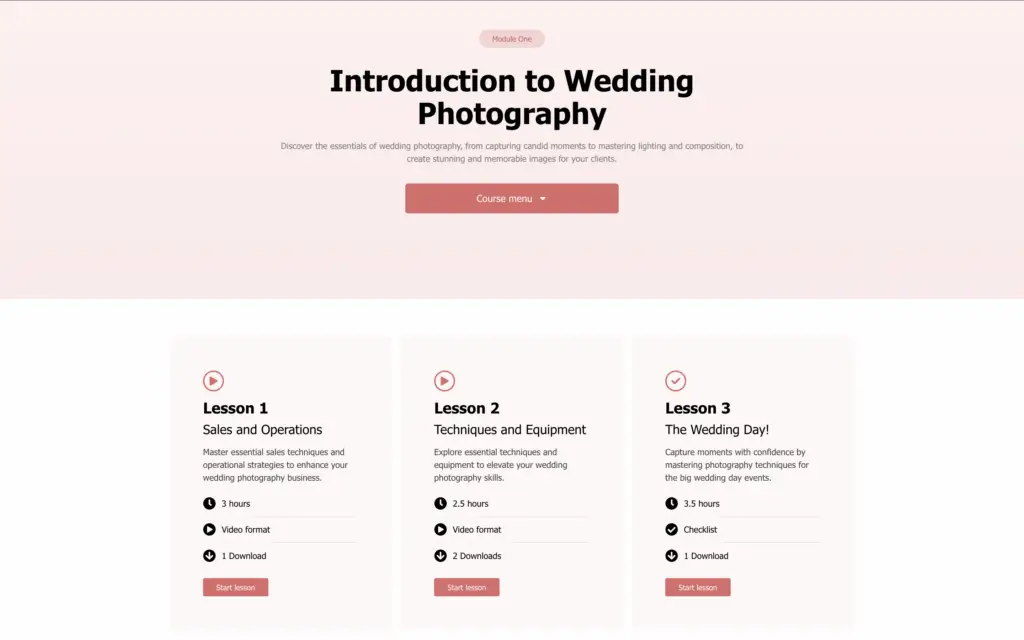
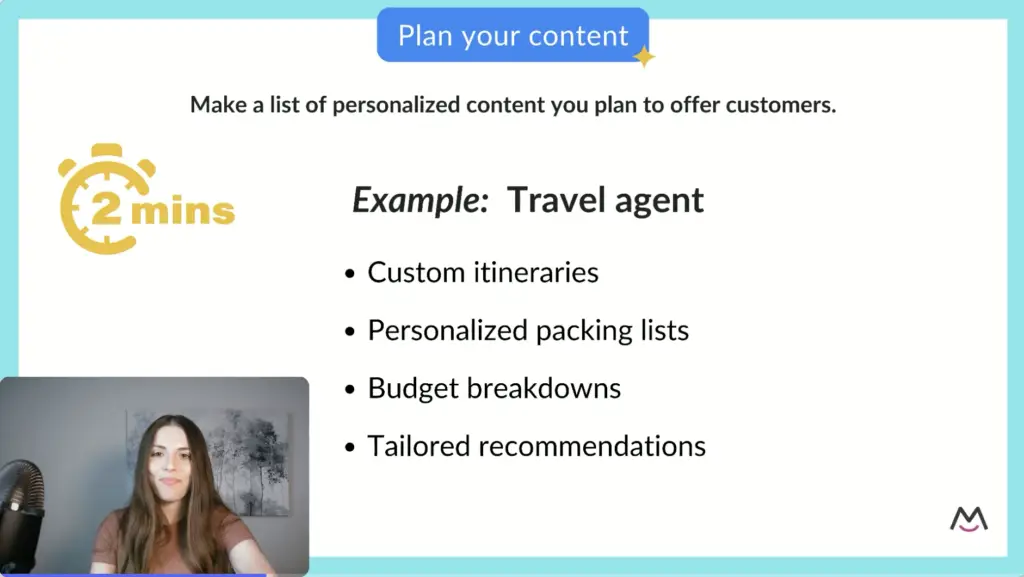
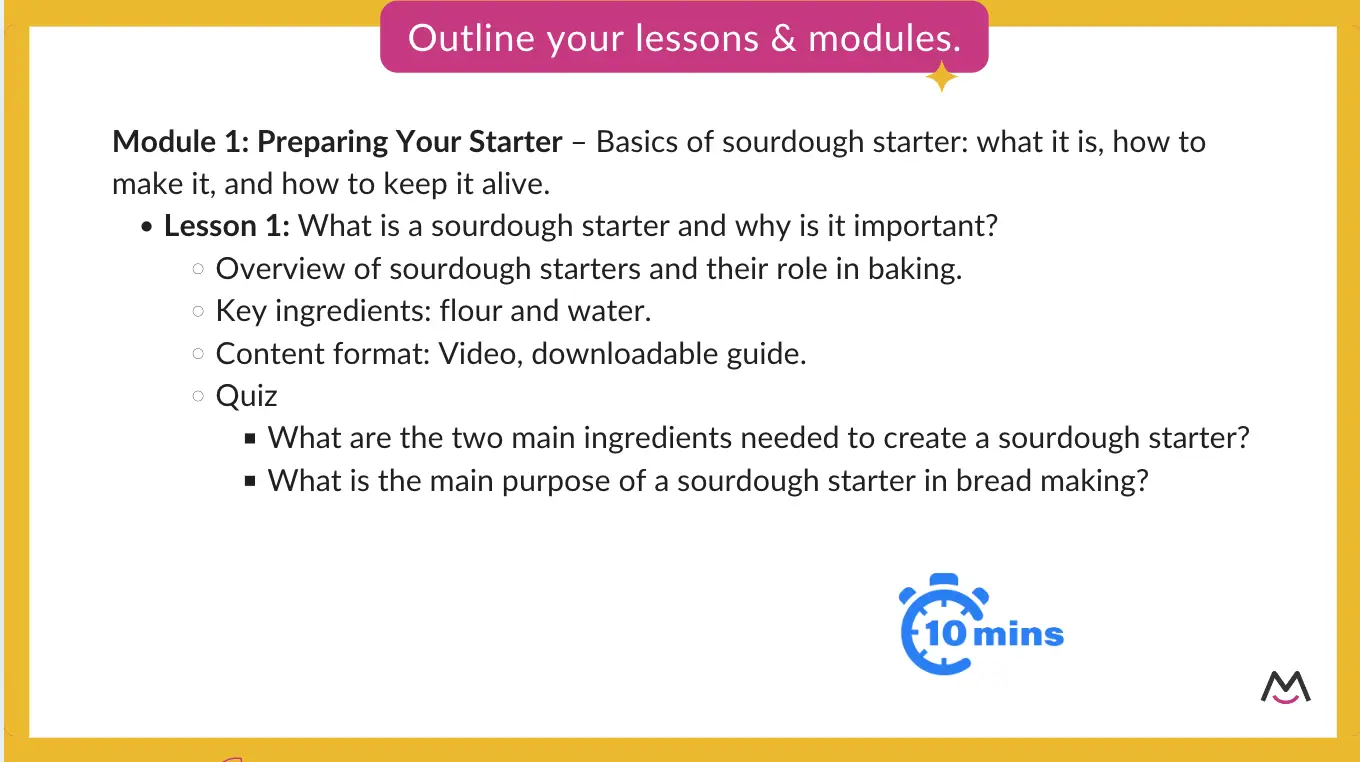
Think of this page as your pitch. It’s the first thing potential attendees see, so make it count! This is where you’ll answer the big questions:
- What’s in it for them? Focus on the transformation or outcome your event delivers. Will they leave inspired, skilled, or with fresh ideas?
- The must-know details: Include the date, time, location (for in-person events), or platform (for virtual ones).
- The price tag: Are there multiple ticket options, like general admission and VIP? List them here.
- How to sign up: Add a bold button with a clear call-to-action, like “Save My Spot” or “Register Now”. (Don’t worry, we’ll link this to your registration form in a minute!)
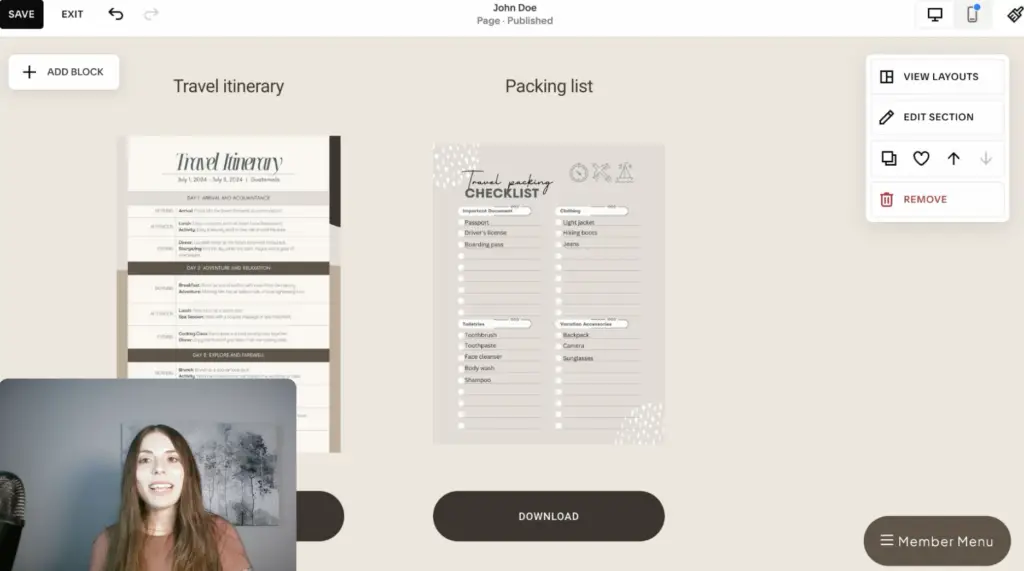
Step 2: Create a Private Event Page
Once someone signs up for your event, they’ll need a place to access all the essential info, like the Zoom link and password for virtual events or venue address and parking instructions for in-person gatherings.
Create a simple page on your Squarespace site to house all of these details, and we’ll lock access to it in the next step so only registered attendees can see it.
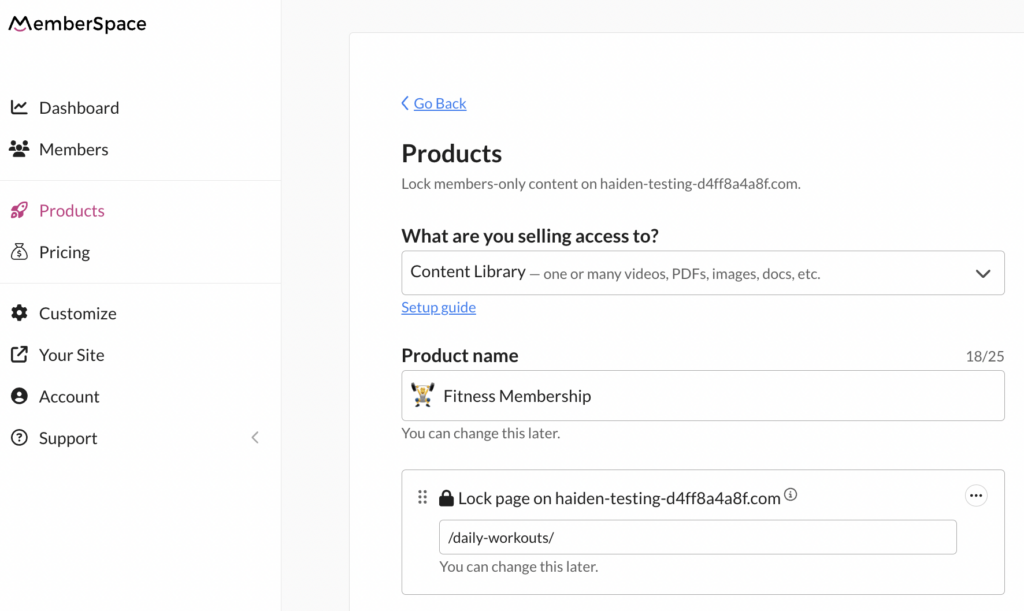
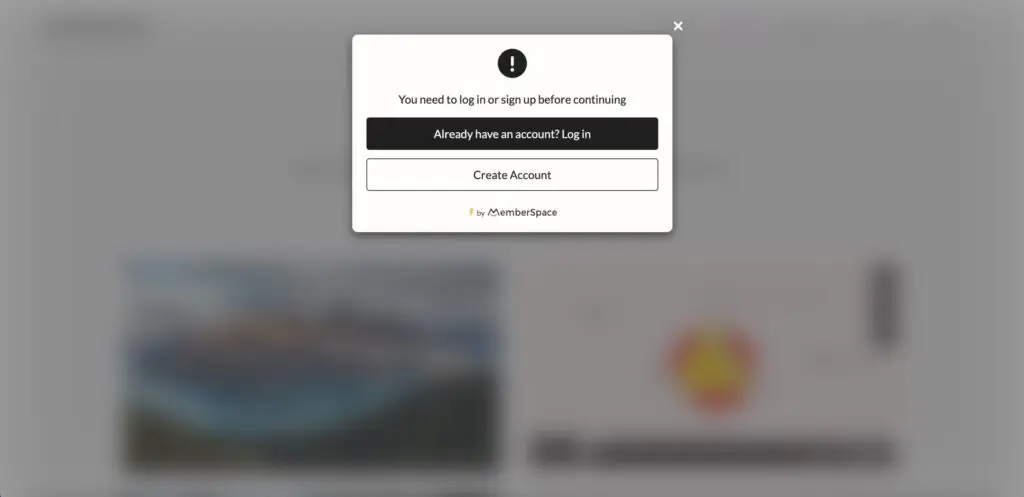
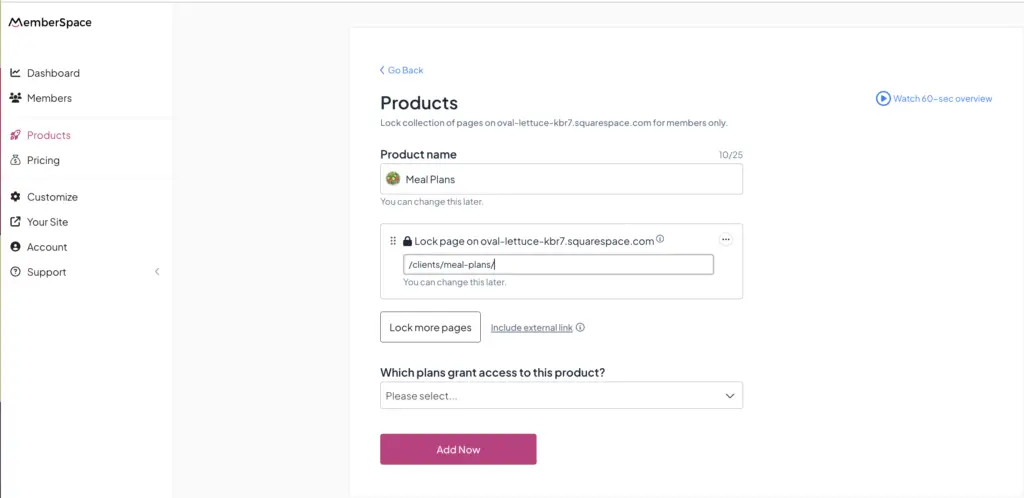
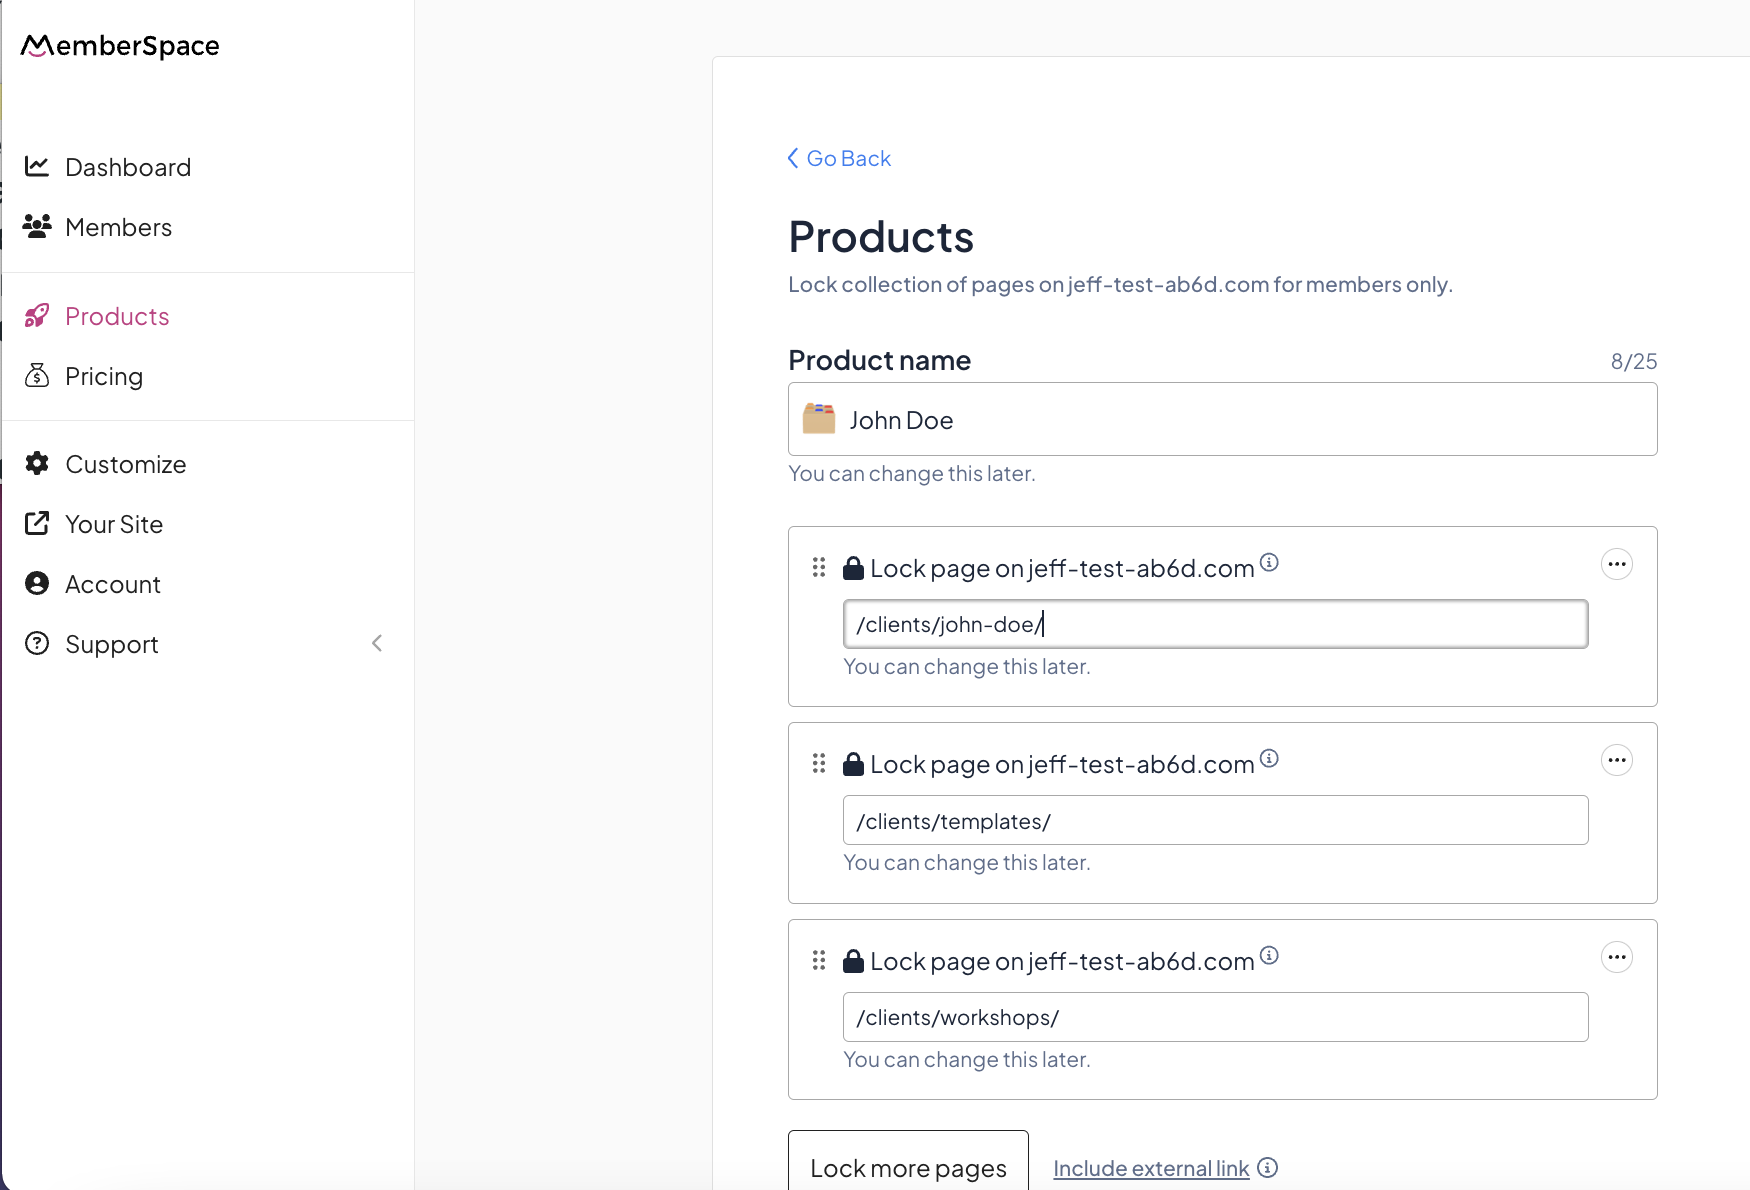
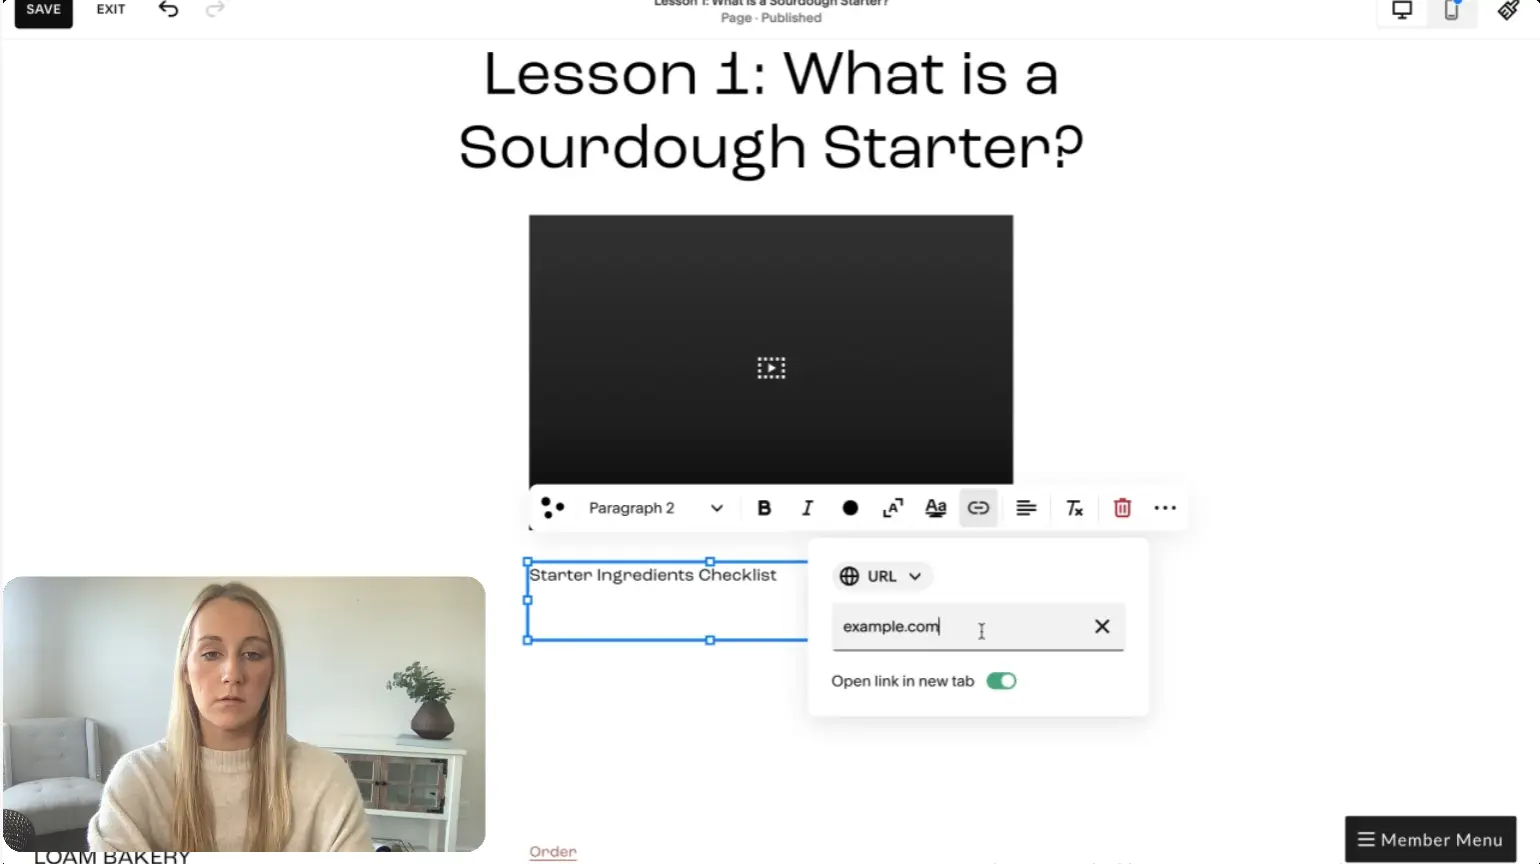
Step 3: Lock Your Private Event Page
To lock access to your private event page, you’ll need to use a tool like MemberSpace. All you have to do is add your private page URL, and a paywall will be added to that page, ensuring your attendees have registered for your event before they get access to the details.
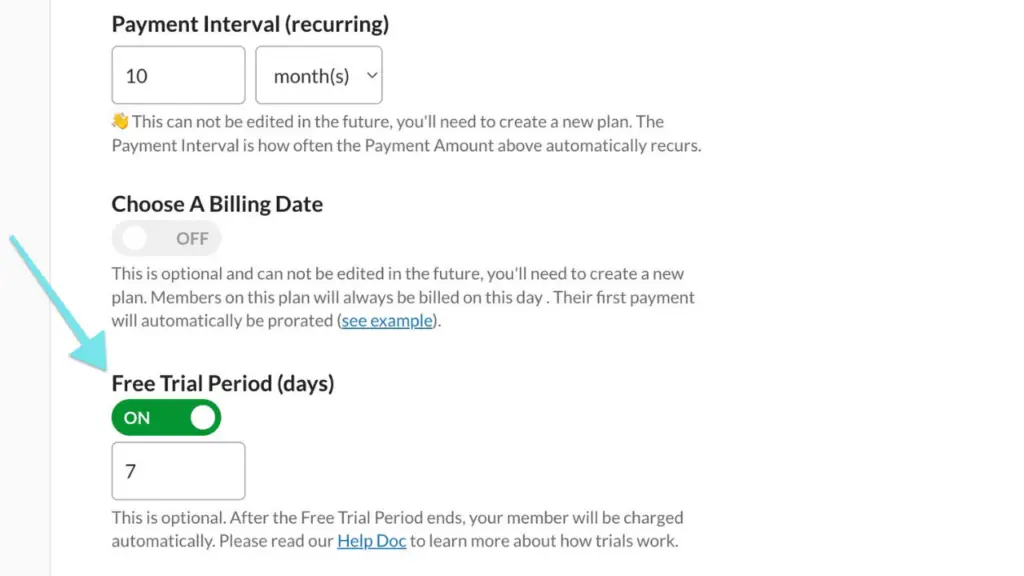
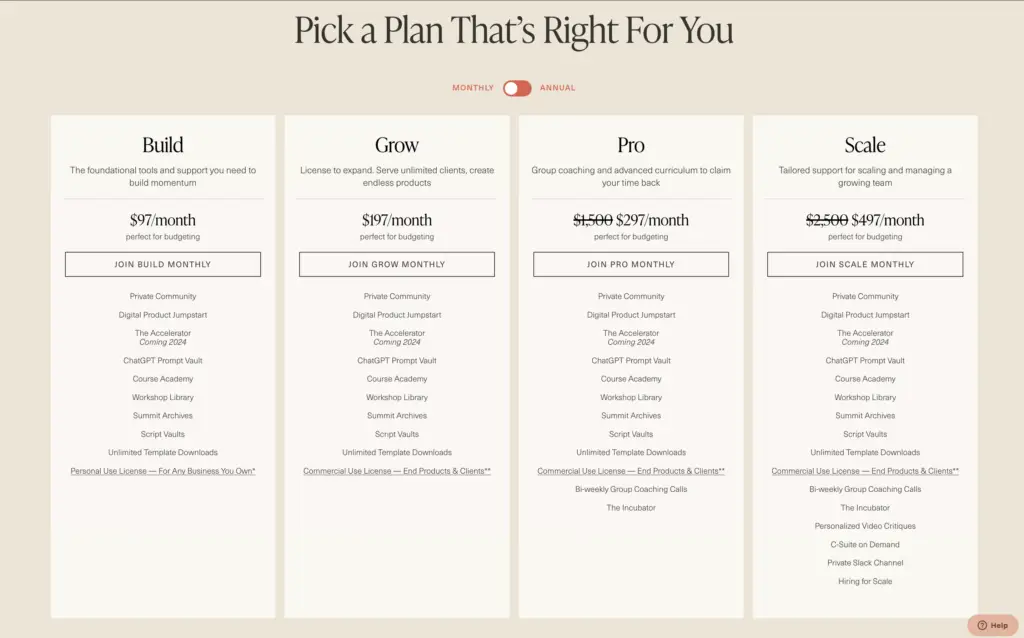
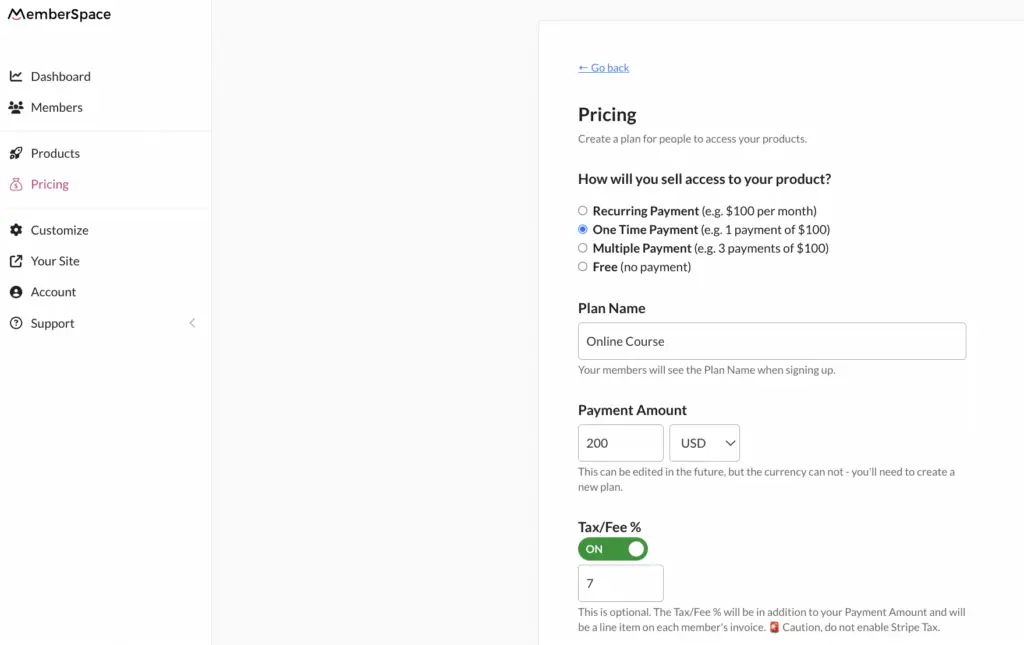
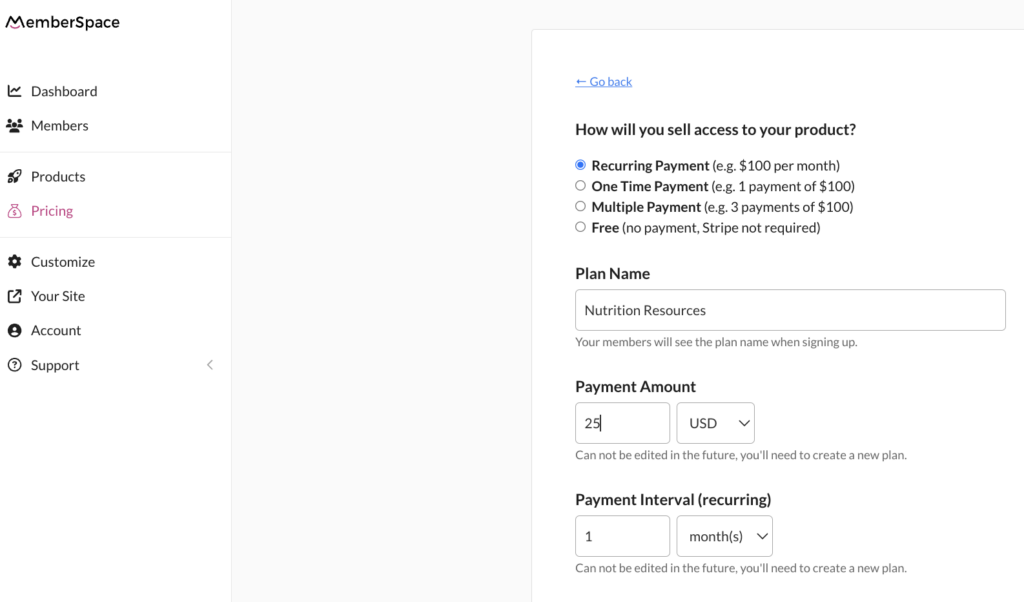
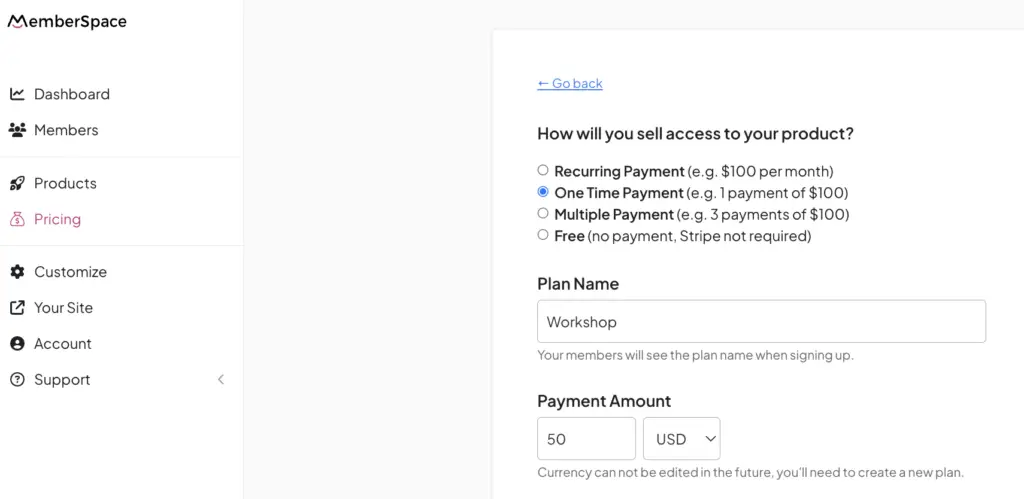
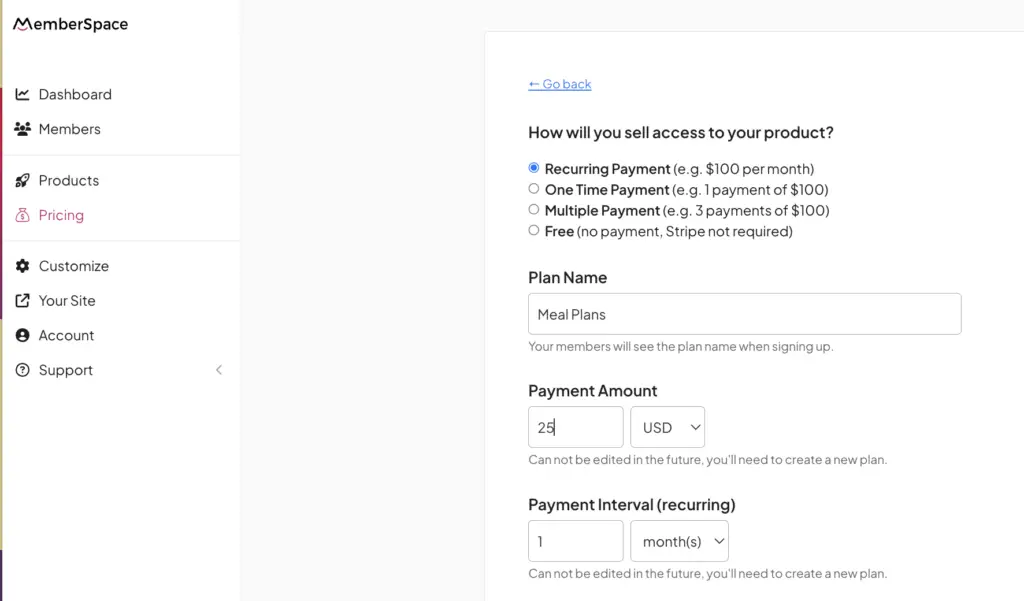
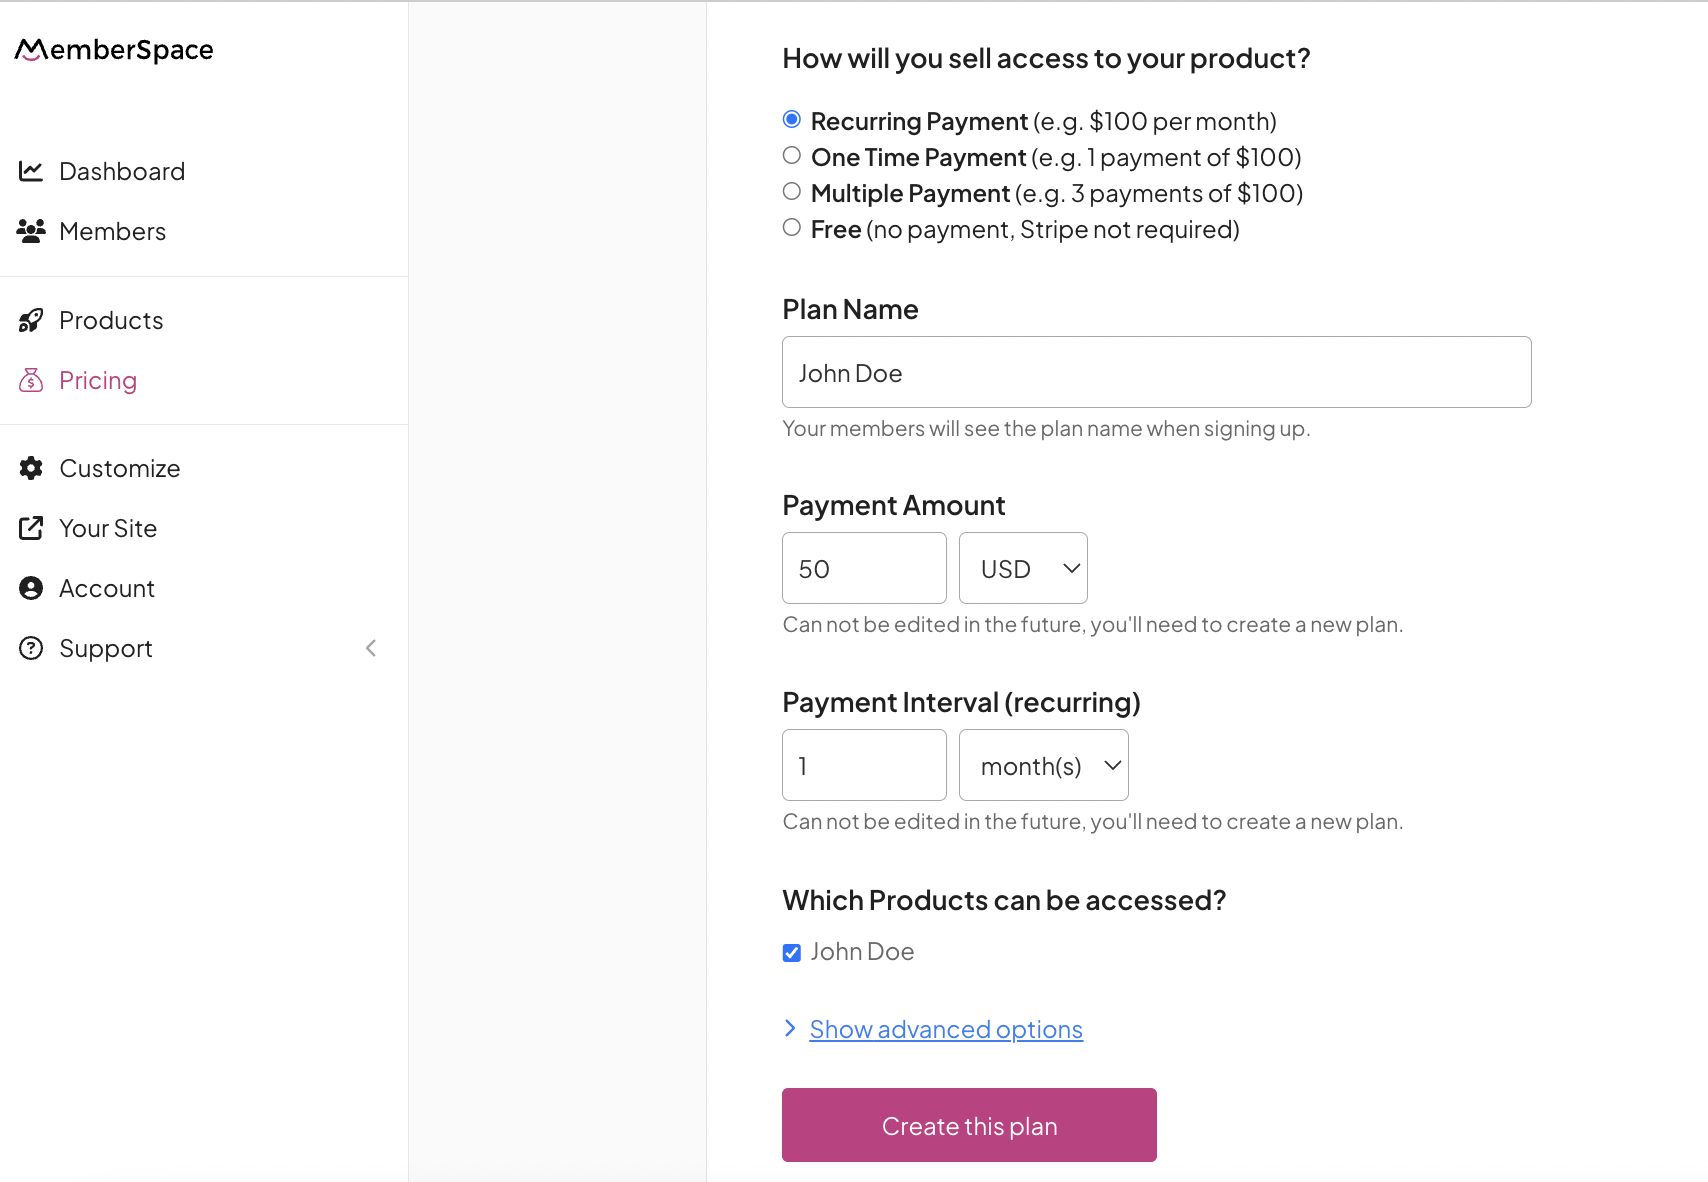
Step 4: Set Up Your Pricing
Now for the fun part: deciding how to charge for your event. MemberSpace gives you options, so you can pick what works best for your attendees:
- One-time payments: Perfect for standalone events like a single workshop.
- Recurring payments: Ideal if the event is part of a membership or series.
- Installments: Great for higher-priced events, like retreats, where attendees can pay in chunks.
- Free events: Want to host a freebie? You can still use MemberSpace to collect attendee info and get people registered.
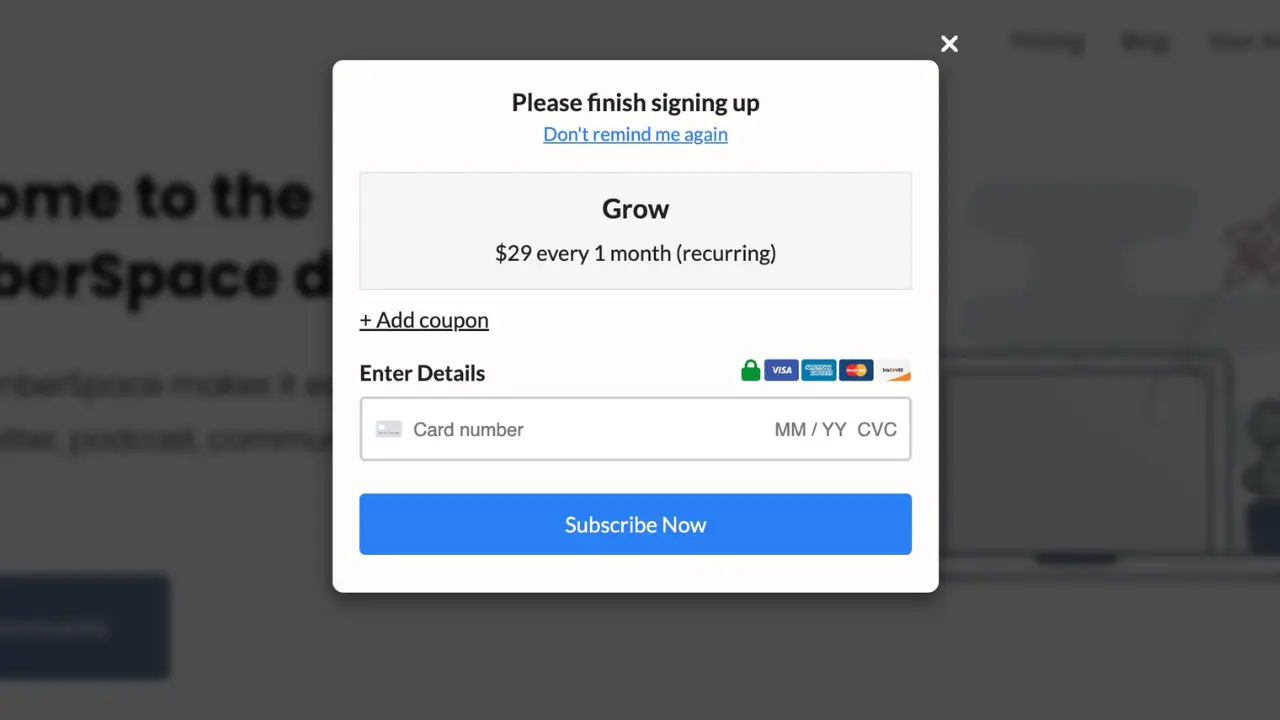
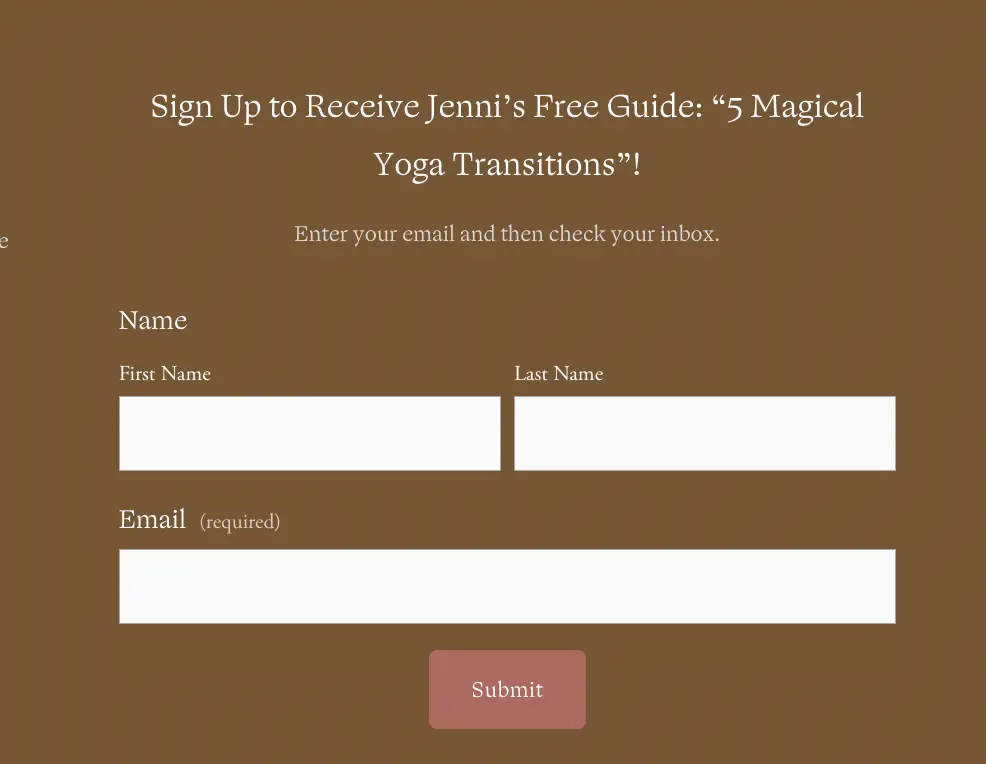
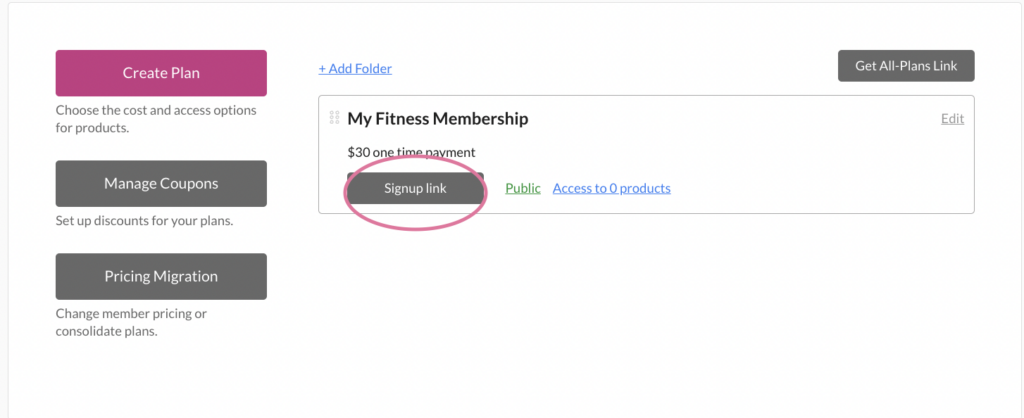
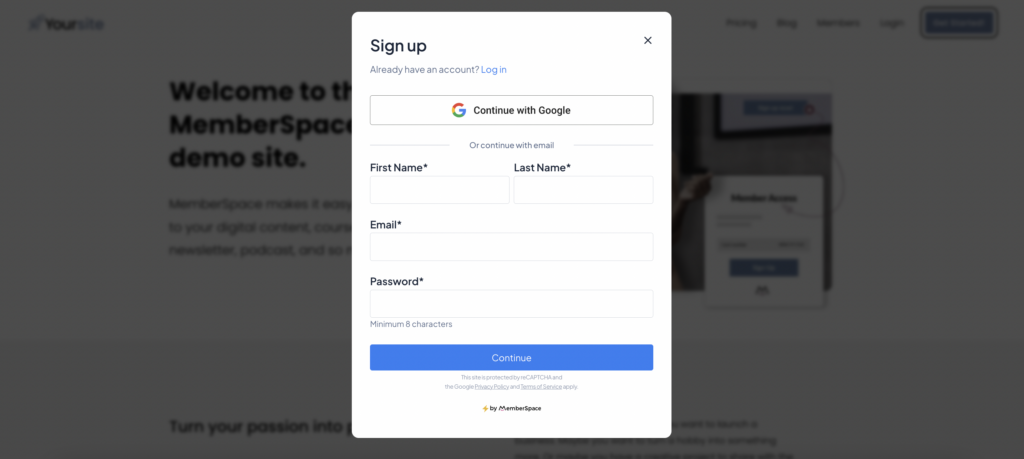
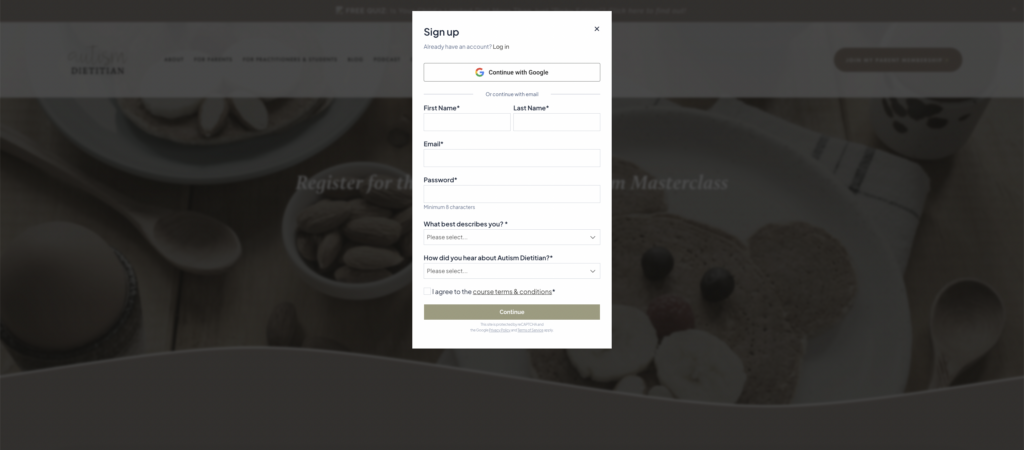
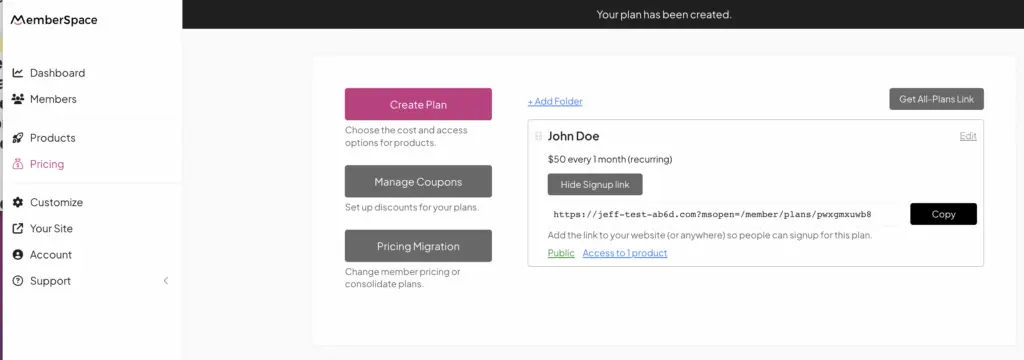
Once your pricing is set, grab your signup link from MemberSpace and drop it into the call-to-action button on your public event page. When someone clicks the link, they’ll be prompted to fill out a signup and payment form, granting them access to your private event page.
You can even customize your signup form to match your branding and collect attendee details like dietary preferences (hello, retreat planning!) or webinar questions.
 Quick Tip: Offering different ticket options? Use MemberSpace to create multiple pricing tiers. You could have a VIP ticket that includes perks like a private Q&A session, access to an online course, or exclusive breakout groups.
Step 5: Maximize Your Event’s Potential
When you’re selling event access, the right tools can make all the difference. MemberSpace doesn’t just help you sell tickets on Squarespace—it gives you more features to maximize your event’s impact and make the entire process smoother for you and your attendees.
Here’s how you can make the most of your event with MemberSpace:
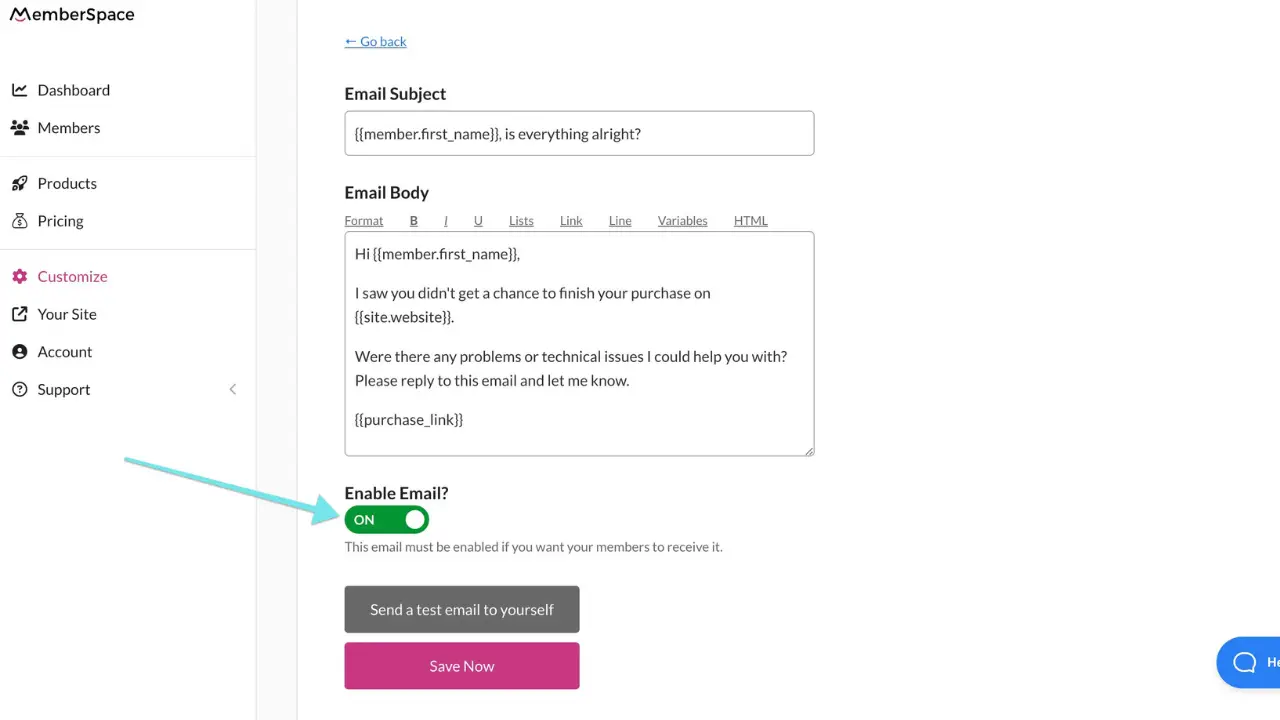
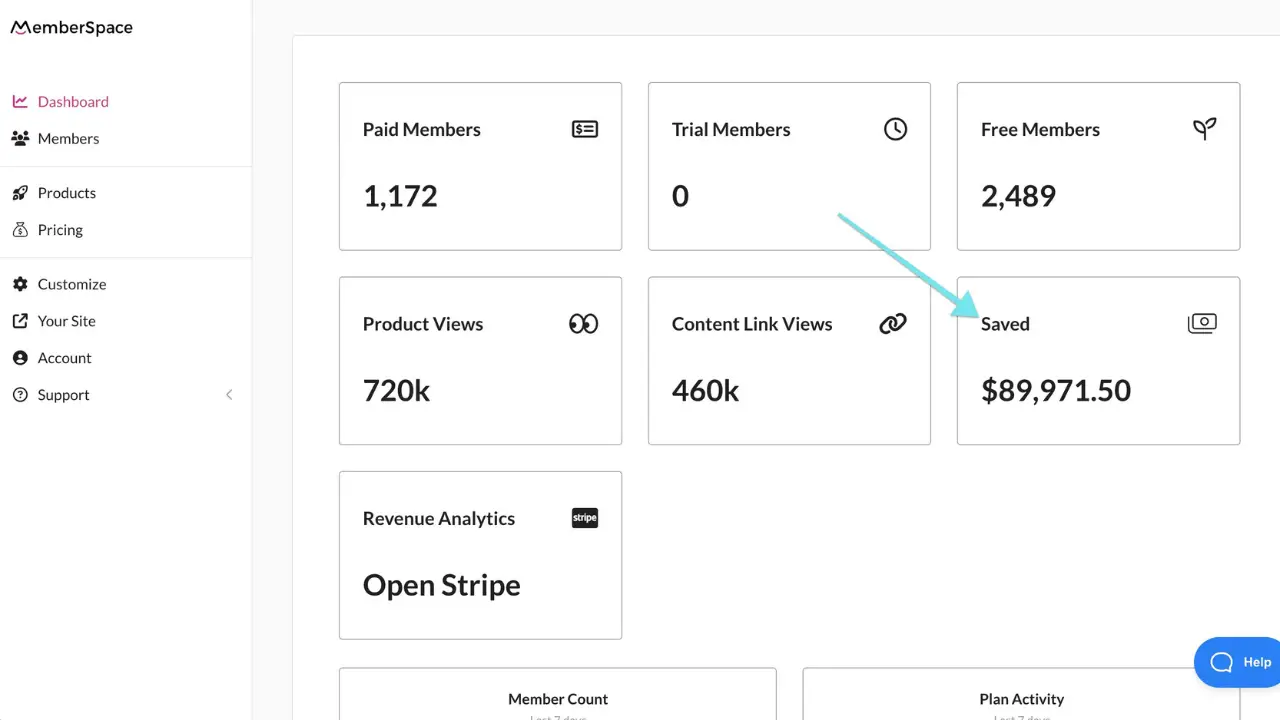
- Abandoned signup reminders: Recover lost sales by automatically following up with people via email who started signing up but didn’t finish.
- Custom email notifications: Welcome attendees, share event details, or build excitement with countdowns. You can even use these emails to upsell VIP options or future events.
- Flexible ticket options: Create multiple pricing tiers like general admission, VIP packages, or early bird specials to appeal to different audiences.
- Upsell opportunities: Use your event page to promote your other digital products, like a related course, exclusive content, or your next event.
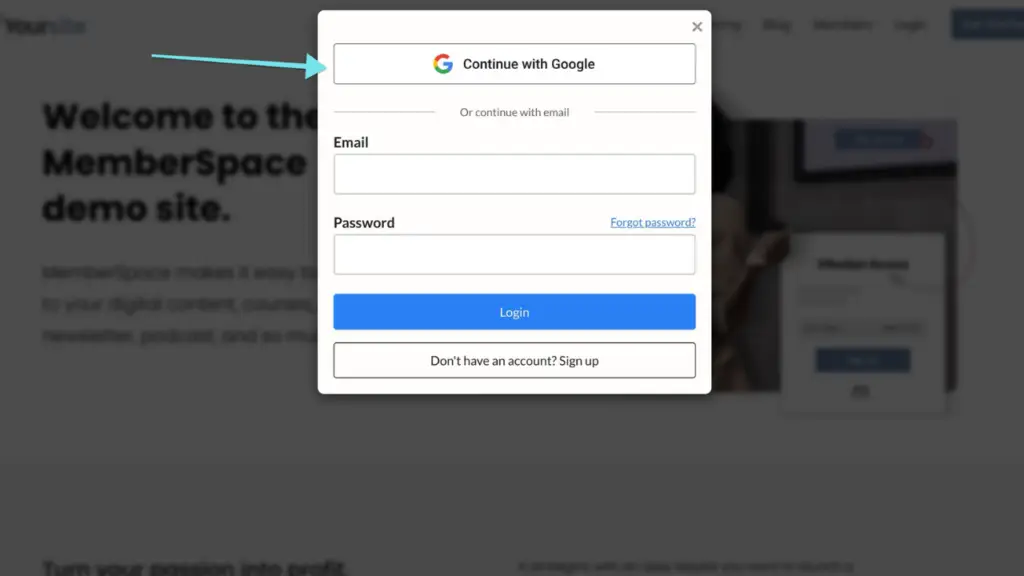
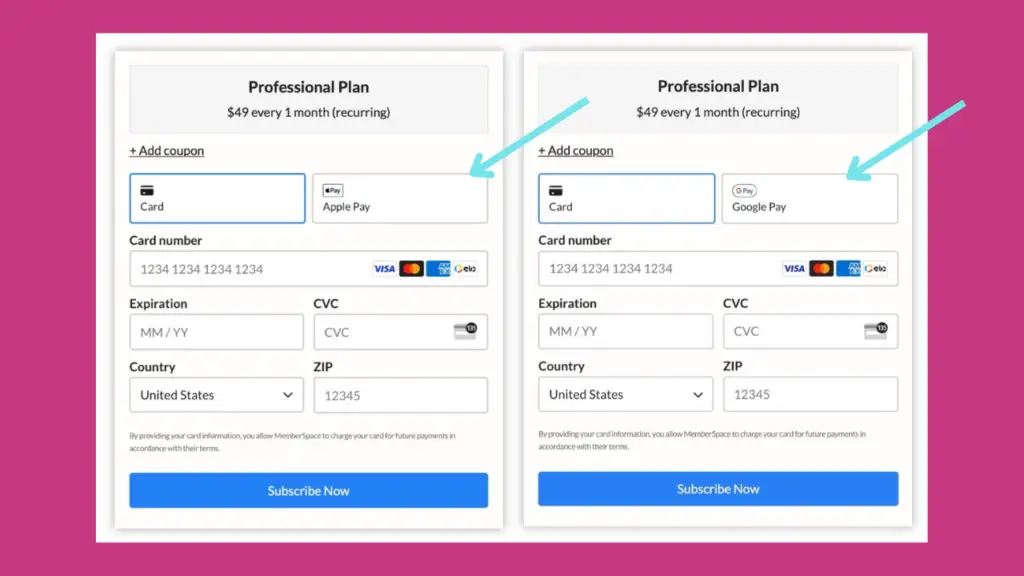
- Streamlined payments: Let attendees pay with one click using Google or Apple Pay—no need for them to dig out their wallet.
Many business owners find Squarespace’s native selling features to be limited, but MemberSpace lets you fully customize your event experience. Whether you’re sharing event details on a locked page, through an email, or even in a private online group, you have the flexibility to set things up your way.
Final Thoughts
Hosting events is an amazing way to connect with your audience, share your expertise, and grow your business. Whether it’s a virtual workshop, a webinar, or an in-person retreat, having a clear process for selling tickets and managing access makes everything so much easier.
With Squarespace and MemberSpace, you have the flexibility to customize your setup to fit your event’s needs. From handling payments to sharing details securely, you’re in control of the experience from start to finish. This means less stress for you and a polished, seamless experience for your attendees. Let us know if you have any questions, and good luck!
Sell events on Squarespace!
The easiest way to accept event registration payments or one-time charges for digital products like podcasts, online courses, communities, content libraries, and more — all from your own website!
Start selling now
Get started for free! 5 minutes to set up.


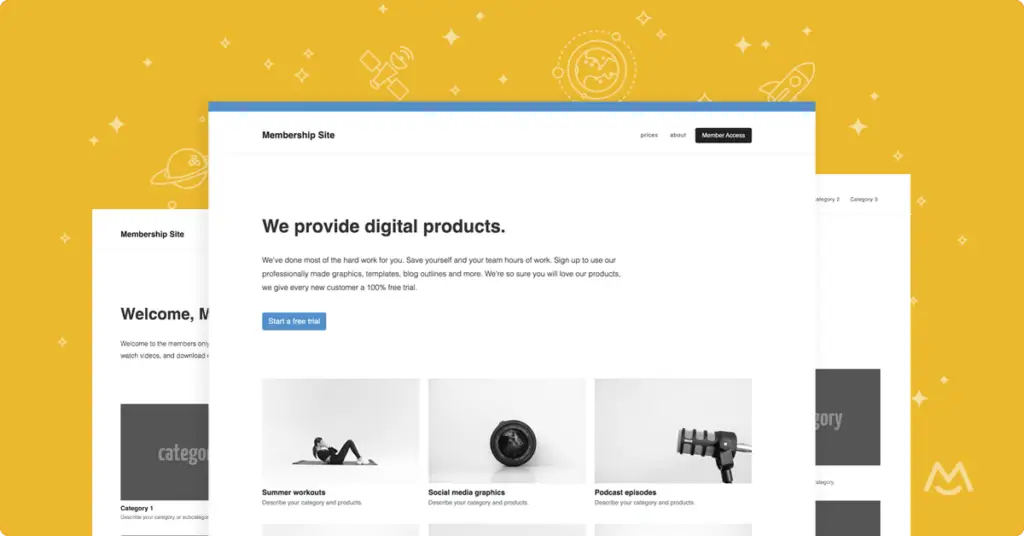
 Want to see it in action? Check out a live membership site example on our Demo or join our free Content Library Workshop!