Our view at Stack - Simplify web development with Webflow, reduce costs, and deliver professional results. No-code, responsive, and SEO-friendly. Explore your creative potential!
Designers typically use the word “fidelity” when they discuss design assets.
This word explains the level of detail and functionality that the design has. This measure captures the level of detail in content, visuals, and interactivity. Low fidelity pulls in key placeholders, while high fidelity mirrors the final design closely. Fidelity can vary in content, visuals, and interactivity. Low fidelity design typically has the basic elements of the final design, while high fidelity looks as close as possible to the final design.
In this article, we explore the difference between low and high fidelity so you can know when to use a low fidelity prototype versus when it’s better to go with a high fidelity one.
What is low fidelity?
“A picture is worth a thousand words” is one of the most famous adages in design. Simply put, it means a single still image can convey incredibly complex or sophisticated ideas. Low fidelity (lo-fi) designs are the initial glance of a future product and help team members evaluate design ideas and concepts. Speed of creation and simplicity of design are two integral properties of low fidelity design.
How low fidelity design looks and works
Low fidelity design assets have only bare minimum visual details that help team members understand the idea. For example, the design for a mobile app screen might look like a combination of text and boxes that give people a better understanding of the structure of the screen, the content, and functionality. User flows help you connect individual screens or steps, ensuring that each action your user takes leads them to the next part of the experience without confusion. Even in low fidelity, mapping out these flows can reveal potential friction points early on.
Low fidelity design can be created both on paper (i.e., paper sketches, paper prototypes) or digitally (i.e., using prototyping tools like Balsamiq, Sketch, or Invision).
When to use low fidelity design
Low fidelity design works best for the early stages of the product design process (during the ideation phases). Team members create low fidelity designs when they have a lot of ideas they want to explore in a short period. Team members can create low fidelity designs in real time during a brainstorming session. For example, they can sketch a particular screen of an app on a piece of paper or a whiteboard.
Low fidelity design is also suitable for testing the information architecture of a future product. Team members can prototype low fidelity user flows and see how a user might navigate within a product or tool. It will give you a clear understanding of whether the navigation scheme the team chooses to use is clear and logical.
How to build a simple low fidelity prototype
Start with basic sketches or wireframes, focusing on structure instead of detailed visuals. Next, outline user flows by labeling essential interactive areas. Finally, gather quick feedback to see if your concept resonates. These simplified steps can help validate core ideas before you invest in high fidelity.
Different approaches to low fidelity
Teams often pick from two main approaches: physical (paper sketches and whiteboard flows) or digital (basic wireframing tools). Physical models offer quick collaboration, while digital wireframes are easier to store and share. Both can be merged based on team preferences.
Wireframing is a straightforward method that strips away visuals, letting you focus on hierarchy and placement. Mockups, though slightly more detailed, still rely on minimal color and typography to highlight functionality.
The benefits and downsides of low fidelity design
Low fidelity design brings a few significant benefits:
- Make it easier to evaluate product concepts: Visual details such as color selection and styles can distract viewers. Since lo-fi designs have the bare minimum when it comes to visual details, they can help direct attention to the core concept.
- Everyone can create low fidelity designs: You don’t have to have any special skills to create a lo-fi design. As long as you have a piece of paper and pen, you can visualize what a future product will look like. This means non-designers can participate in the design process.
- Fast creation process: Lo-fi designs can be created during live brainstorming sessions.
- Easy to tweak: Easy to modify during live sessions, encouraging immediate feedback.
But low fidelity design has also its downsides:
- Not suitable for usability testing: Lo-fi design requires some level of imagination to understand how the future design will look and work. It makes low fidelity prototypes not suitable for usability testing with real or potential users.
- Inability to convey the dynamism of interactions: Since low fidelity design assets don’t feature interactions or animated transitions, they can feel dull.
What is high fidelity?
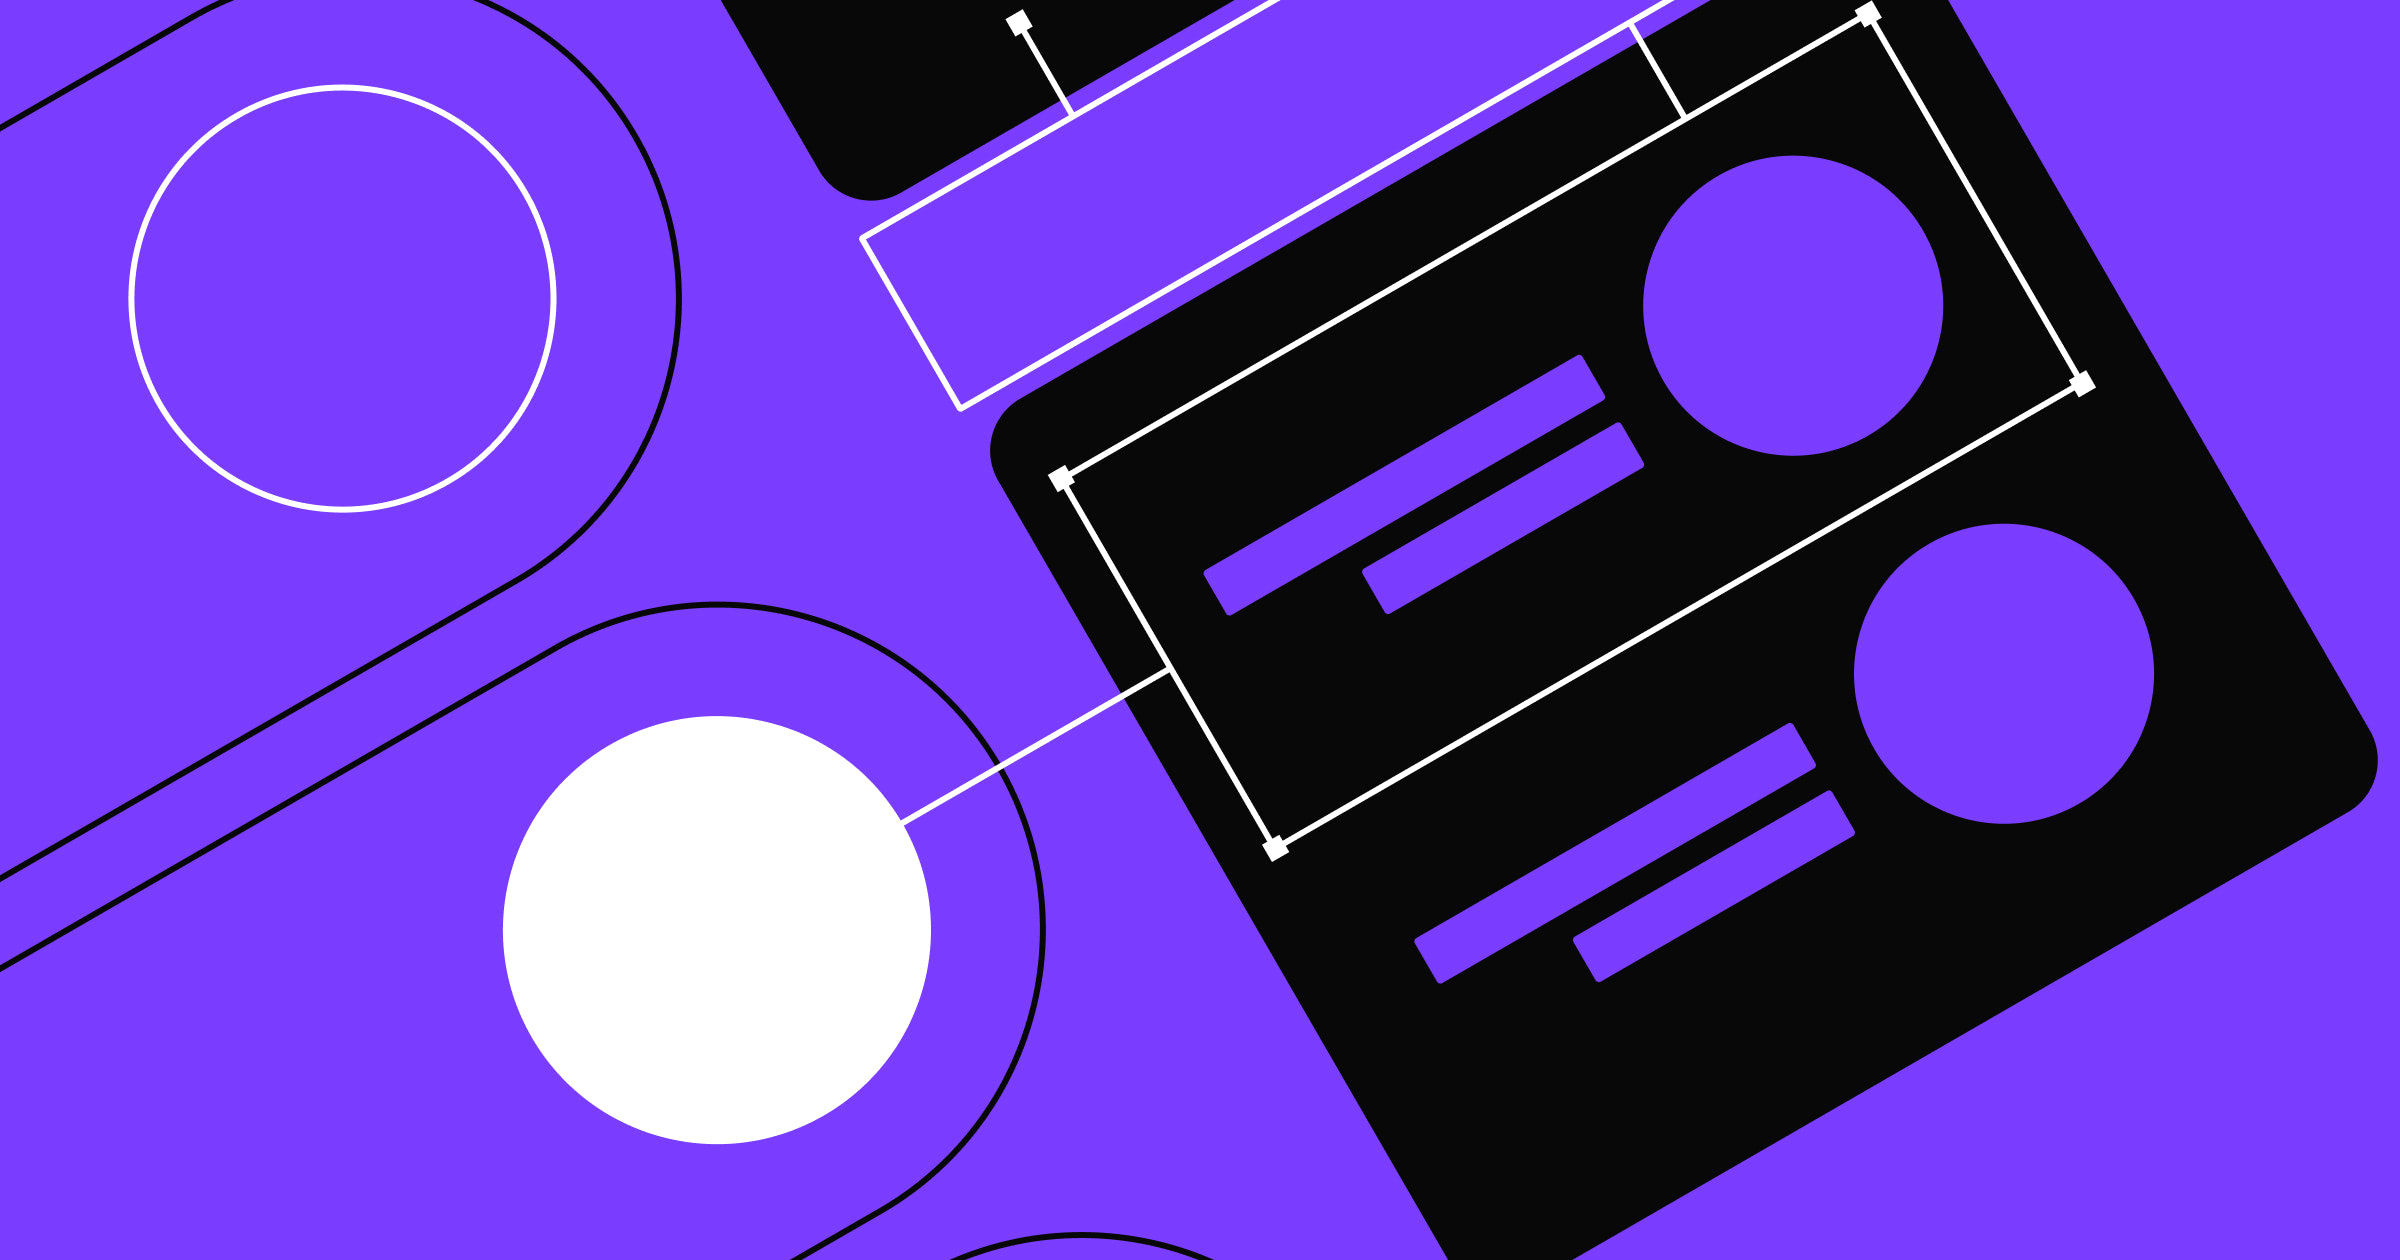
High fidelity (hi-fi) design closely matches the final result of a product’s design. Content, visual styles, and animated transitions — all work together to make high fidelity assets look and work as close to the final product as possible.
How high fidelity design looks and works
High fidelity designs are typically represented by pixel-perfect, production-ready, interactive prototypes. They have almost the same level of visual details as a final product.
Hi-fi design is typically created using digital prototyping or coding tools. For example, if you design a website and want to create a high fidelity prototype, you can use a tool like Webflow.
When to use high fidelity designs
High fidelity designs are typically created during the later stages of the product design process. When a product team clearly understands what they want to build, they increase the level of fidelity to better understand the look and feel of a future product. Hi-fi prototypes become a source of truth for the engineering team that will code the design.
High fidelity design assets are good for evaluating visual design and aesthetics because they provide you with an opportunity to see whether your design works together as a unit.
The benefits and downsides of high fidelity design
High fidelity design have a lot of significant benefits:
- Convey the look and feel of a finished product: It’s possible to evaluate design not only from a functional point of view but also from an aesthetic point of view. This property makes hi-fi artifacts more presentable to stakeholders, who will clearly know how a finished product will look and therefore be more likely to give it the green light.
- The ability to test animated transitions: Hi-fi assets help team members test the motion language of a product (i.e., visual transitions between individual states, micro animations, etc.).
- Suitable for usability testing: Test participants won’t be able to notice any differences between a hi-fi prototype and a finished product. As a result, test participants will behave more naturally when interacting with high fidelity designs, and usability testing results will closely resemble interactions with an actual product.
But high fidelity prototypes also have a few major downsides:
- Time-consuming to create and modify: Compared to low-fidelity designs, high fidelity prototypes take more time to make. Introducing changes to these designs also takes significantly longer.
- Require special skills and tools: High fidelity prototypes are created using prototyping or coding tools. Unlike low fidelity designs that anyone can create, these designs require visual design skills.
Bringing low fidelity to high fidelity in stages
Test each screen with a lightweight prototype first. Once the core structure feels right, you can enhance visuals, add detail, and refine interactions to match final specifications. This incremental process keeps you from overinvesting early or missing feedback opportunities.
Part of the product design process is transforming low fidelity designs to high fidelity ones. The team first needs to understand what they want to build clearly; low fidelity can help with that. As soon as the team understands and has buy-in on the design direction, they can start to increase the level of fidelity. And remember:, it’s not always necessary to design all assets in high fidelity — it’s OK to have low fidelity in some parts of a product and high fidelity in others.
If Webflow is of interest and you'd like more information, please do make contact or take a look in more detail here.
Credit: Original article published here.