At SmartSuite, we are dedicated to innovation that better equips and empowers our customers. Read on to see all the powerful features our product and engineering teams have been diligently working on as well as the upcoming events we have in store!
View Full Release Notes
Product Updates
Two Factor Authentication & IP Address Restrictions
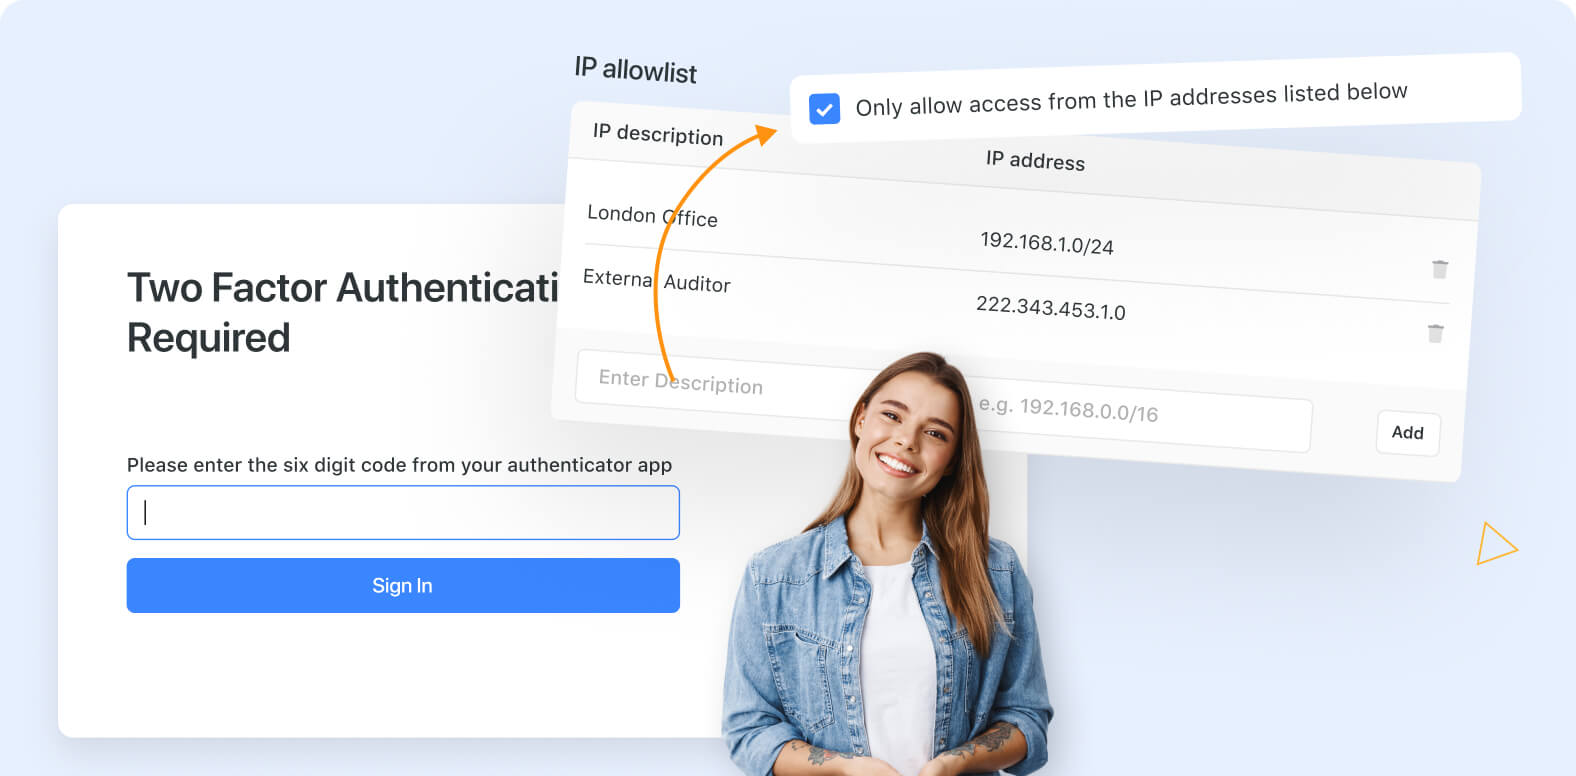
Administrators of Professional and higher SmartSuite plans now have the option to require users to use two-factor authentication when logging in with a username and password.
See feature video
Learn more
SmartSuite now offers an advanced security feature: IP Address Restrictions for your Workspace. With this powerful tool, you can define a whitelist of trusted IP addresses or IP ranges. Only users connecting from these authorized addresses will be granted access to your workspace.
See feature video
Learn more
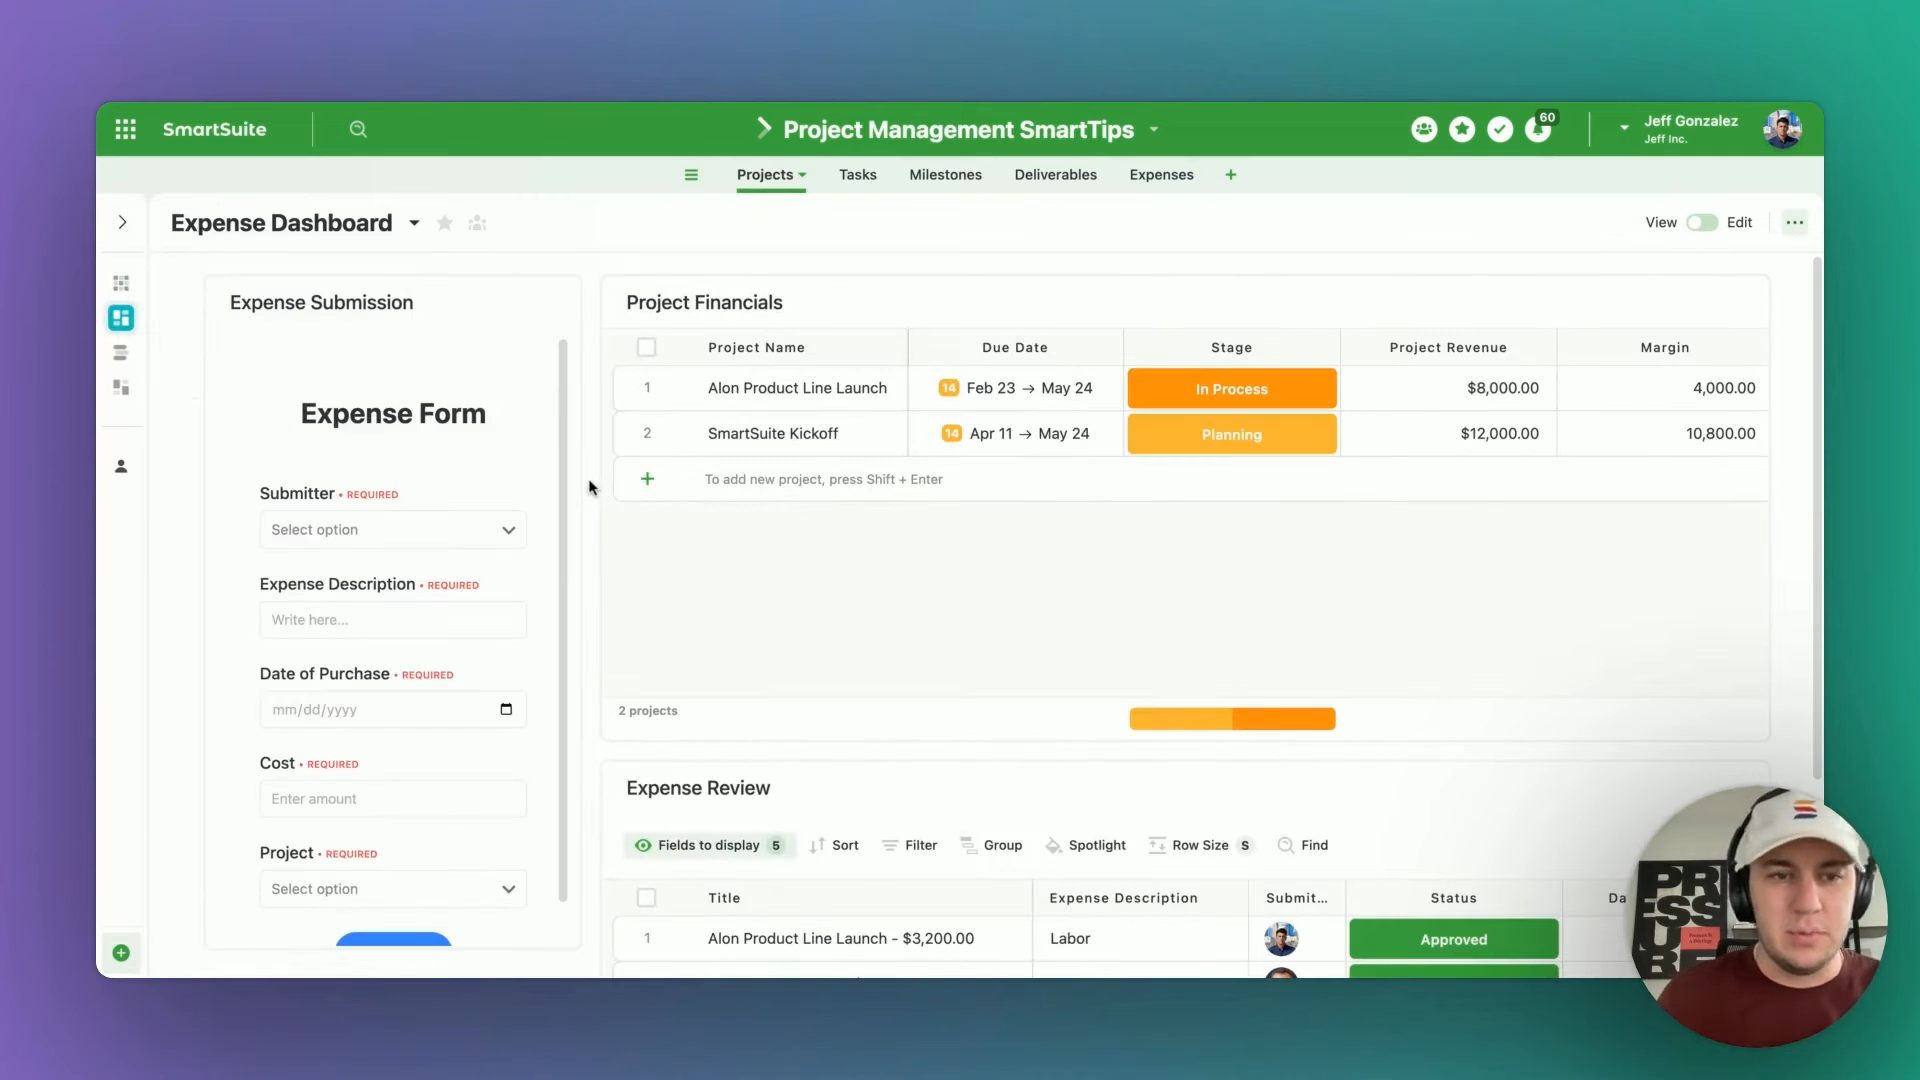
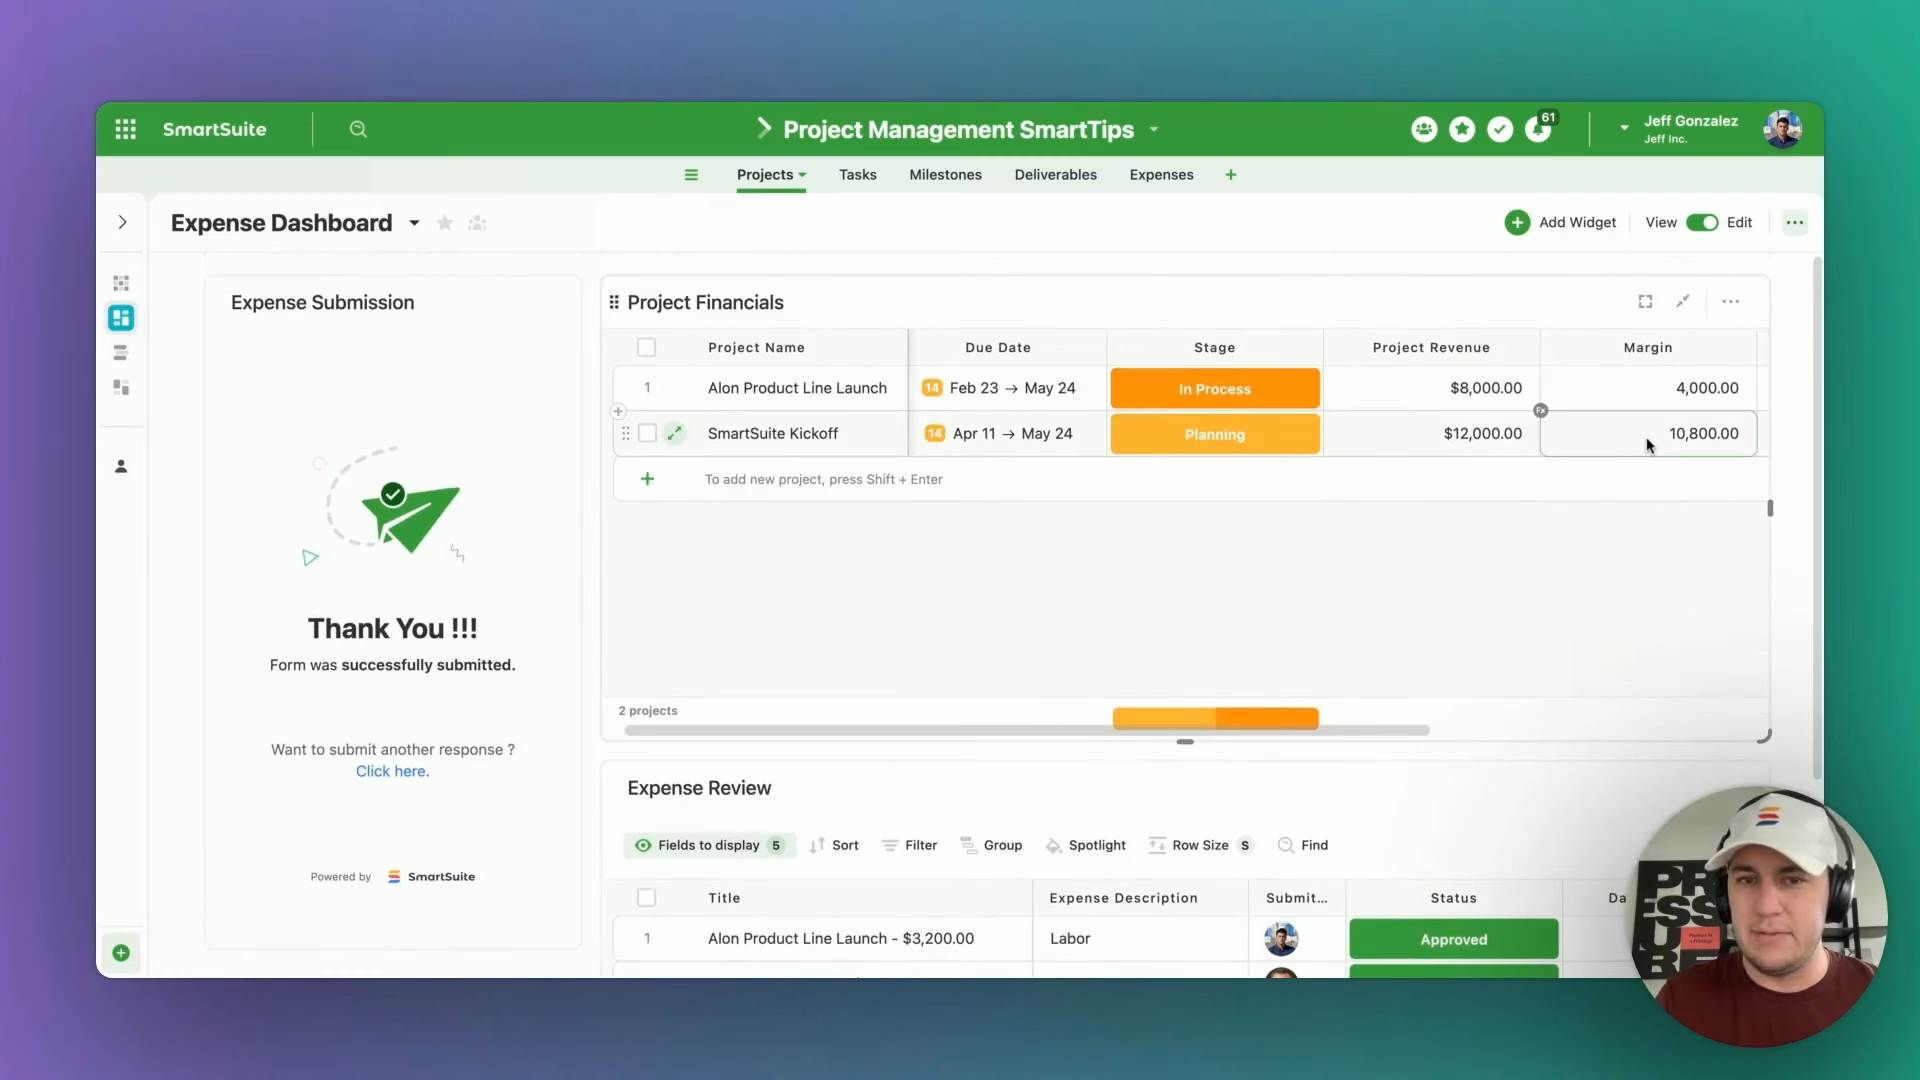
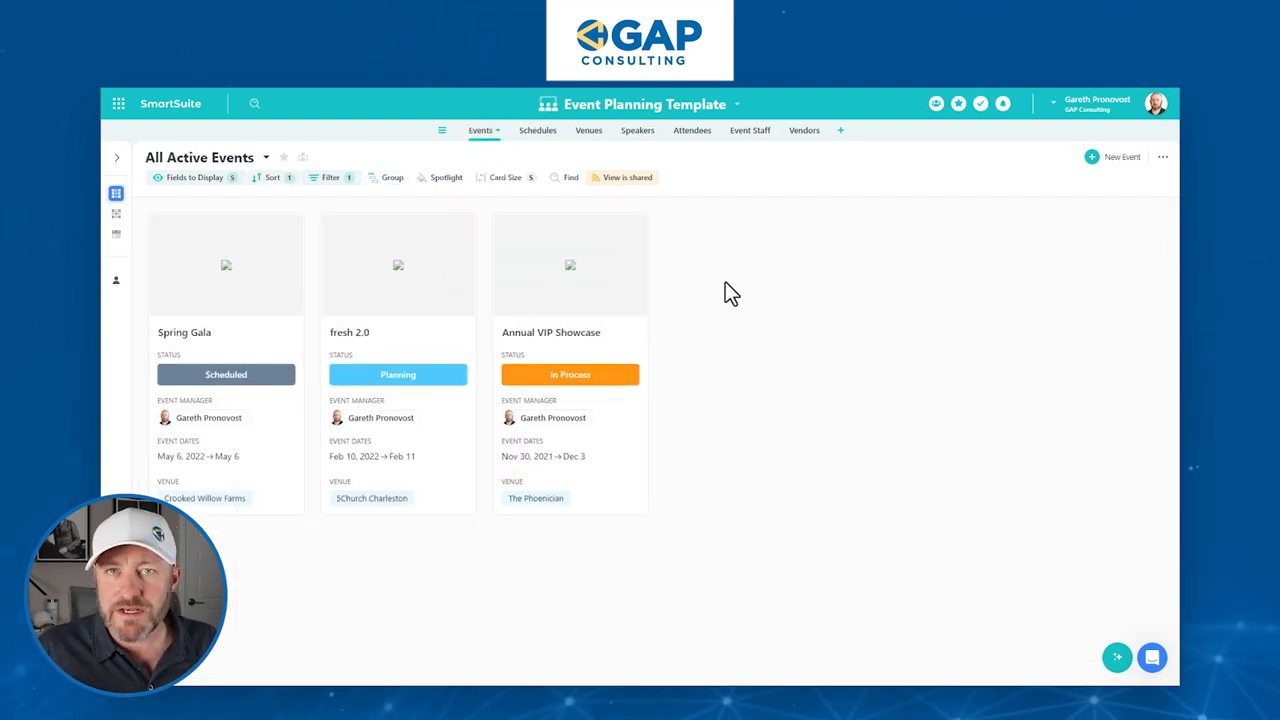
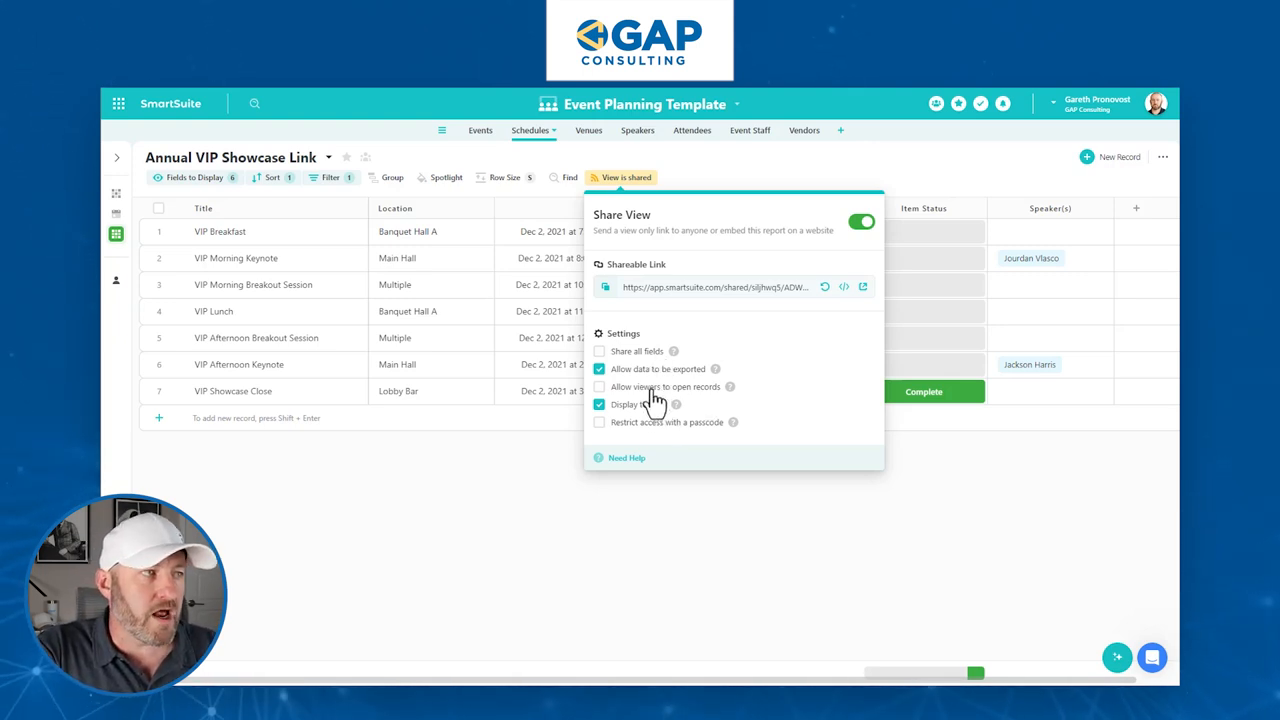
Shared Dashboards
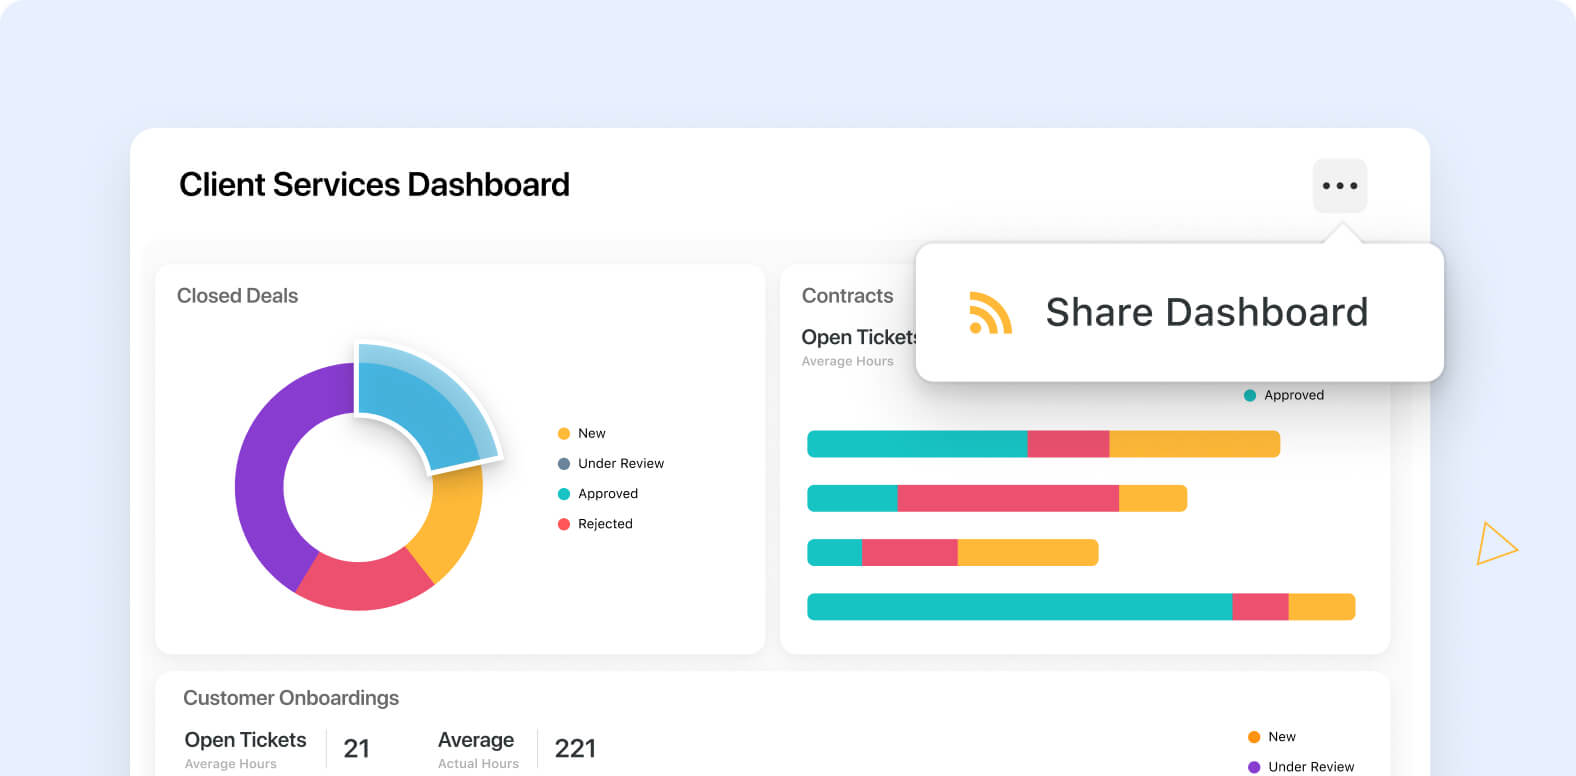
Public Dashboard Sharing allows you to share read-only versions of your dynamic dashboards with a wider audience. Provide real-time data to stakeholders, clients, or team members who are not part of your SmartSuite account.
See feature video
Learn more
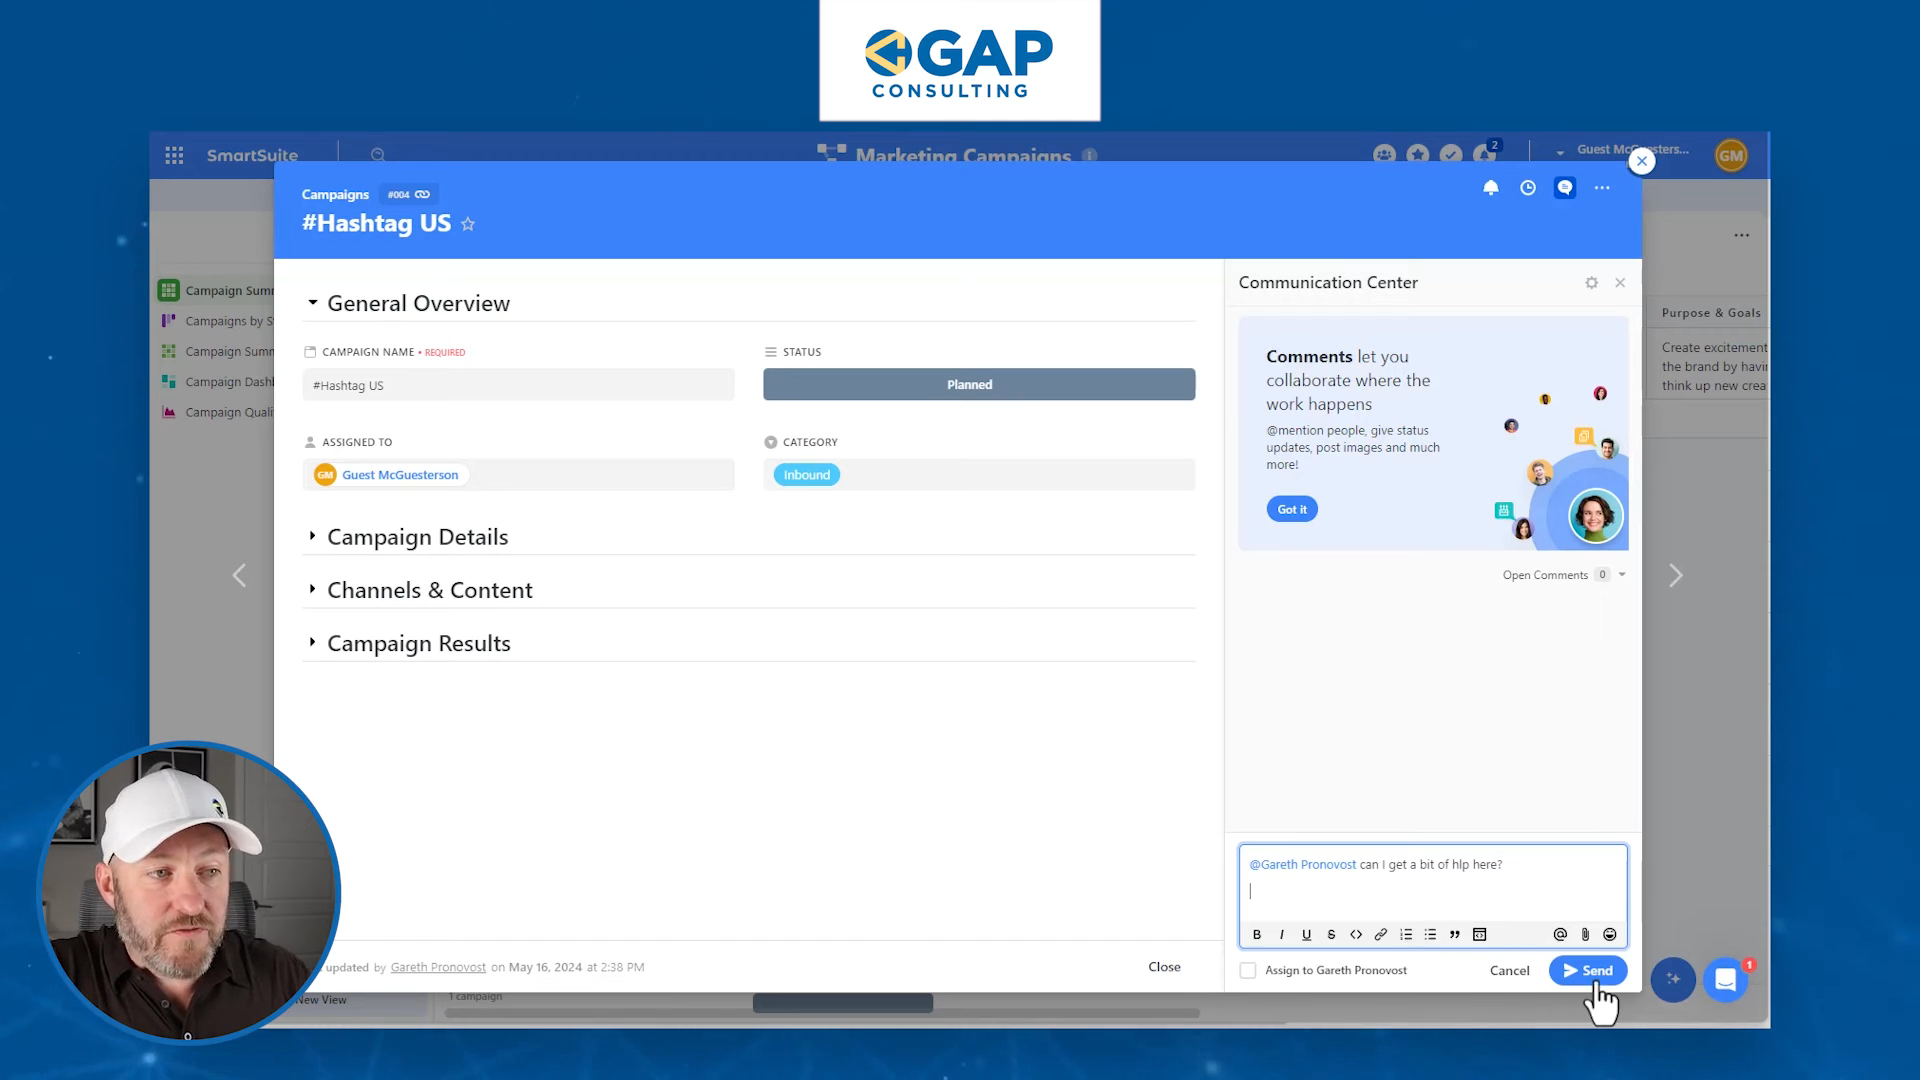
Communication Center: Support Gmail & Outlook for Email Send/Receive
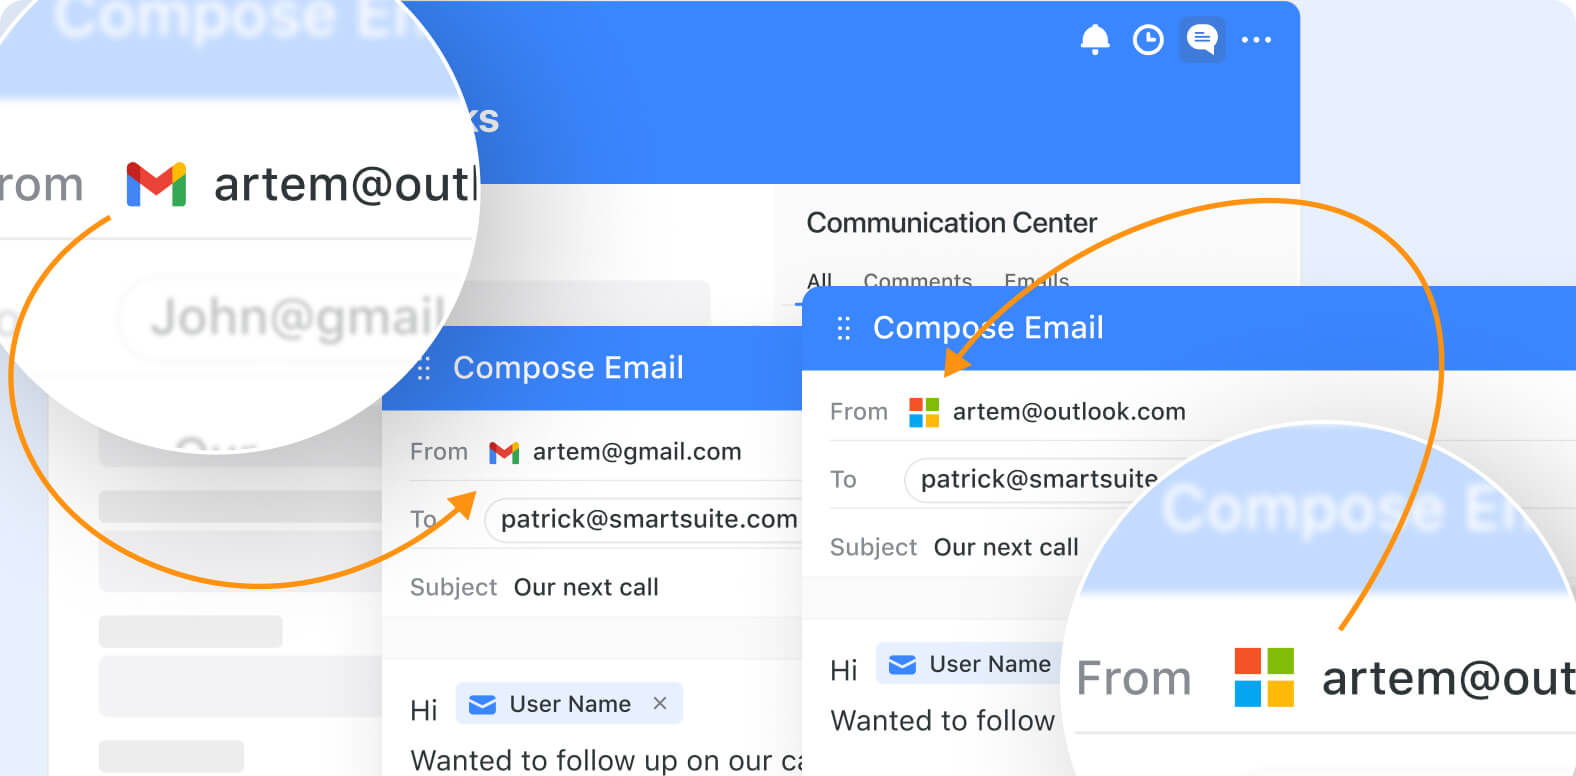
Members of Pro and Enterprise workspaces can now connect their profiles to Gmail or Microsoft accounts in SmartSuite’s Communication Center.
Send personalized emails to external recipients directly within SmartSuite records.
See feature video
Connect Microsoft Outlook
Connect Gmail
Automation Trigger: Outlook
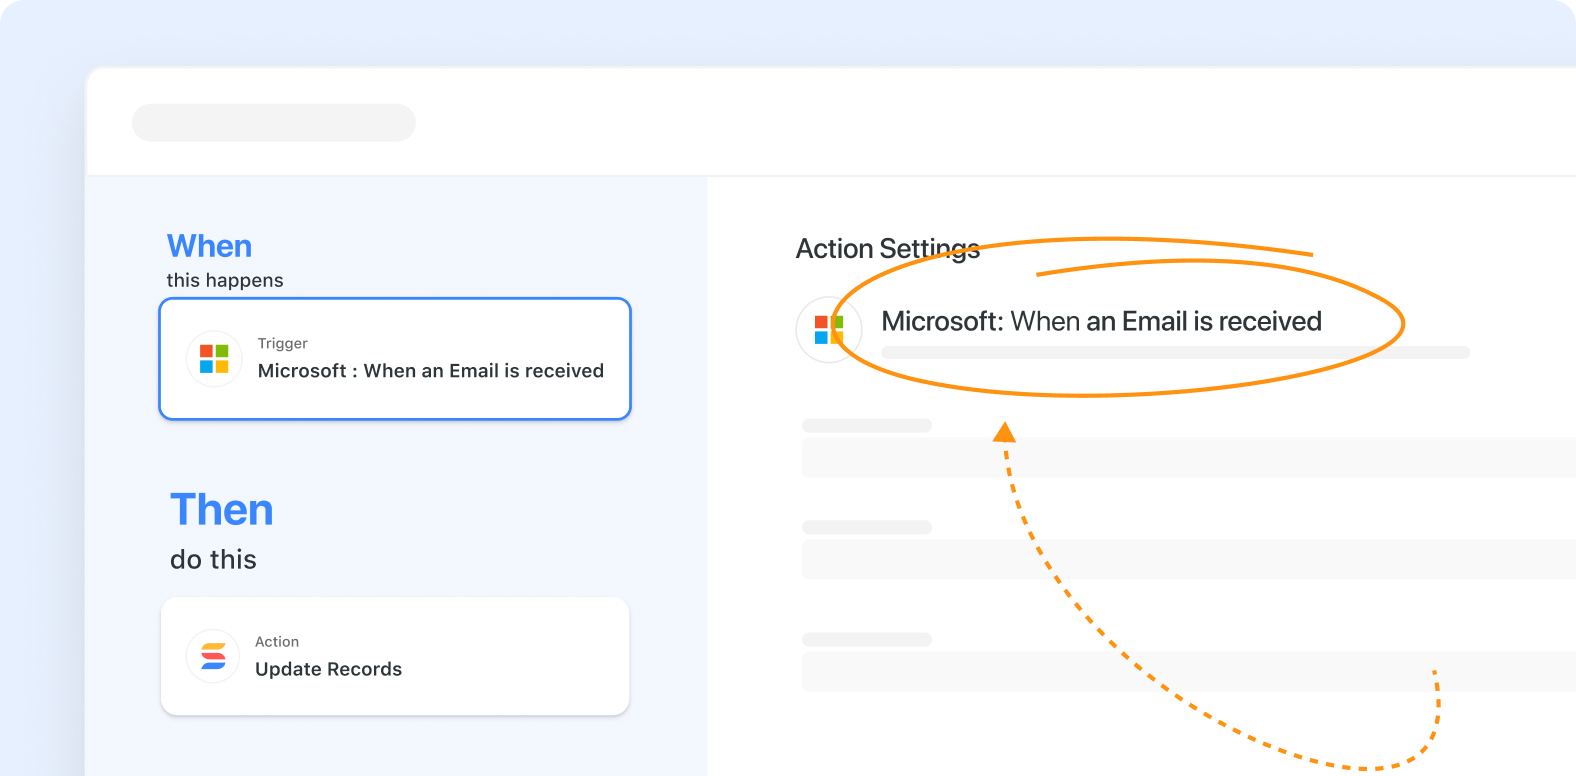
With SmartSuite’s new “When an email is received” trigger for Outlook, you can seamlessly automate actions in SmartSuite based on your Outlook inbox activities.
See feature video
Learn more
Automation Action: Create a Comment
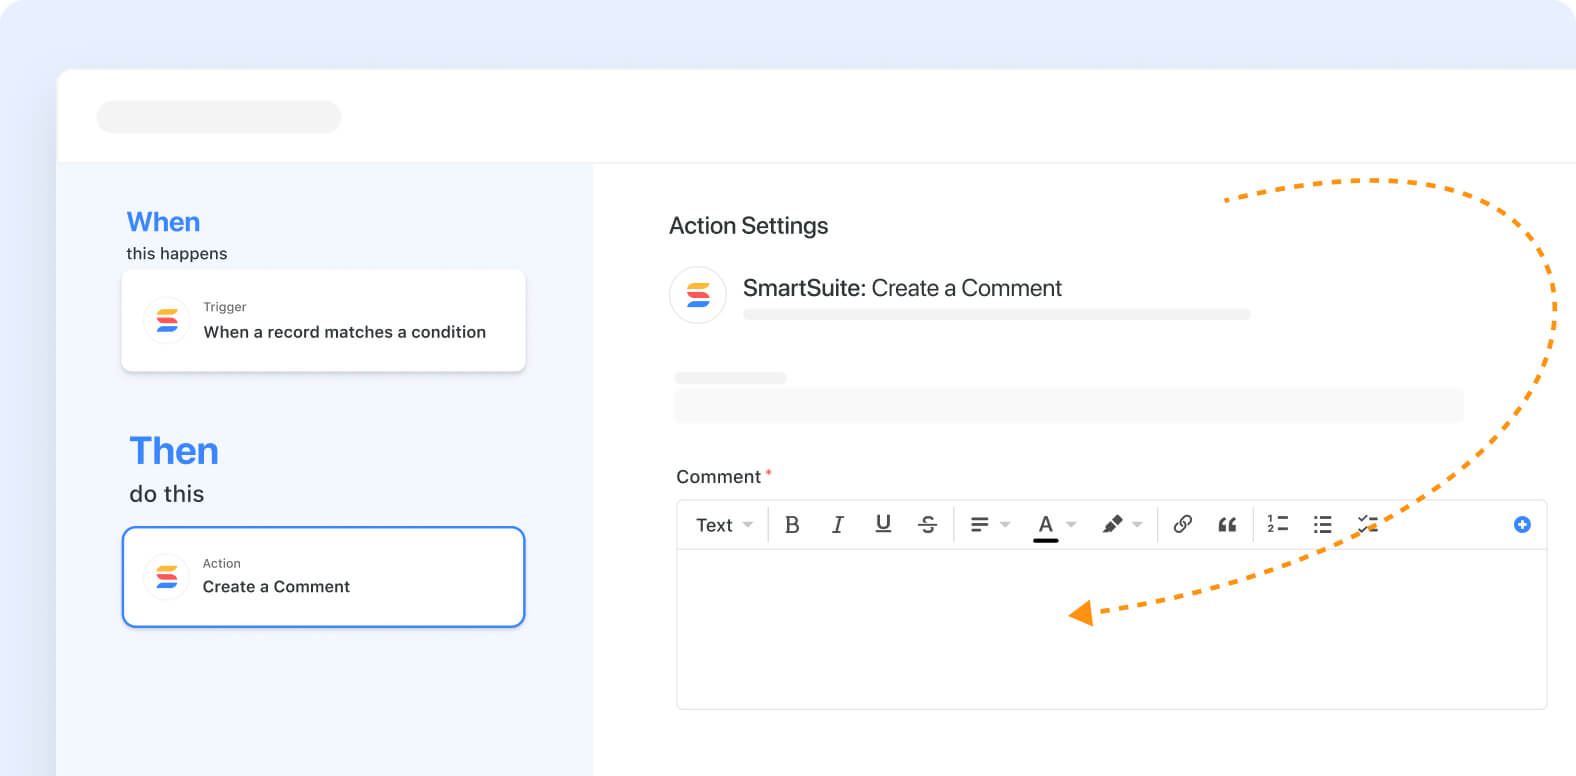
You can now add comments to existing records in addition to updating the record’s content with the Add a Comment action. Use it to quickly add notes, update your team on the record’s progress through a workflow and more.
See feature video
Learn more
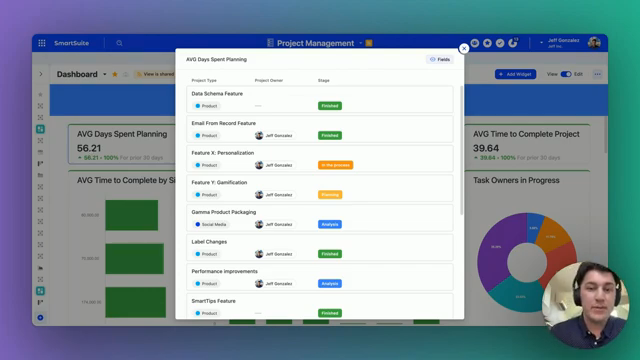
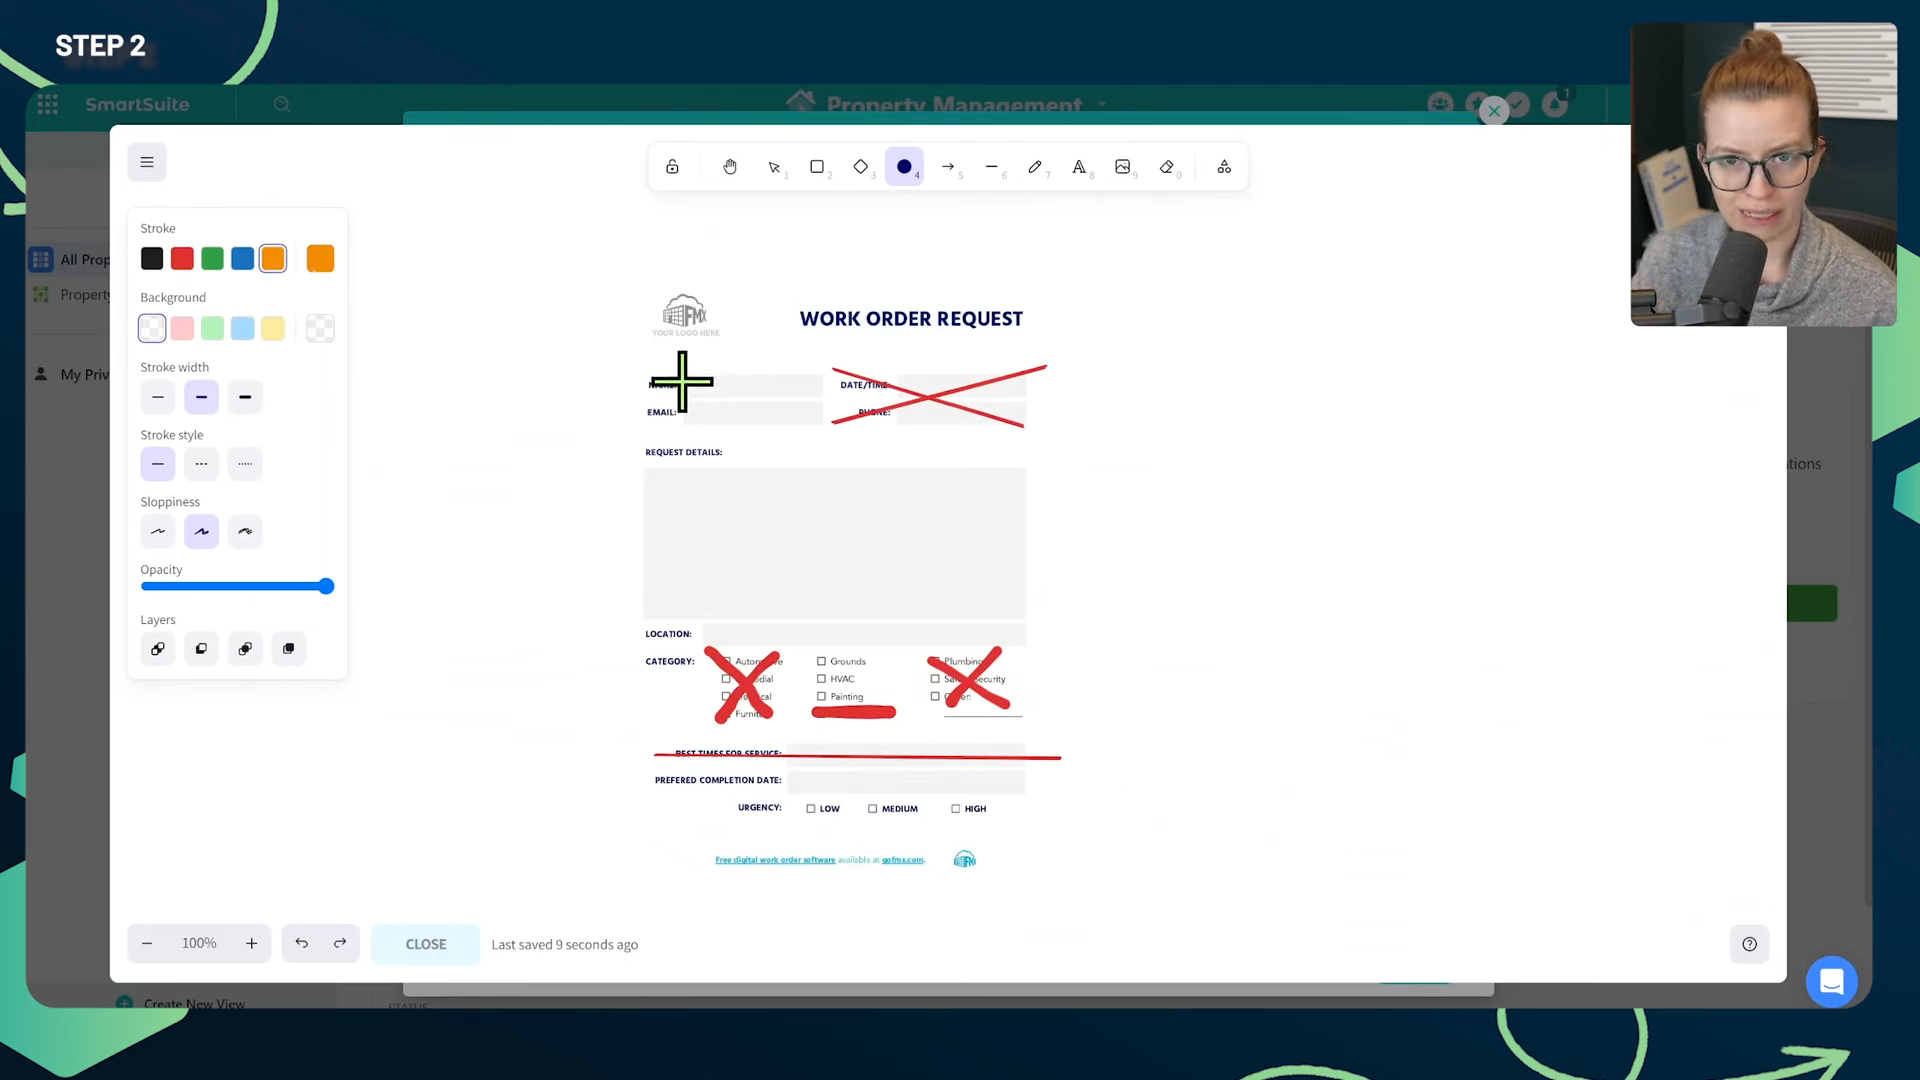
Document Designer: Generate PDF in Record Menu
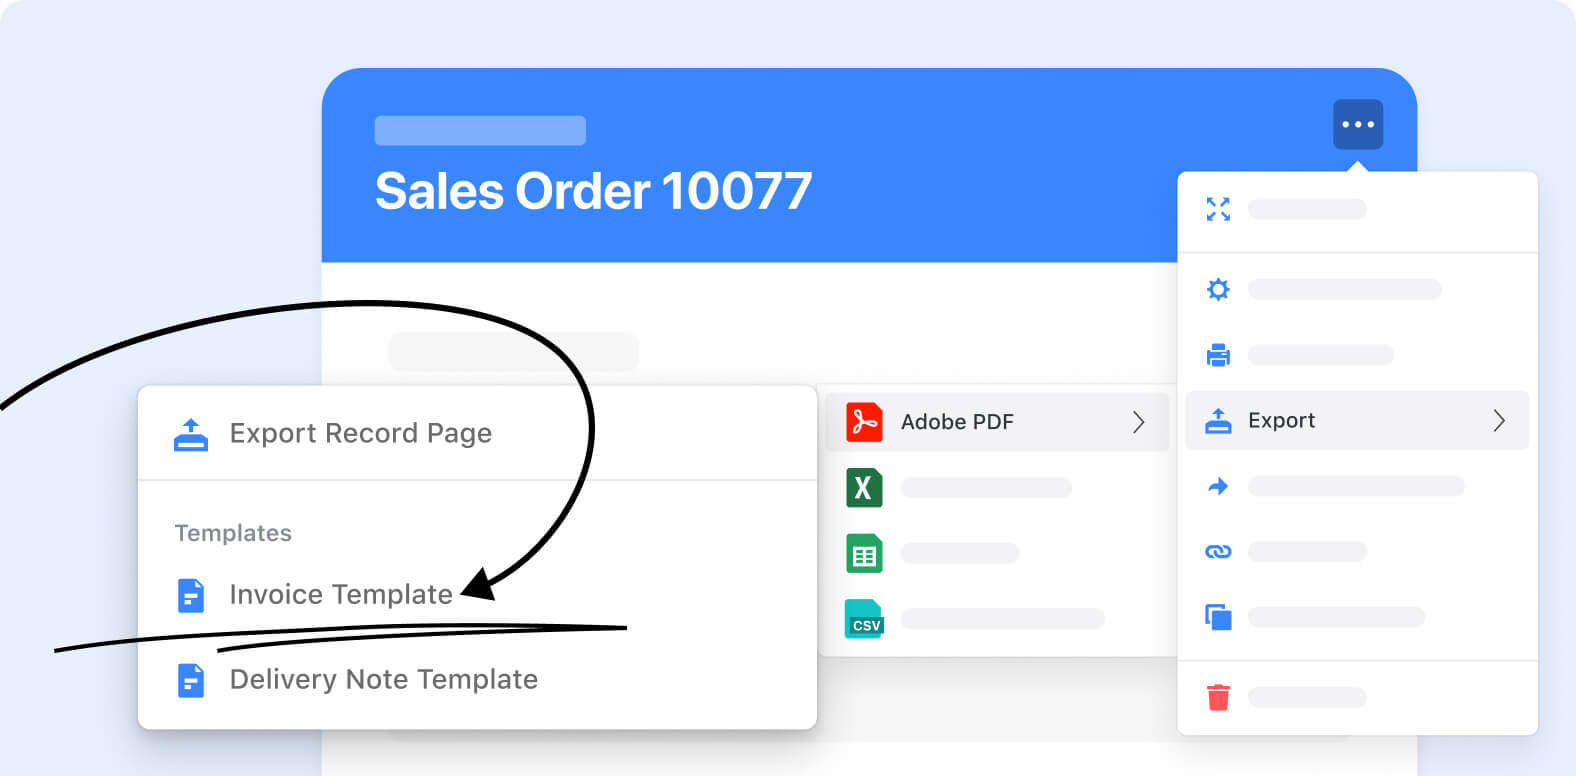
This feature adds the ability to print page designs from the record menu. Both print and export options have been enhanced to allow selection of a Document template or the default SmartSuite export format to export the record content as a PDF.
See feature video
Learn more
Document Designer Enhancements
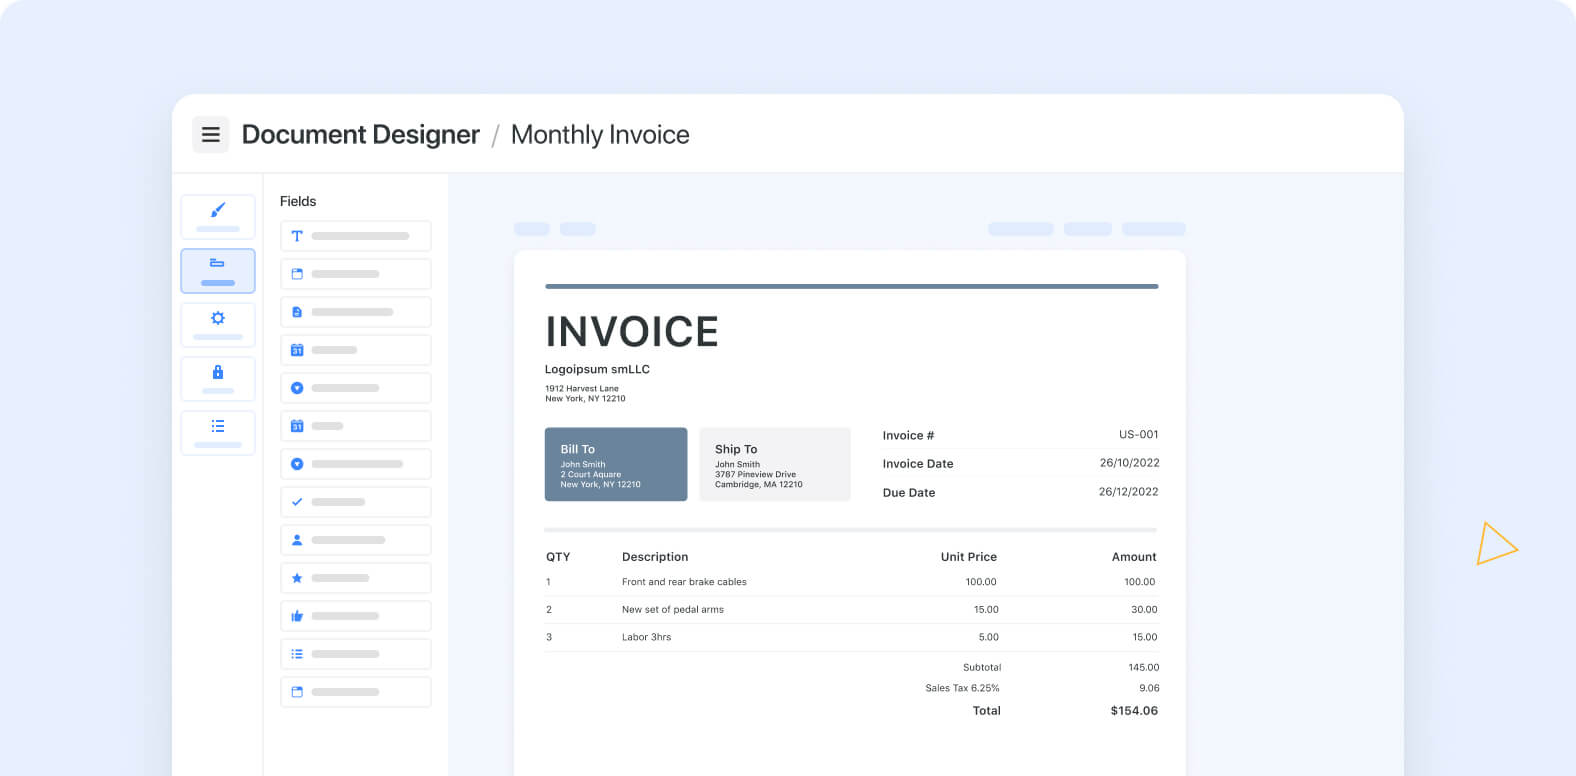
The Document Designer now supports more use cases. An anchor option fixes a field’s position relative to another. File and image fields can display multiple images with sizing options.
See feature video
Learn more
Automation Action: Generate Document Designer PDF
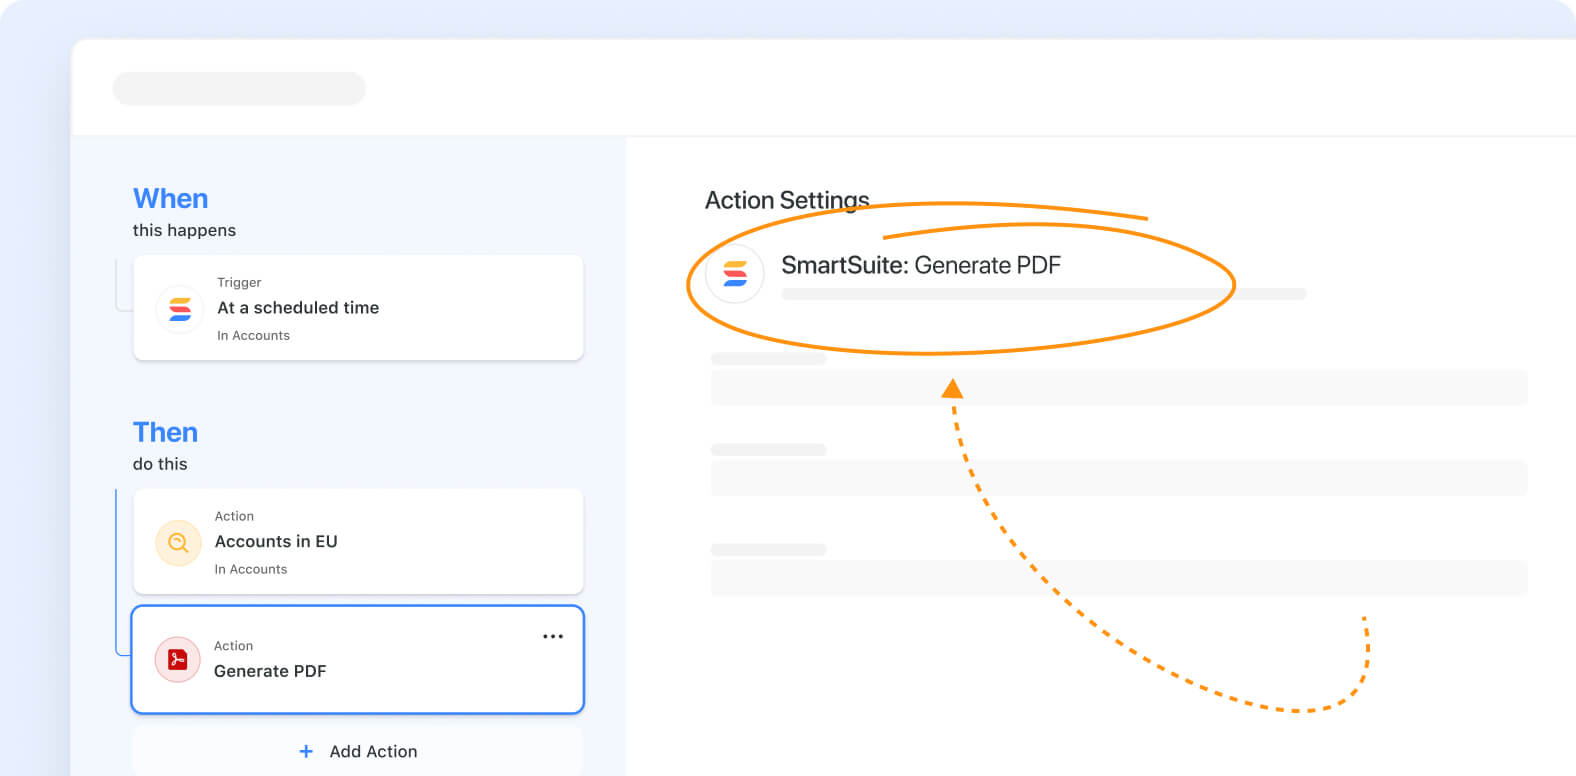
This feature lets you select Document Designer templates during automation setup to generate PDFs from record values. You can then attach the PDF to a file, email (SmartSuite, Gmail, Outlook), Twilio message, or Slack message.
See feature video
Learn more
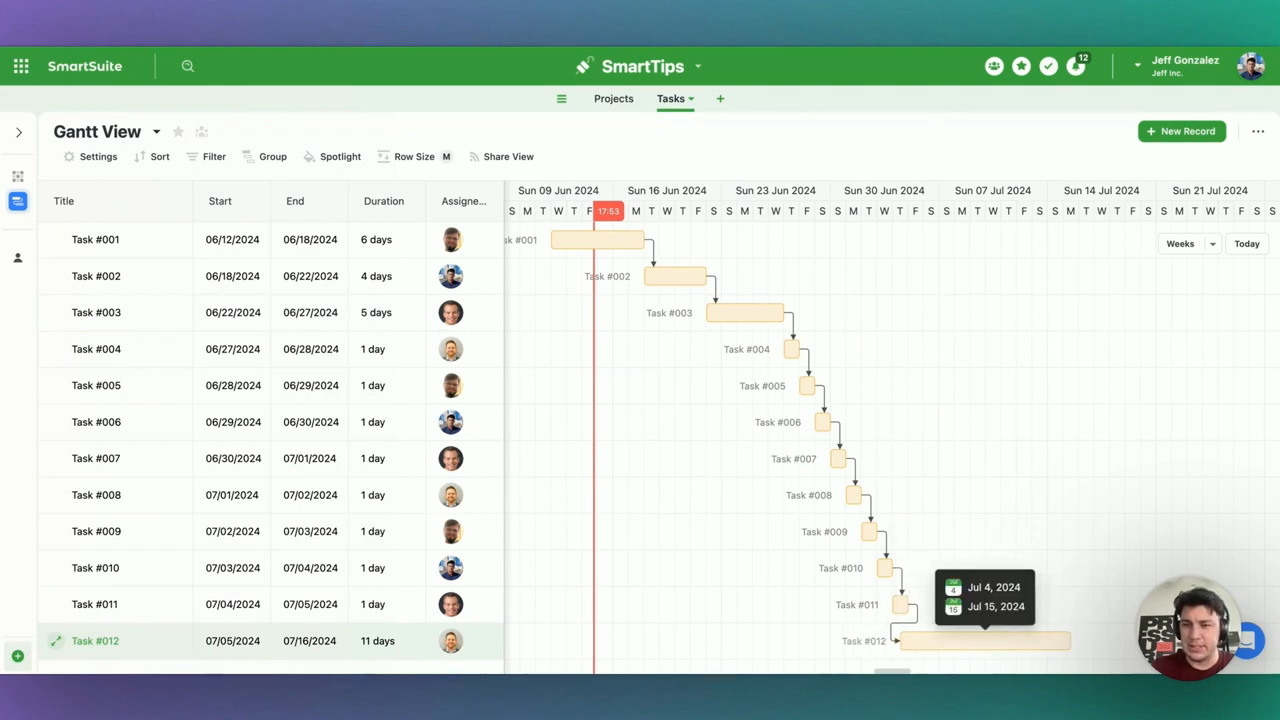
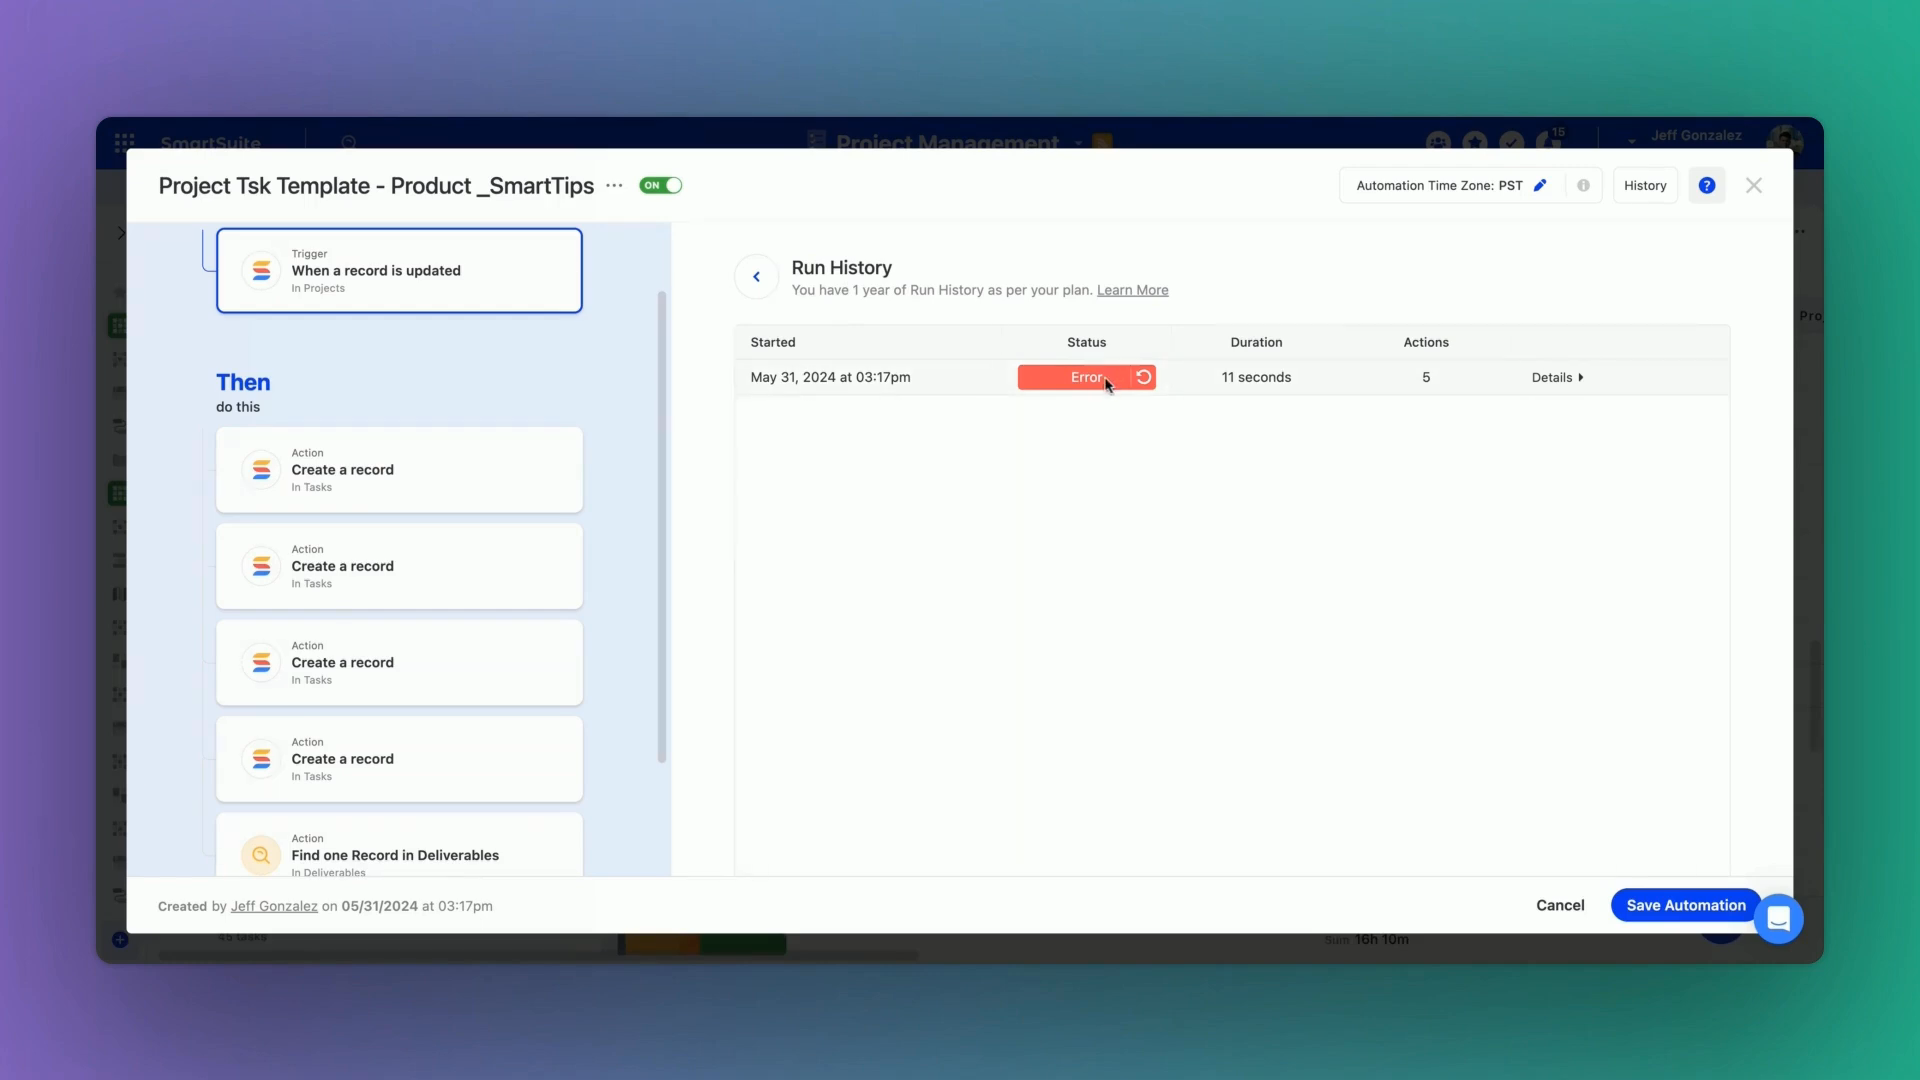
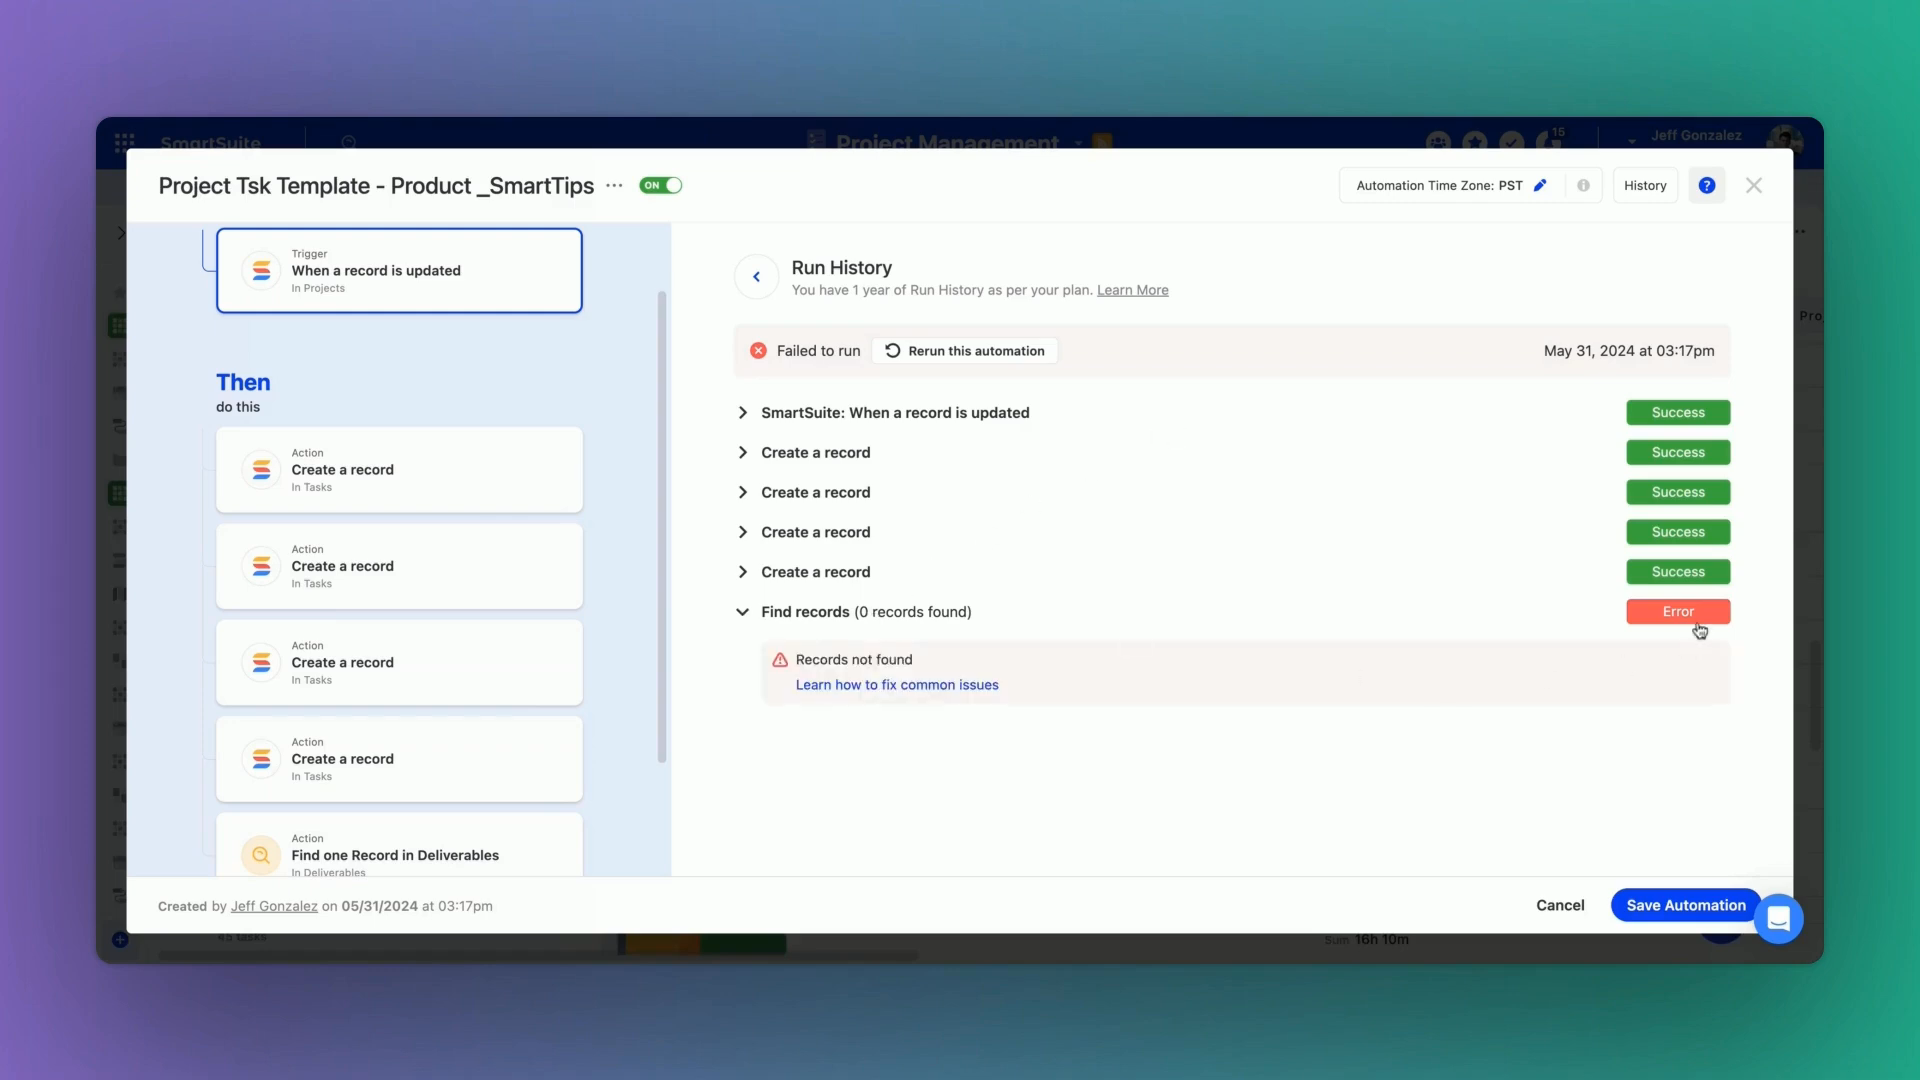
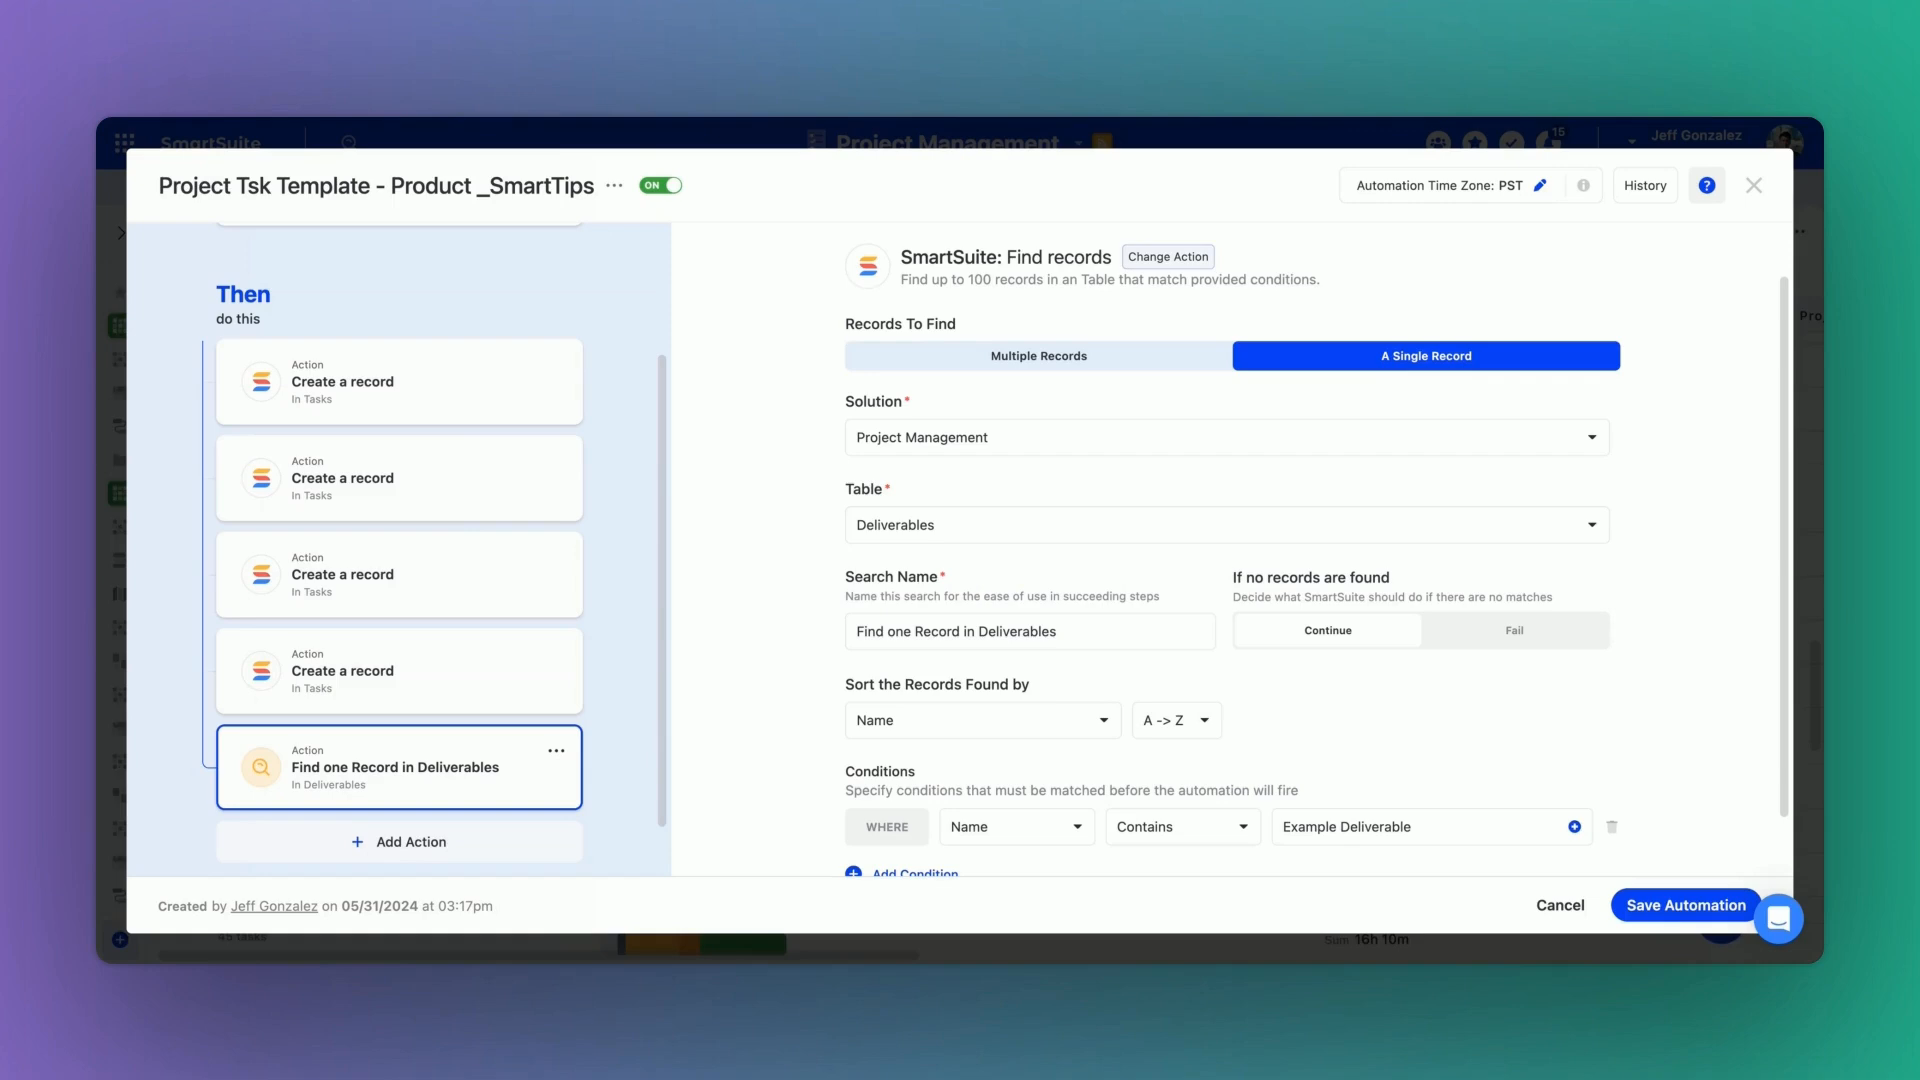
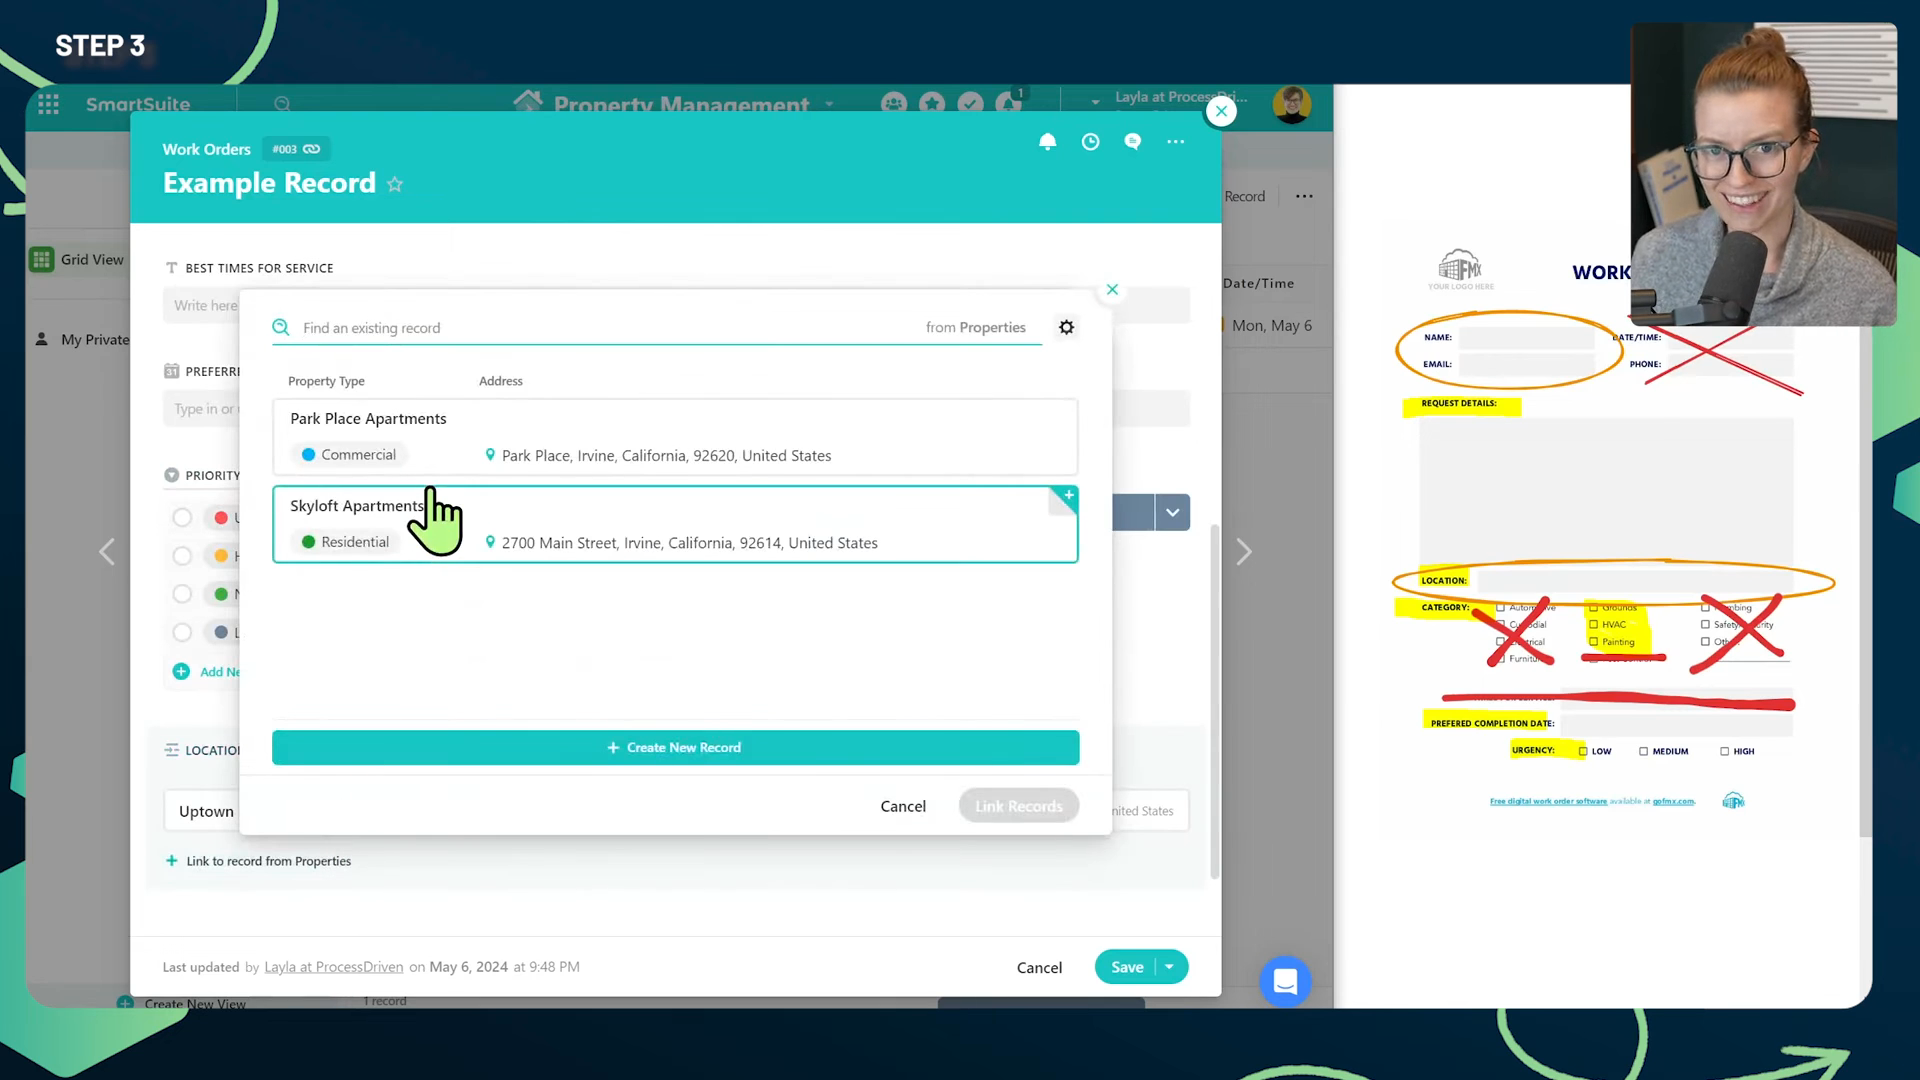
Automation: Use Results from Create and Update Actions
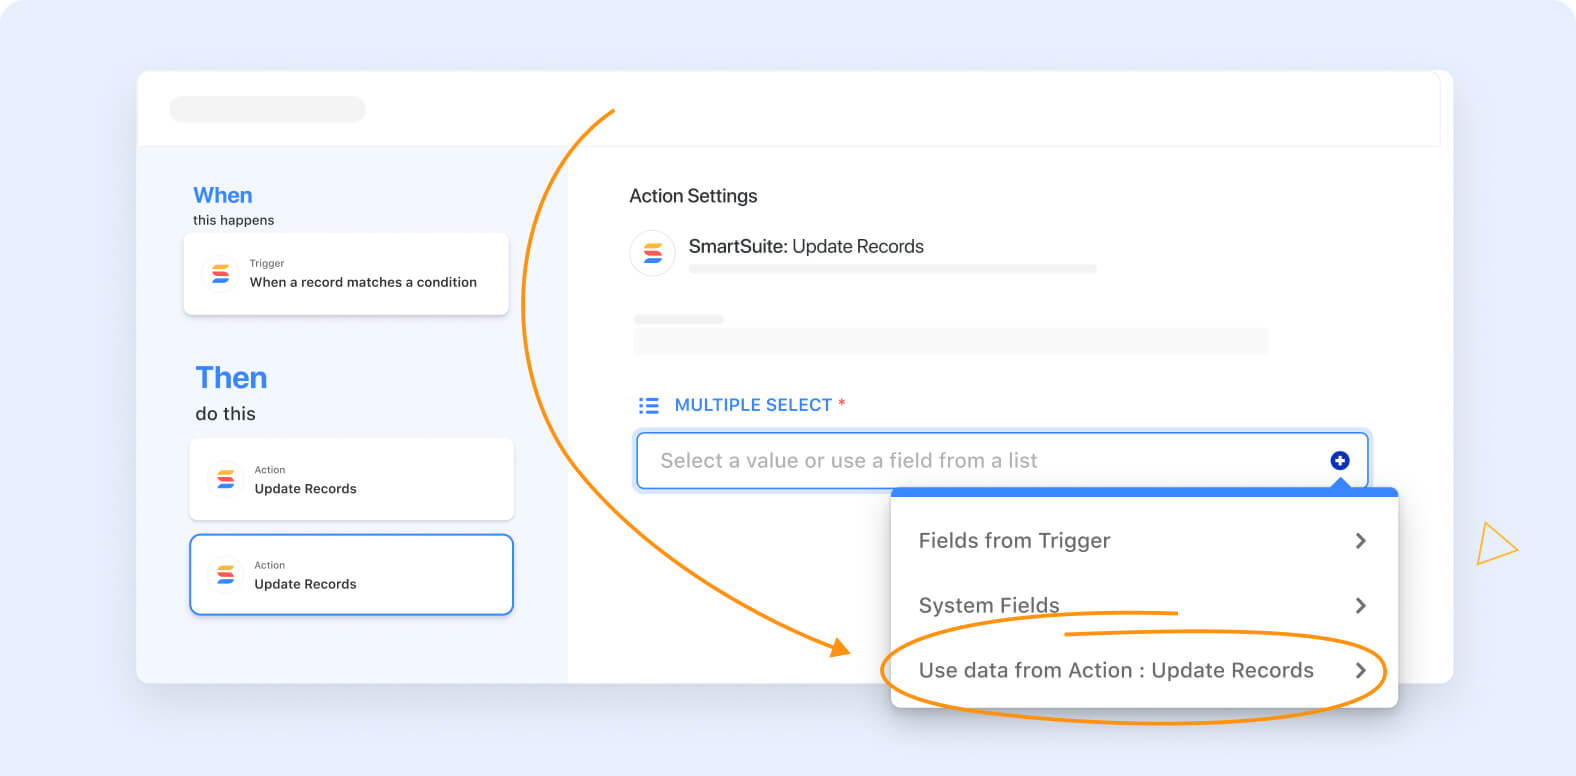
The Automations Engine has been enhanced to allow the results from Record Create and Record Update actions to be used in subsequent automation actions. This supports creation of more dynamic and interconnected automation workflows, enabling actions to build upon the results of previous ones.
See feature video
Learn more
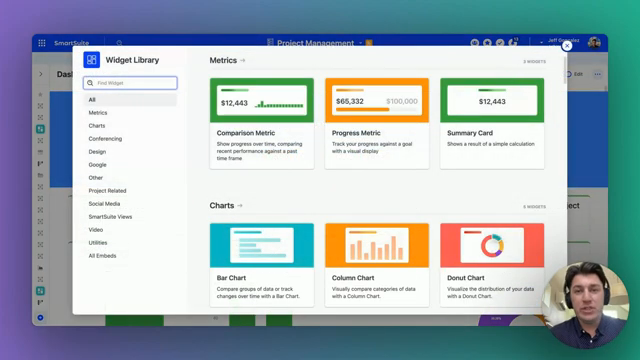
Dashboards Widget: Pivot Table
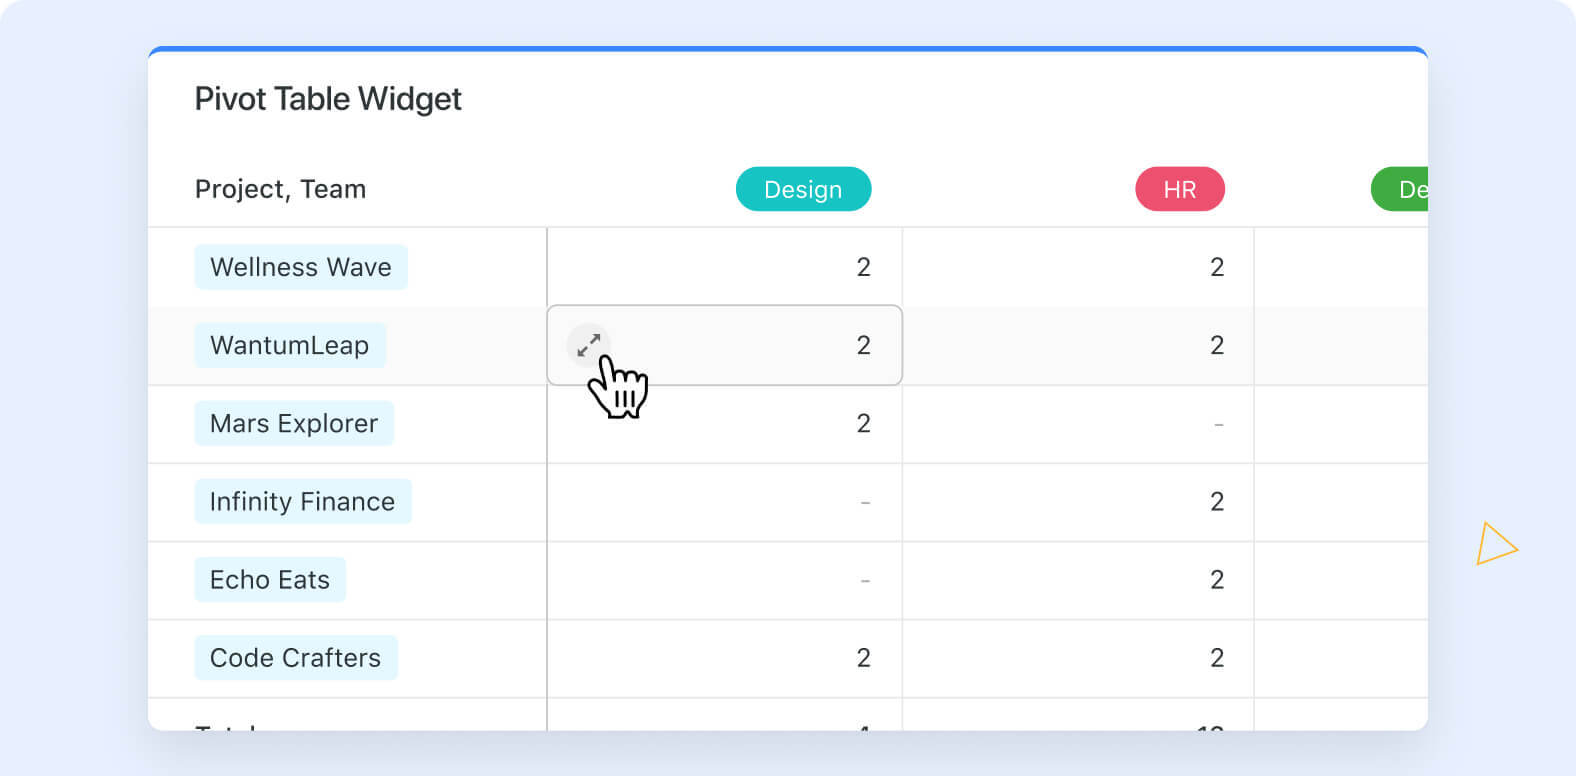
SmartSuite’s Pivot Table widget helps transform complex data, allowing you to see patterns and trends from multiple angles. The pivot supports grouping and summarization, organizing information into rows and columns that can answer questions like “Which product sold the most?” or “What is the average income per region?”
To add a Pivot Table to your workspace, click Add widget and then select Pivot Table from the Widget Library. After selecting the solution and table for the source of your data, you can select fields for the rows and columns in your pivot. Finally, select the field and aggregation type (either by count or by field value) in the “Summarize by” dropdown.
See feature video
Learn more
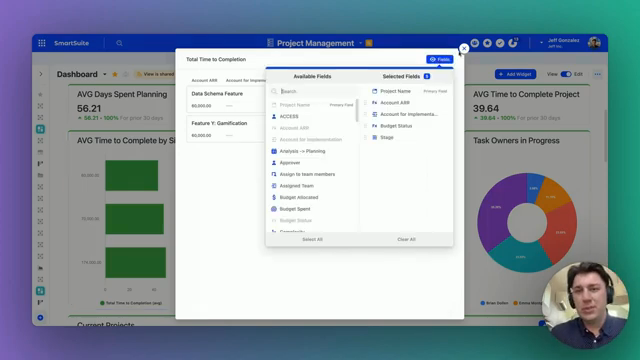
Chart View: Heat Map Updates
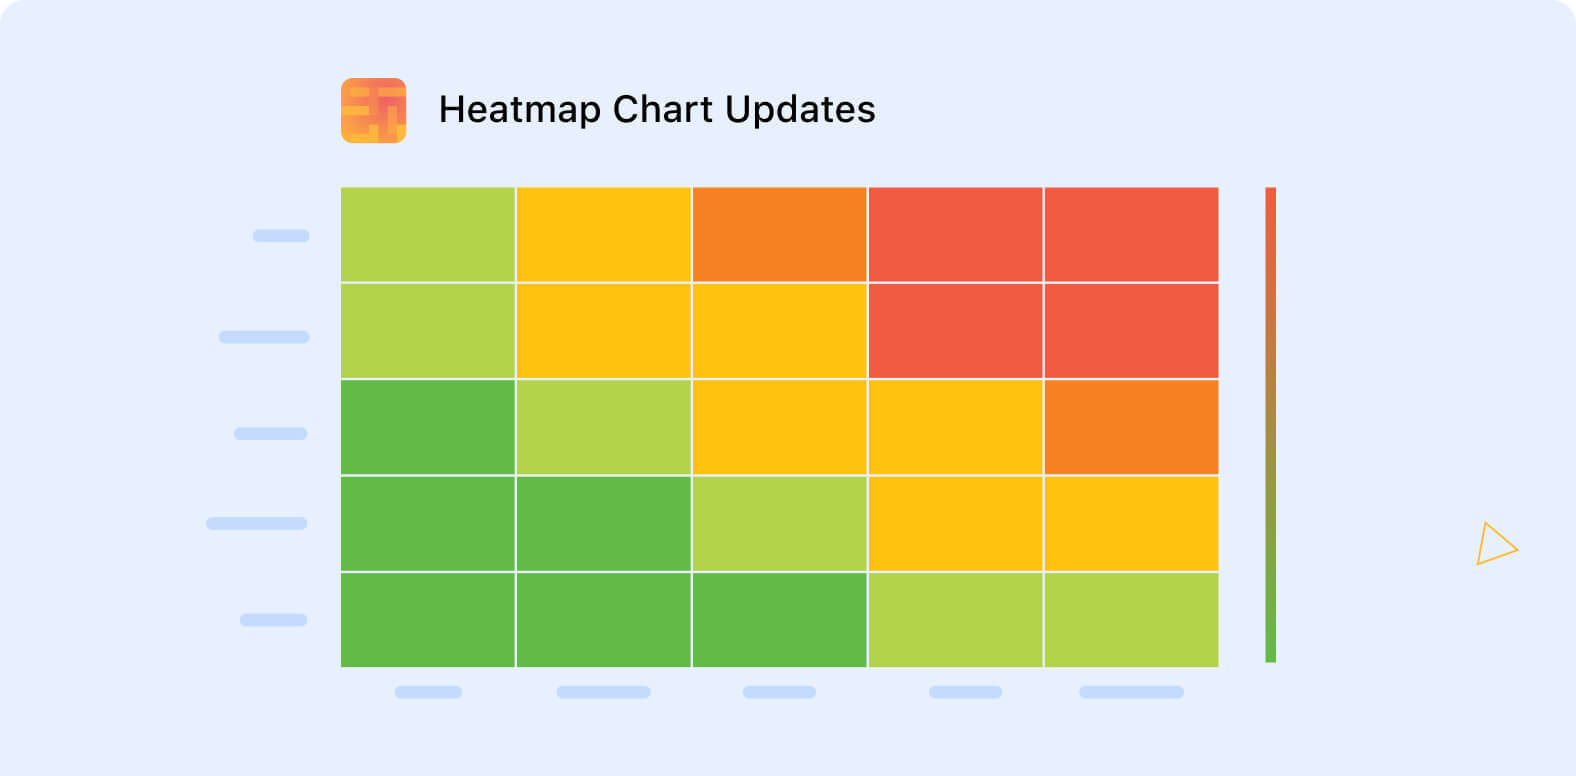
Several enhancements have been made to SmartSuite’s Heatmap Chart type, aimed at improving its data visualization capabilities. These updates include consistent sorting, display of drill-in enabled values within segments, and a refined color scale that better highlights values. Additionally, the X and Y axis sort order can be configured, and each axis is labeled with the field name of its source data.
See feature video
Learn more
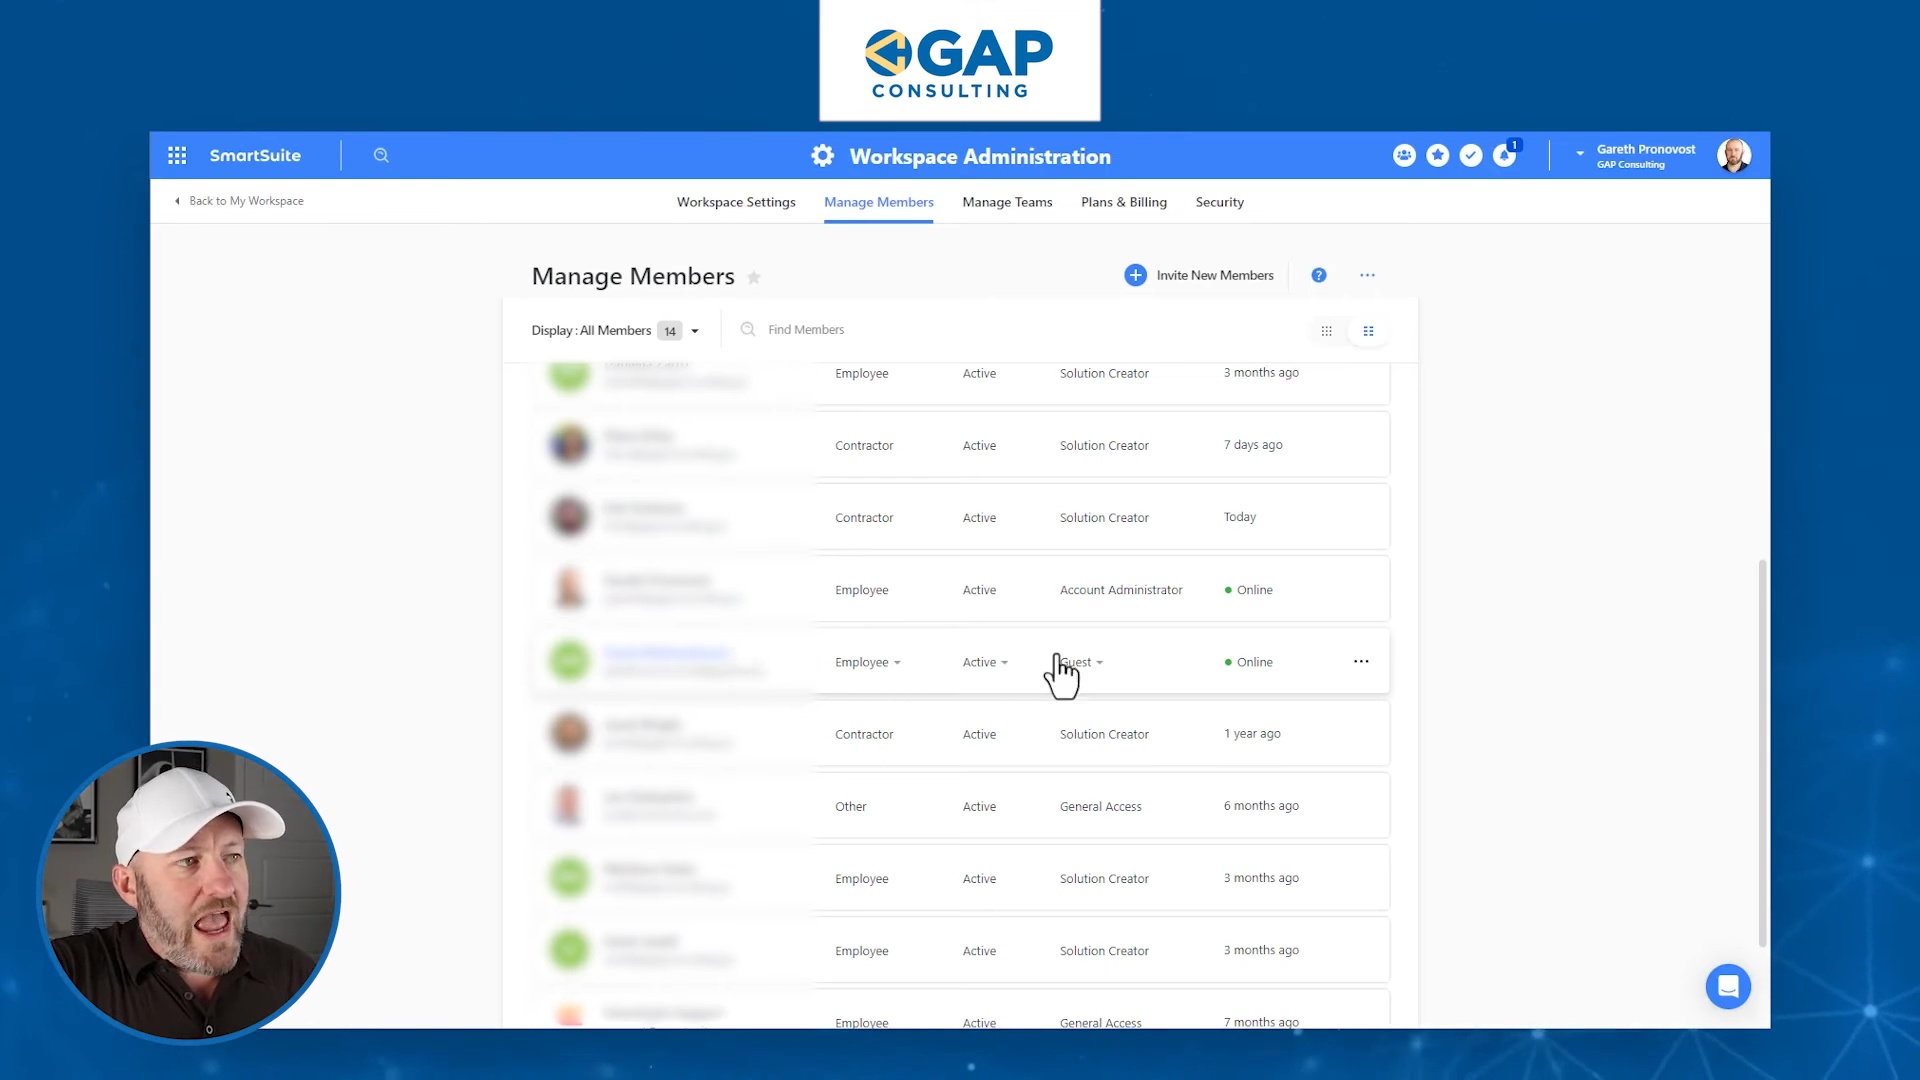
Manage Members: Export Member List

You can now highlight important information with a static text block, icon, and shaded background; add customizable horizontal lines with optional captions; embed images; and include clickable videos for introductions or instructions in Form Views.
See feature video
Learn more
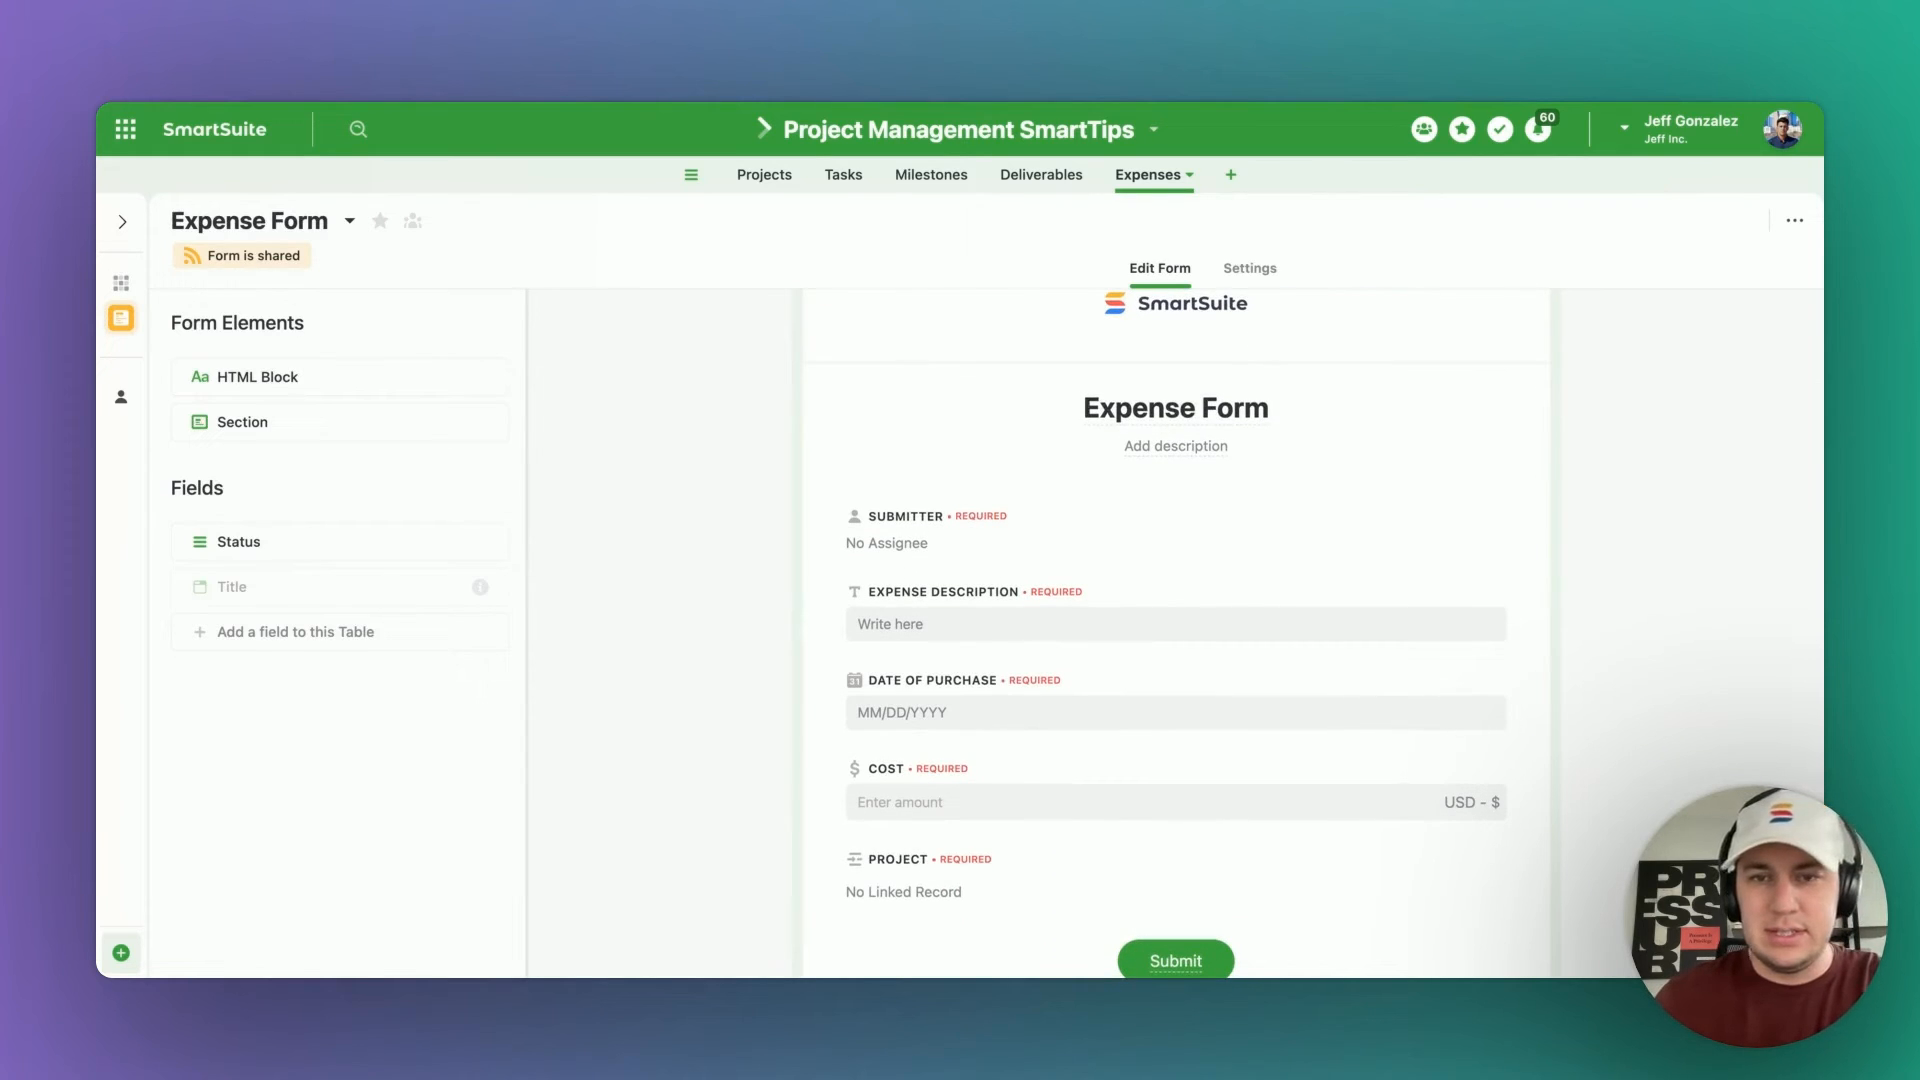
Form View Static Elements: Callout, Divider, Image, and Video

You can now highlight important information with a static text block, icon, and shaded background; add customizable horizontal lines with optional captions; embed images; and include clickable videos for introductions or instructions in Form Views.
See feature video
Learn more
Form View: Support for Time in Date Field

SmartSuite forms now support time entries within Date fields, enabling users to input both a date and time in their responses.
See feature video
Learn more
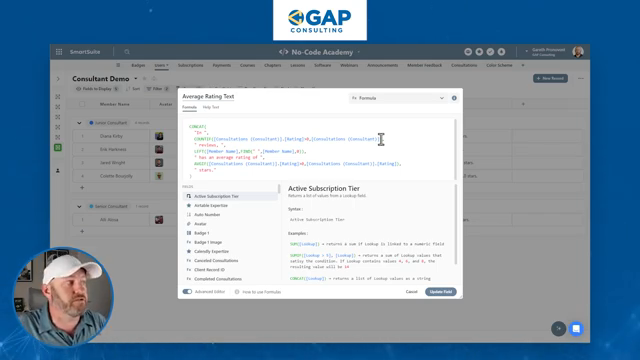
Fields: Rich Text in Field Help Text
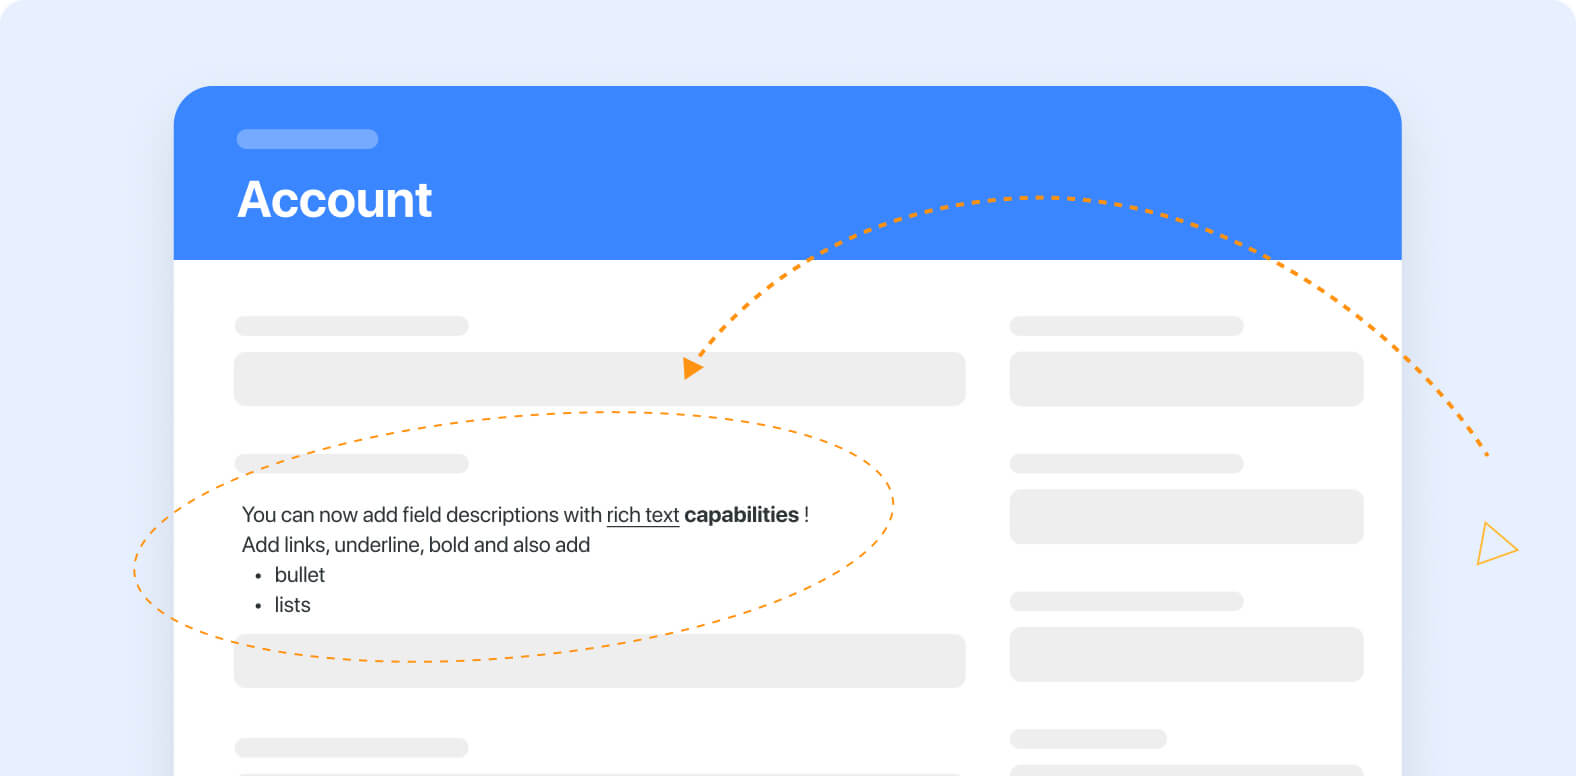
SmartSuite’s support for field-level help text has been enhanced to support rich text formatting, in addition to allowing you to include lengthier help descriptions of up to 700 characters (increased from 250).
See feature video
Learn more
View Product Roadmap
Upcoming Live Events & Trainings
Bi-Weekly: Getting Started with SmartSuite Workshop | Upcoming dates: July 16th, 30th @ 8:00am PT
This interactive workshop offers hands-on learning opportunities to grasp the platform’s fundamentals. From navigating the interface to exploring our key features, our step-by-step guidance ensures you gain a comprehensive understanding as you get started.
Register here
Application of the Latest SmartSuite Features | July 17th @ 8:00 am PT
Explore a SmartSuite solution for managing student compliance in healthcare education. Learn how to streamline documentation, communication, and oversight processes using innovative features.
Register here
Live SmartSuite Monthly Training Classes & Free Certification Opportunity | July 25, August 29th
This 3-part training includes:
- Comprehensive overview of SmartSuite as a platform, along with key functionality training tailored for end users.
- Deep dive into SmartSuite, gaining insights into its building blocks and discovering how to implement effective solutions for your teams.
- Our Recommended Certification session, featuring a live, free certification exam test to earn a SmartSuite Certification of your choice
If you are interested in attending our live training, you can access the registration request form here.
Have questions? Join our Daily Office Hours!
Get all your questions answered live by an Onboarding Specialist during our Daily Office Hours Monday-Friday at 9:00 am PT —or simply join to learn how others are finding value in SmartSuite.Your SmartSuite Team
Community | Academy | SmartSuite.com | Product Roadmap | Webinars