Website Tip: In your site’s navigation, be sure to nest the download page(s) beneath the public sales page. It will look something like this:
yourwebsite.com/book-title/
yourwebsite.com/book-title/download


Need help launching your book?
Connect with our friendly team, weekdays 10am – 6pm ET.
Let’s chat!
The post How to Self-Publish a Book and Make Money – A Guide for Indie Authors appeared first on .
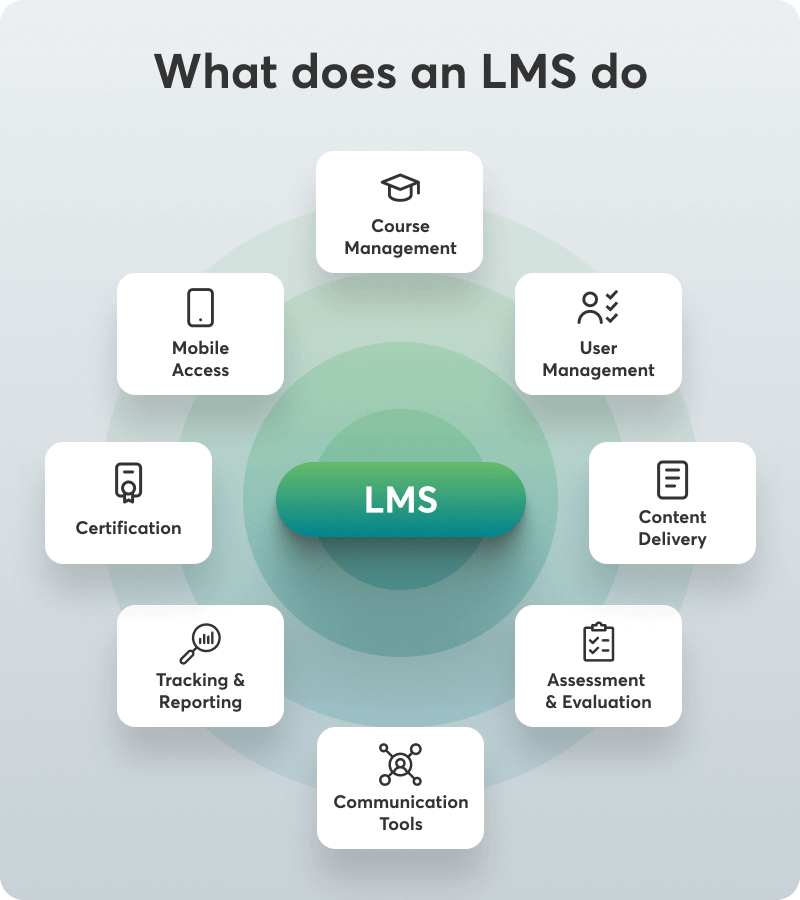
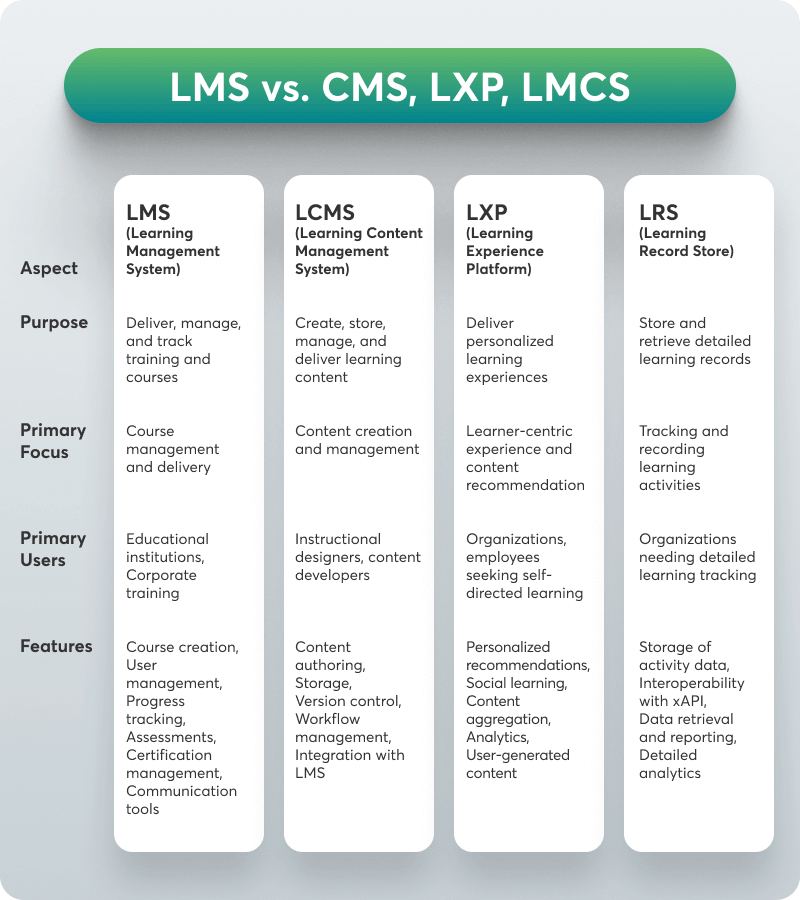
 : managing the role of academy staff e.g. the instructor, teacher, tutor, or manager (see user custom roles).
 : keeping important information such as training resources safe and distributing content to those eligible to access it.
 : tracking and measuring each learner’s progress and performance.
 : Any LMS can also be equipped to create and manage course materials and learning content.
 : Gamification features include progress bar points, flashcards, badges/achievements, and actual games that are important for boosting learner engagement. LMSs that offer gamification have an added advantage over others.
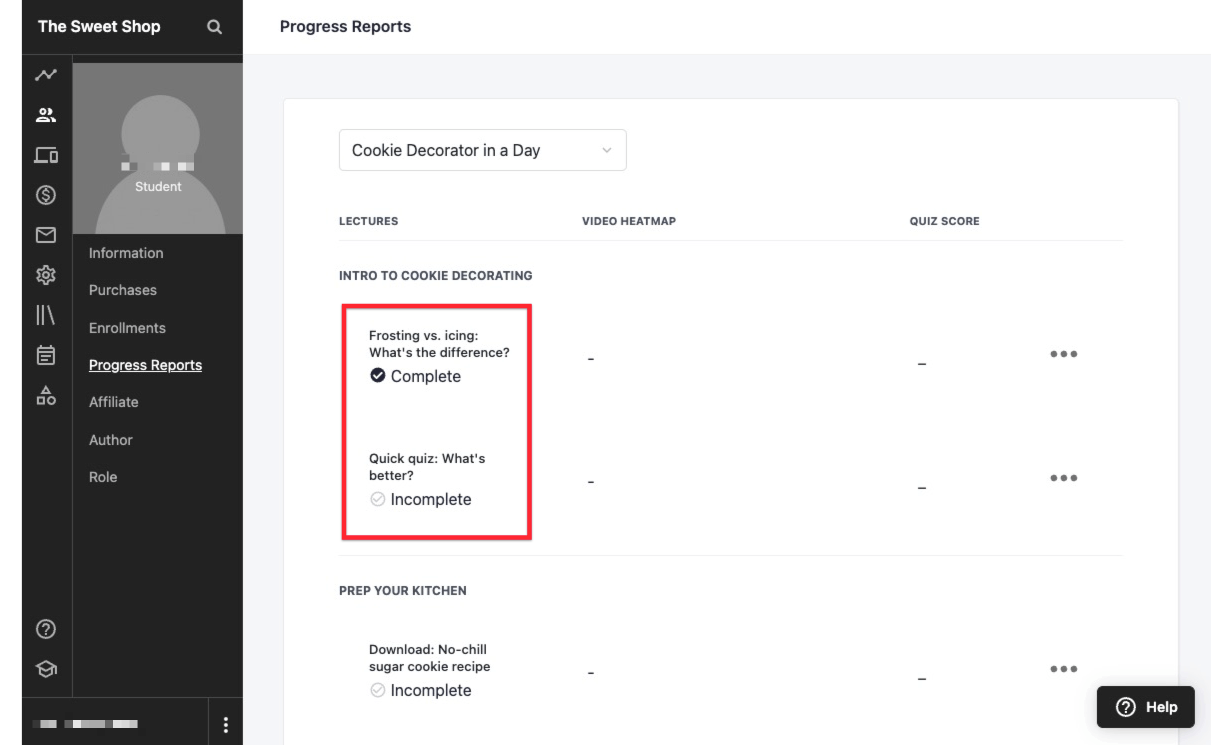
 : With this feature, you can generate insightful data on who and how is using the system, looking into key training metrics like learner progress and course completion rates.
 : The ability to communicate in a social environment and exchange ideas and opinions is essential in learning. LMSs that offer social learning features like a dedicated learning community, discussion forums, and instant messaging are more advanced than others.
 : Support has a huge role to play in an LMS. If it is inadequate or not there when you need it, you won’t be able to carry out your tasks effectively or use the software to its fullest potential.
 : A key feature for virtual classroom-based classes especially for schools or academic institutions.
 : The ability to offer learning on the go via a mobile app where learners can access training courses 24/7.
 : A friendly and easy-to-use user interface creates a positive user experience and is important for non-tech-savvy learners and users new to using eLearning technology.
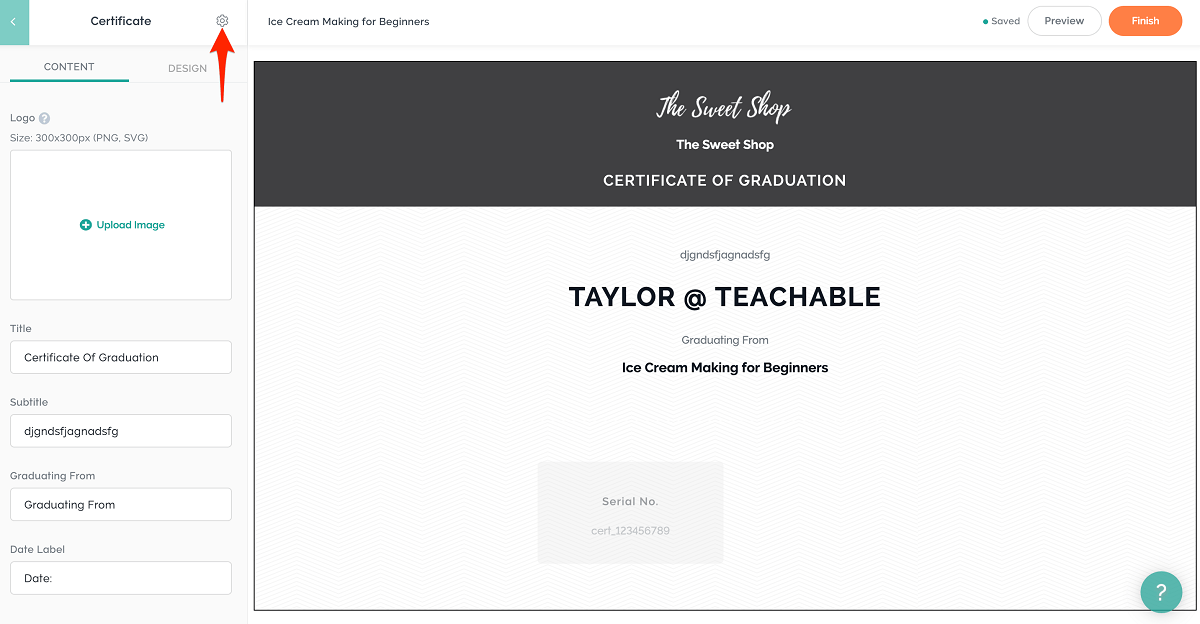
 : Offering certificates is a must-have feature for learners who want to get certified in their career field and companies that want to provide such an opportunity to their employees.
 : Not every LMS offers an e-commerce option allowing users to transact and sell digital products.
 : An LMS should be able to integrate with third-party tools that allow data to roam freely and synchronized, offering more automation in terms of productivity, monetization, administration, and e-commerce.
 : The ability to offer multi-language support that suits the needs of people based outside the LMS vendor’s origin country.
 : The white labeling option allows you to remove the LMS vendor’s logo and add your own on your website host address URL and your homepage. A truly white-label option though gives you much more than the majority of LMSs can.
 : An LMS must be able to provide you with intellectual property protection that helps to secure your content, user information, and other sensitive data, but not every LMS can offer it.
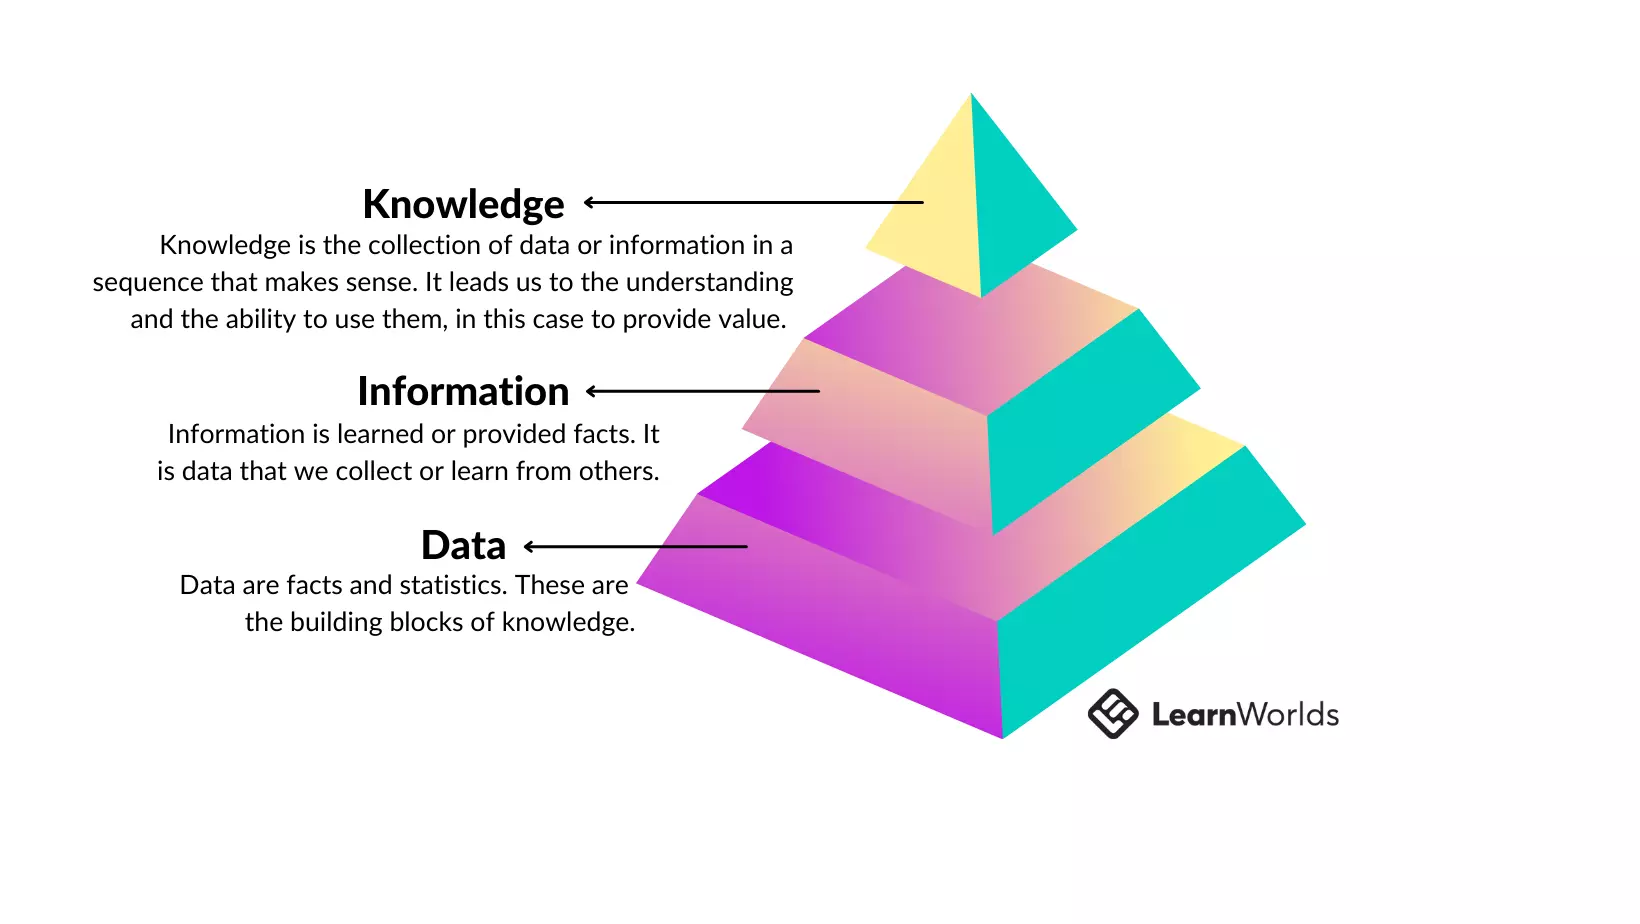
 reduce time to value
 Help customers discover top features and use cases for them by adding qualification questions upon sign-up. Segment customers and launch targeted email campaigns with product tutorials, tips, and resources.
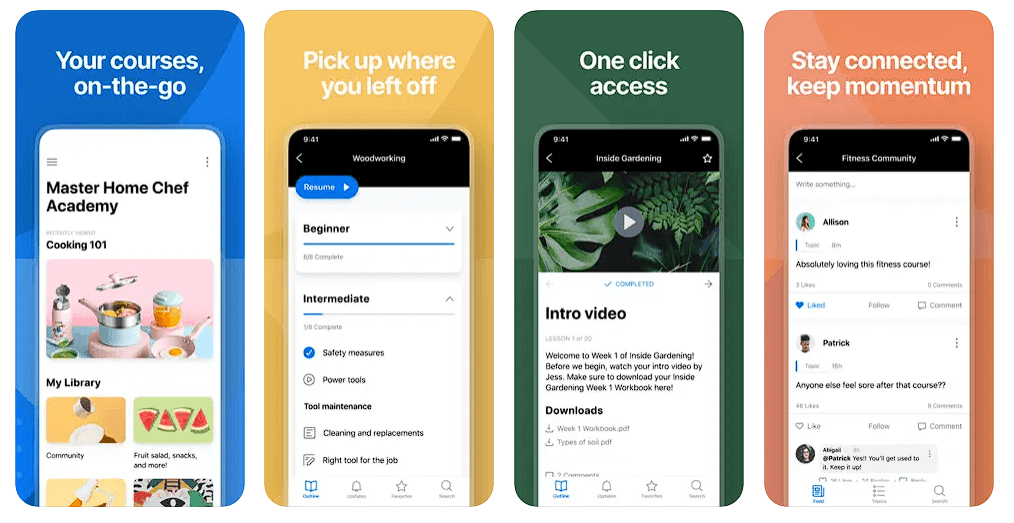
 For example, you can offer your course on a mobile app and send in-app notifications and learning reminders. Plus, with game mechanics like badges and milestones, you can keep customers hooked during the process. Consider offering a certificate to further motivate them to finish their training.


 Disclosure: Information on pricing, customer support, and customization options comes from public-facing pages on the Kajabi and Teachable websites. Some features mentioned in this review may only be available if you purchase a top-tier paid plan.
 but no free plans. If you like the platform and want to keep using it after the trial expires, you must sign up for a Kajabi subscription.
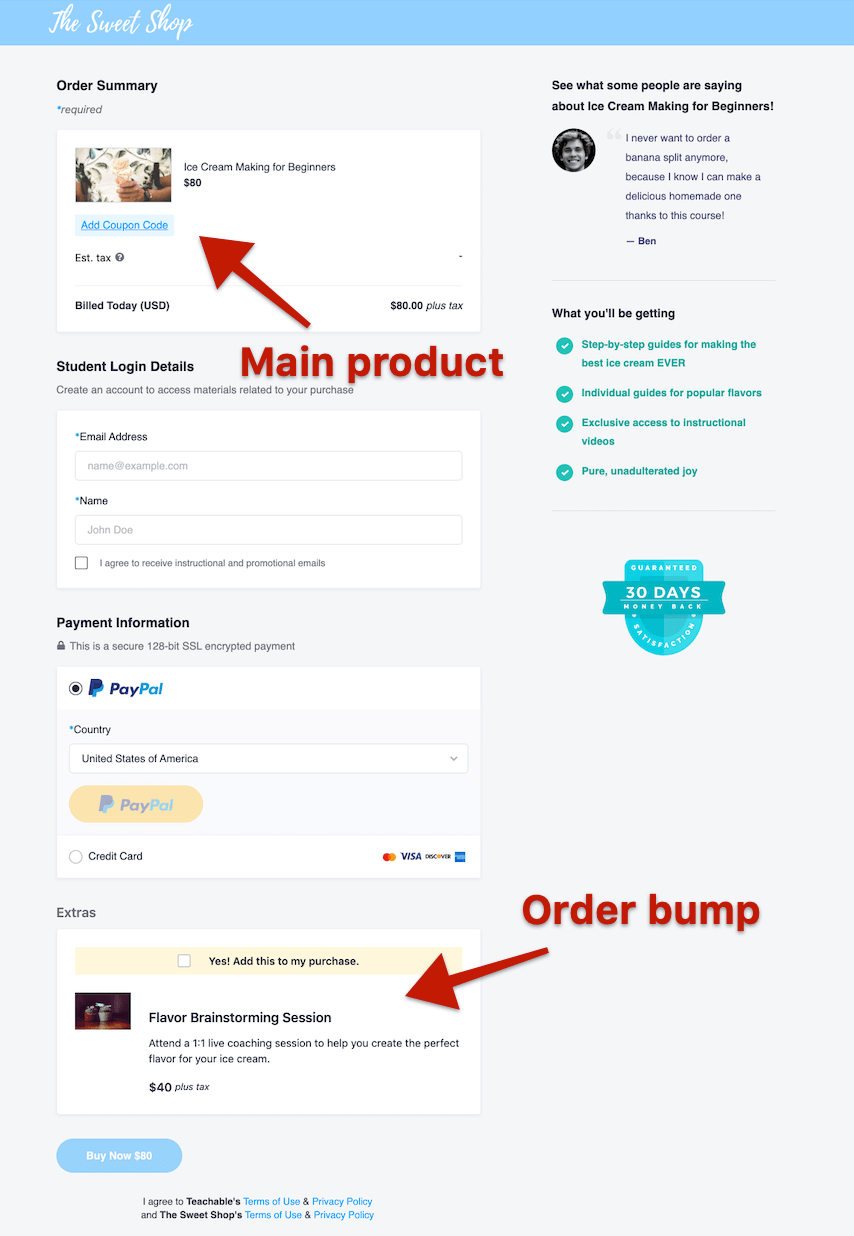


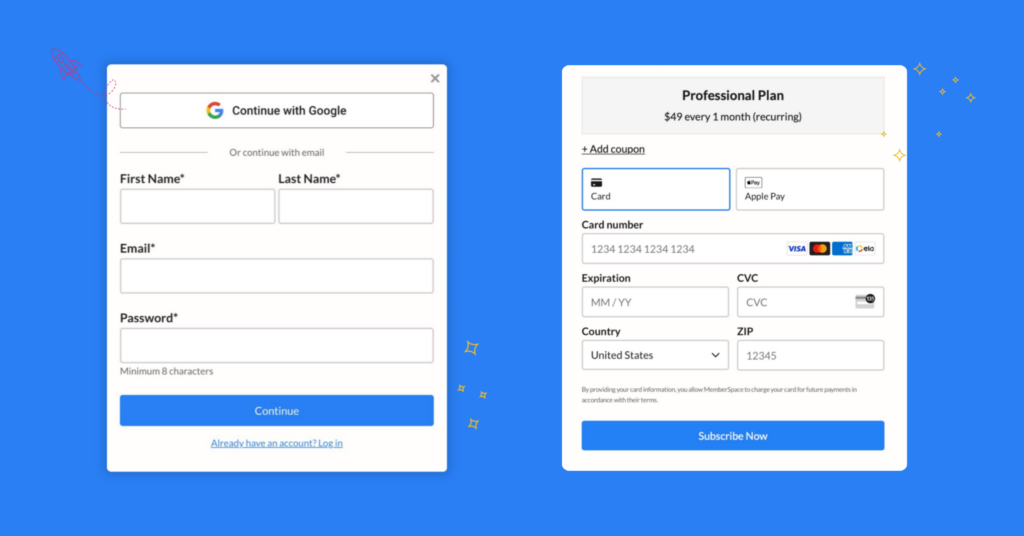


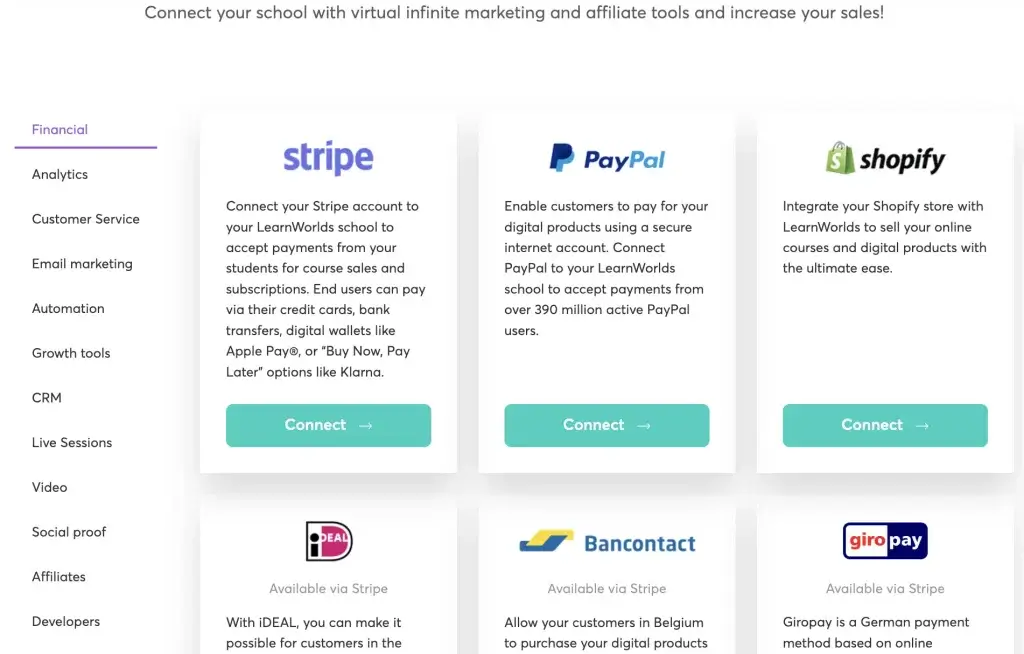
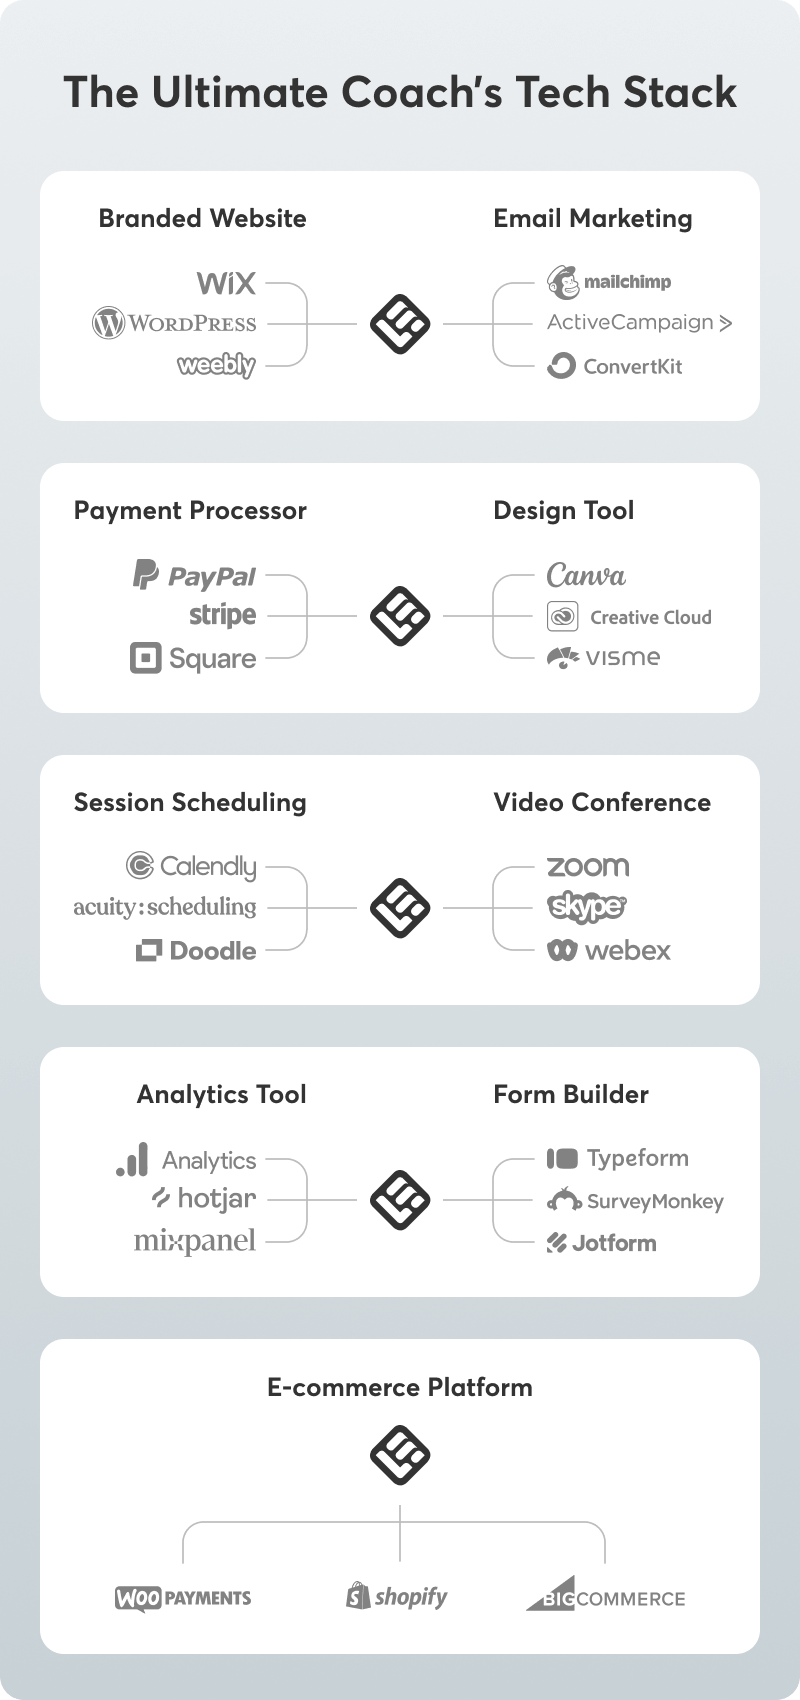
 Sales Options: Creating discounts, offering coupons and bundles, selling subscriptions and memberships, and using affiliates can help you attract clients. Payment processing is also vital for a frictionless checkout experience, so look for integrations with tools like Stripe and PayPal.
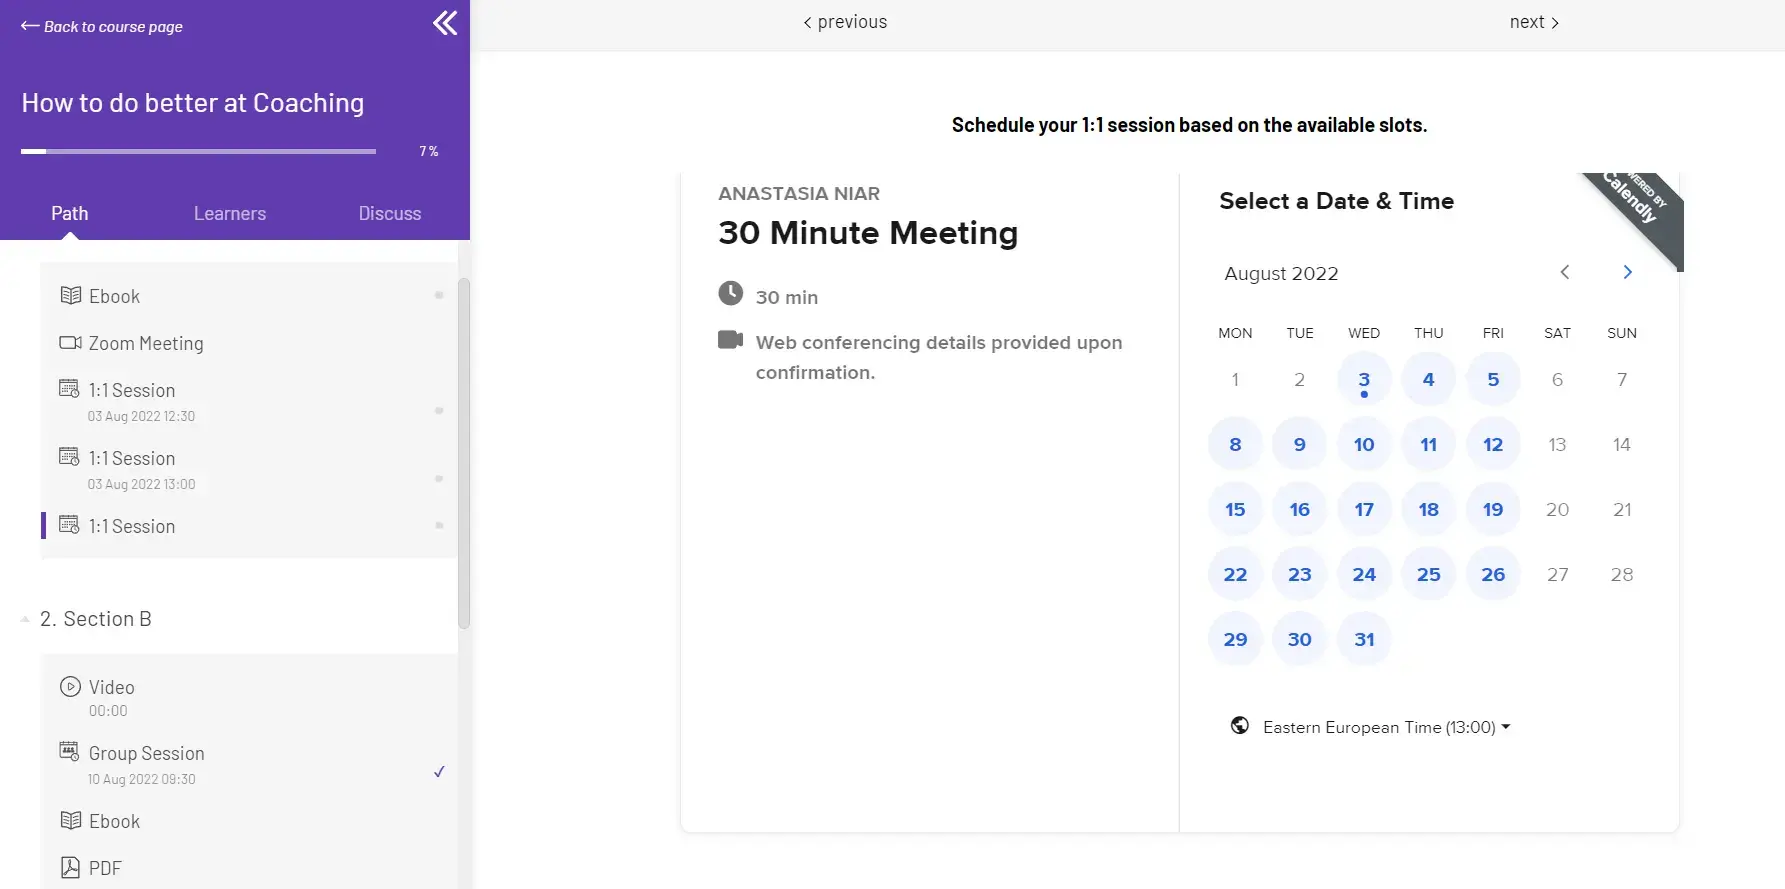
 Live Sessions and Scheduling: Regardless of the type of coaching you’re offering, whether you’re a life coach or a business one, you need a platform that schedules one-on-one or group sessions and webinars easily, and integrates with video conferencing tools to hold the sessions.
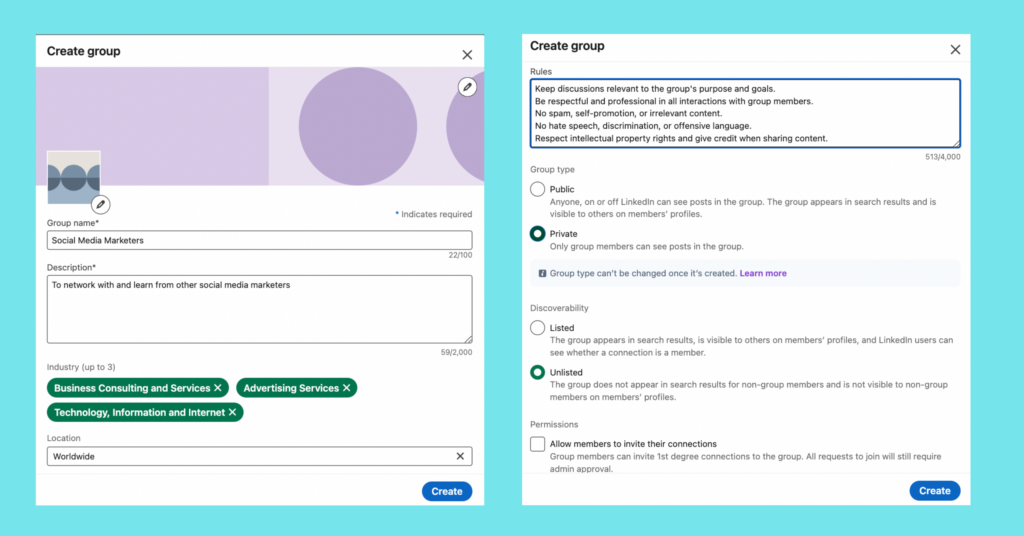
 Community Features: Nothing drives engagement more than building a strong community. Features like discussion forums where clients can share their content, a blog, and user profiles are all community features that maximize online coaching benefits.
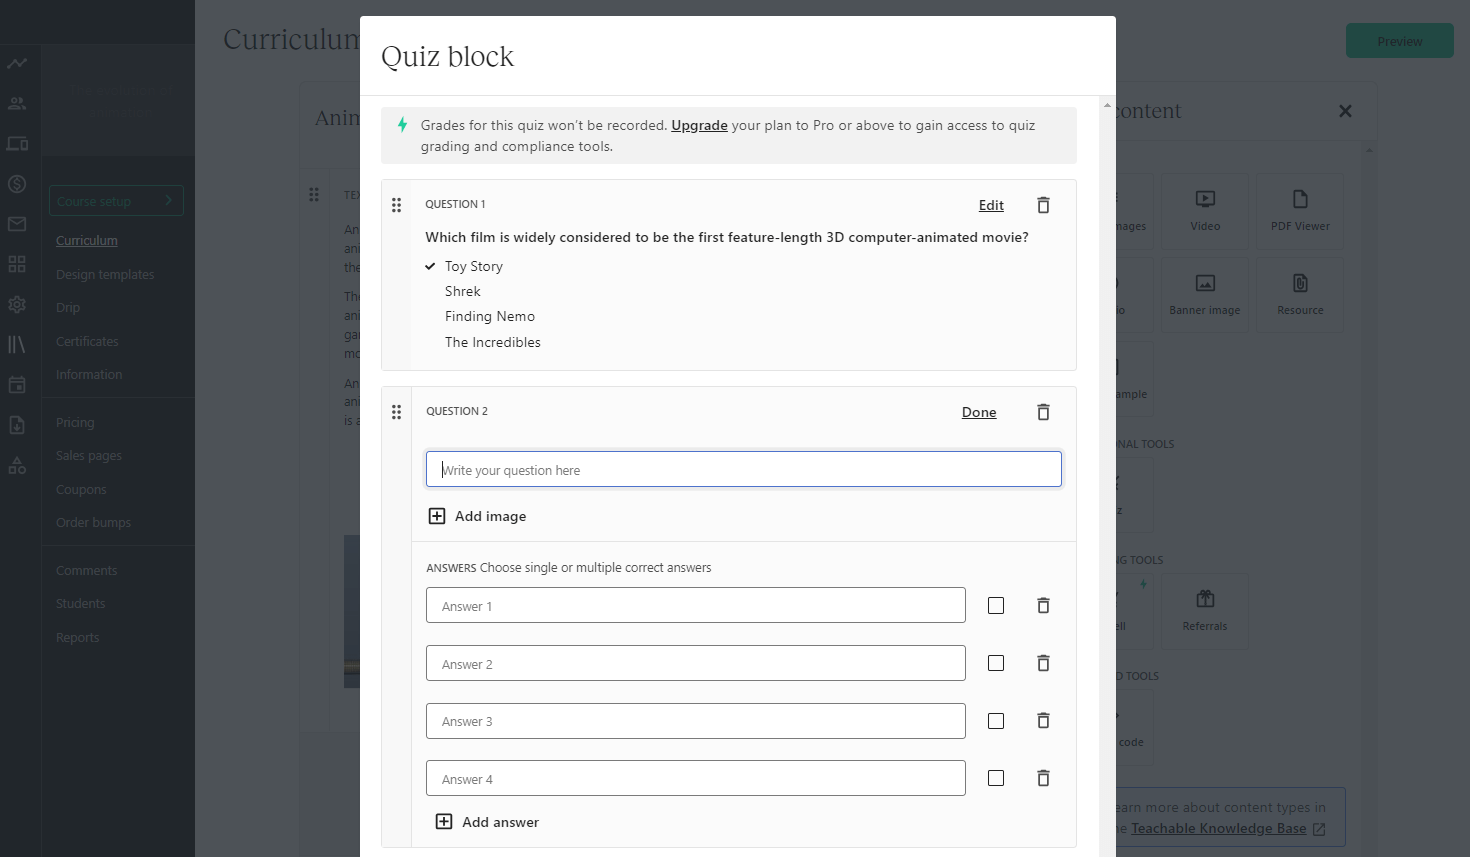
 Assessment Tools: Self-evaluation and progress monitoring are essential. Look for assessment tools like built-in forms with questionnaires, reflection journals, and quizzes to track client progress and prompt clients to reflect on their progress.
 Analytics: Your coaching platform should offer real-time analytics on learner progress and business insights, like sales, canceled subscriptions, etc. These are key to knowing where your online coaching business is headed and how clients progress through their program.


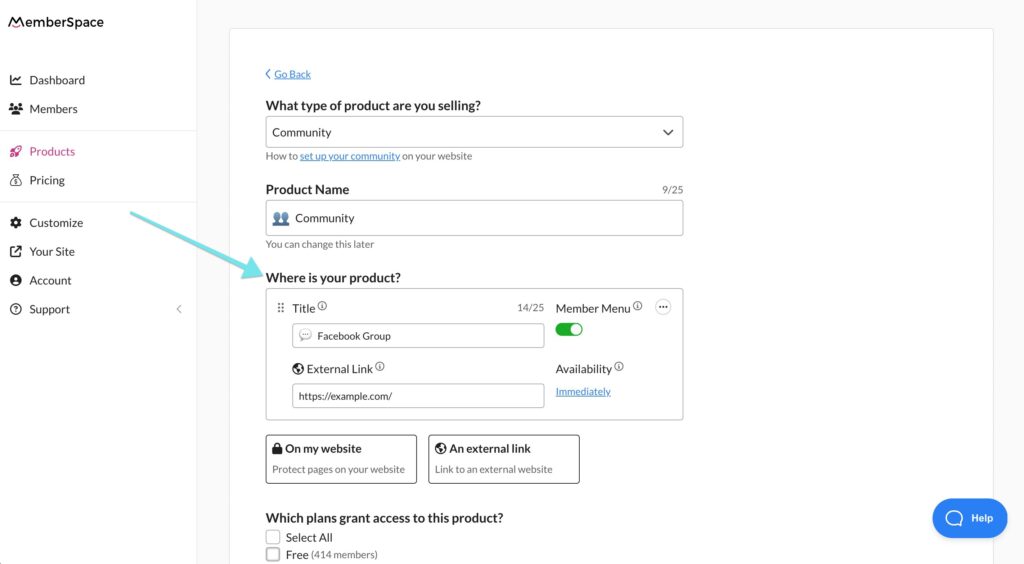
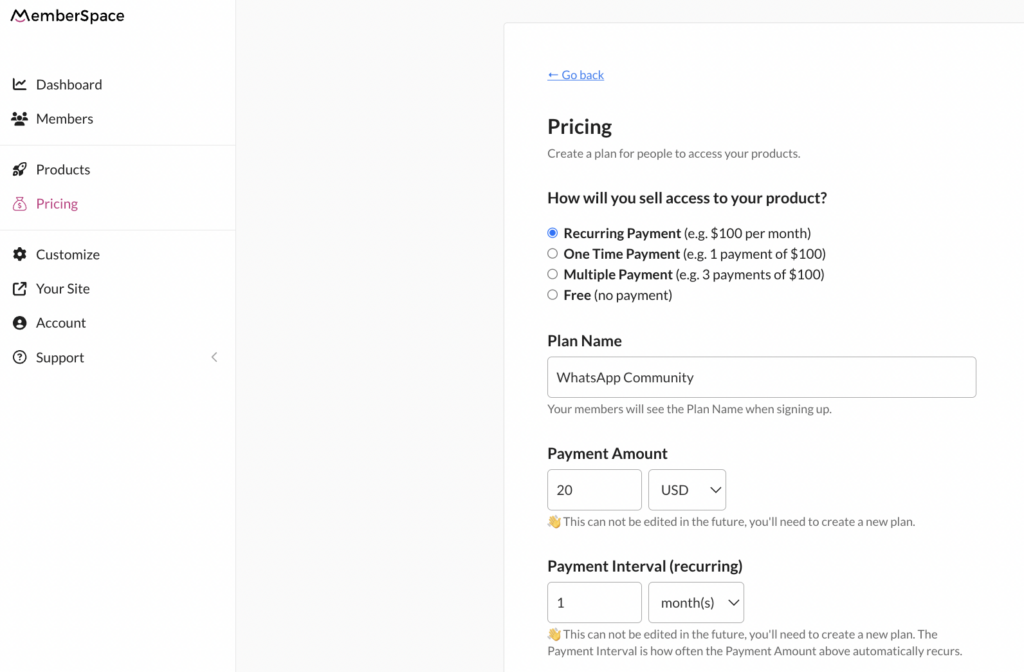
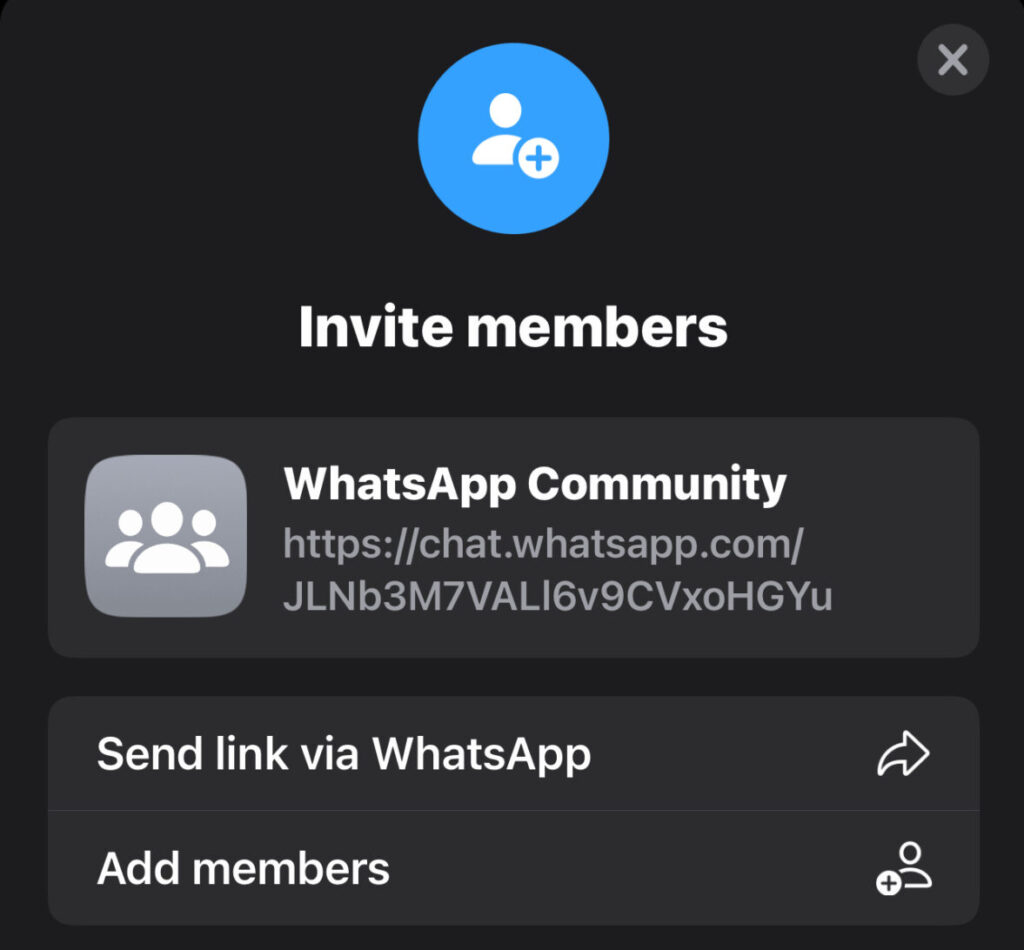
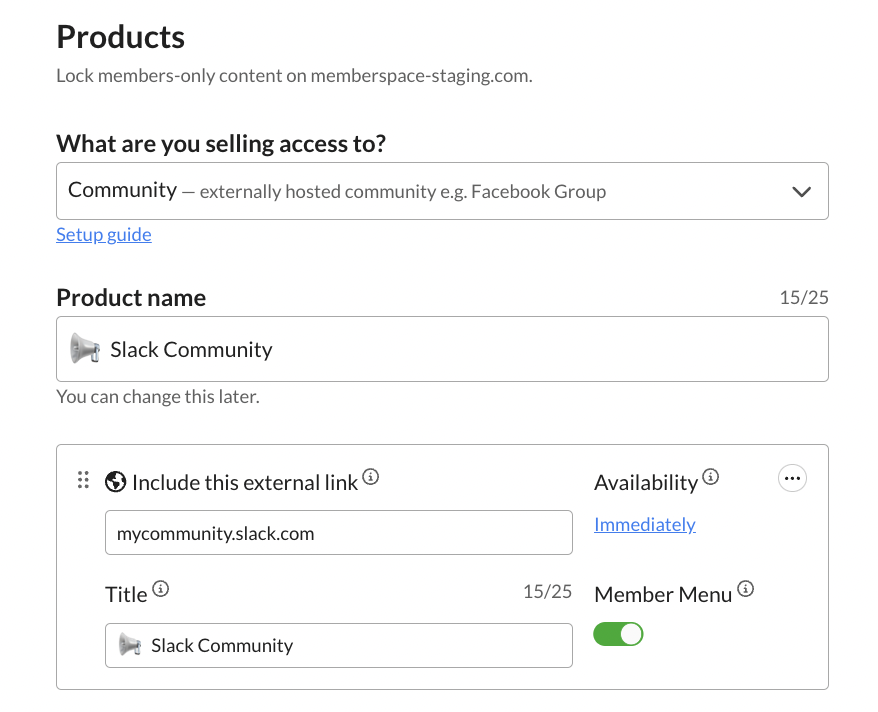
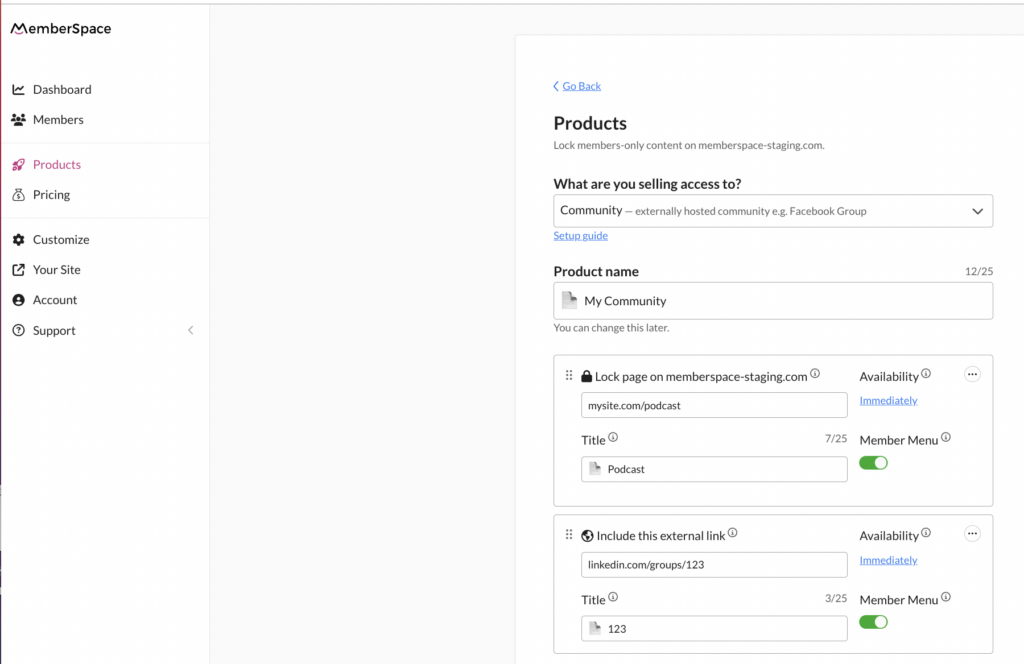
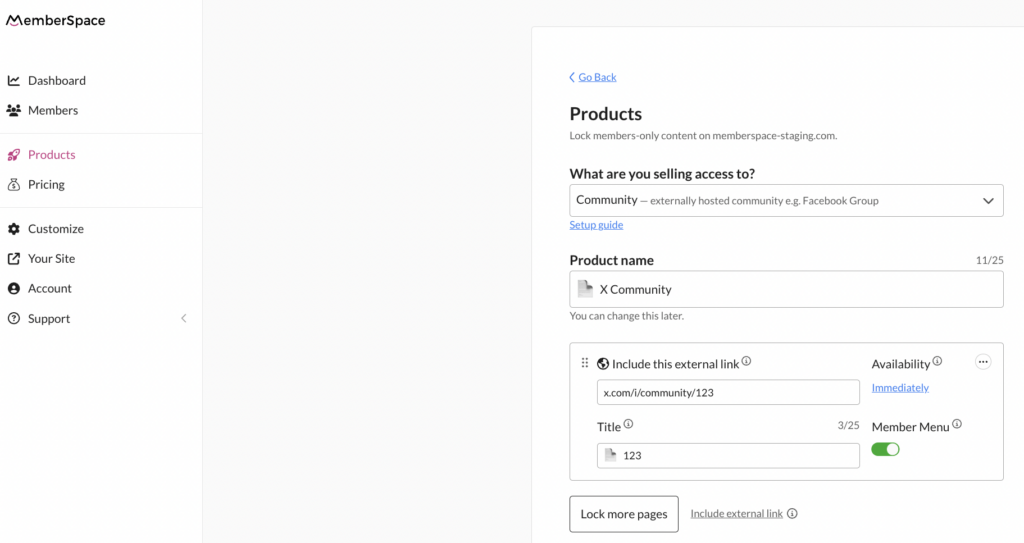
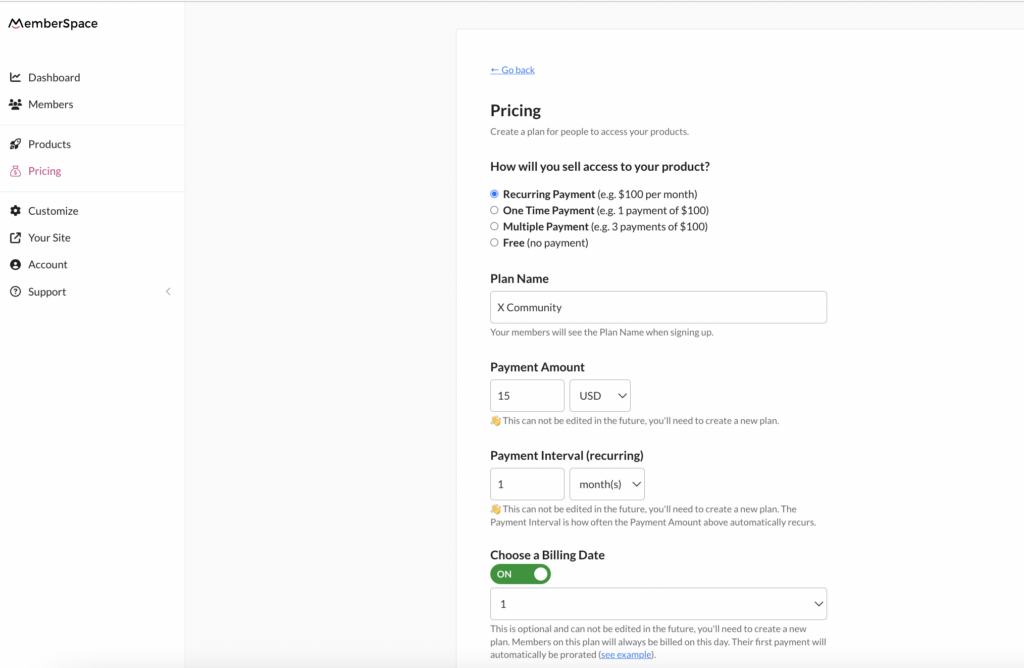
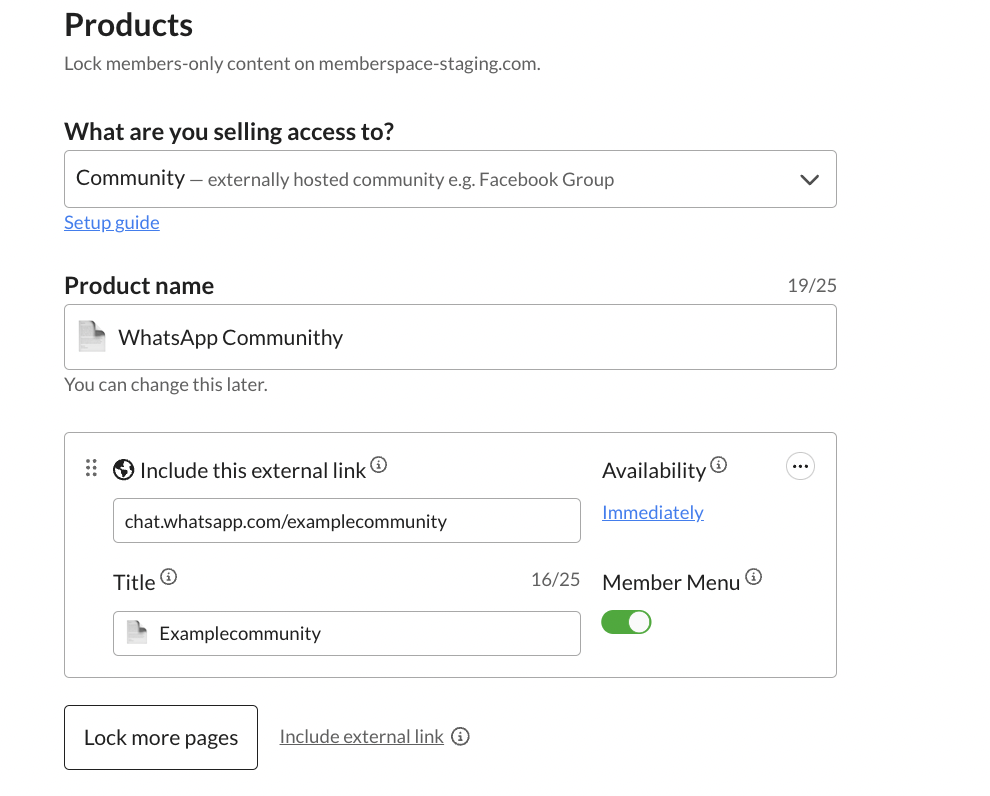
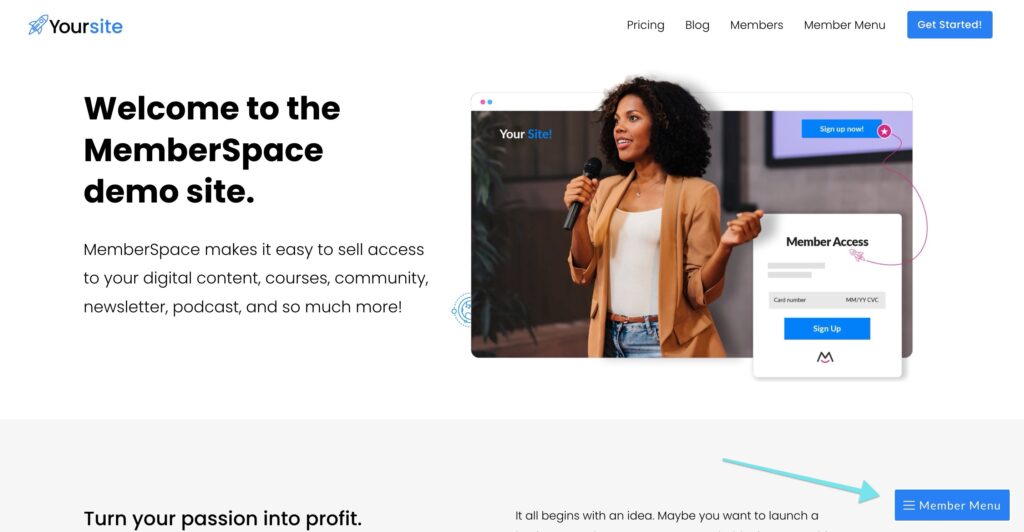
 Make sure Member Menu is enabled. This will add your Facebook Group link to a menu in the bottom right corner of your website that is only accessible once someone logs in or signs up and pays for group access.

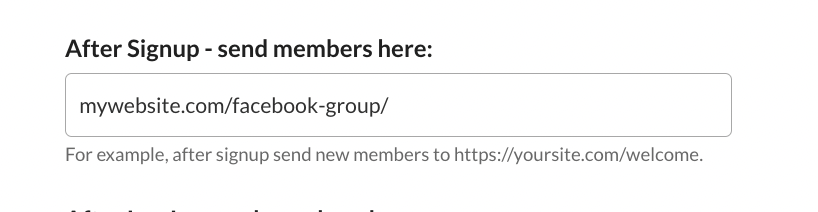


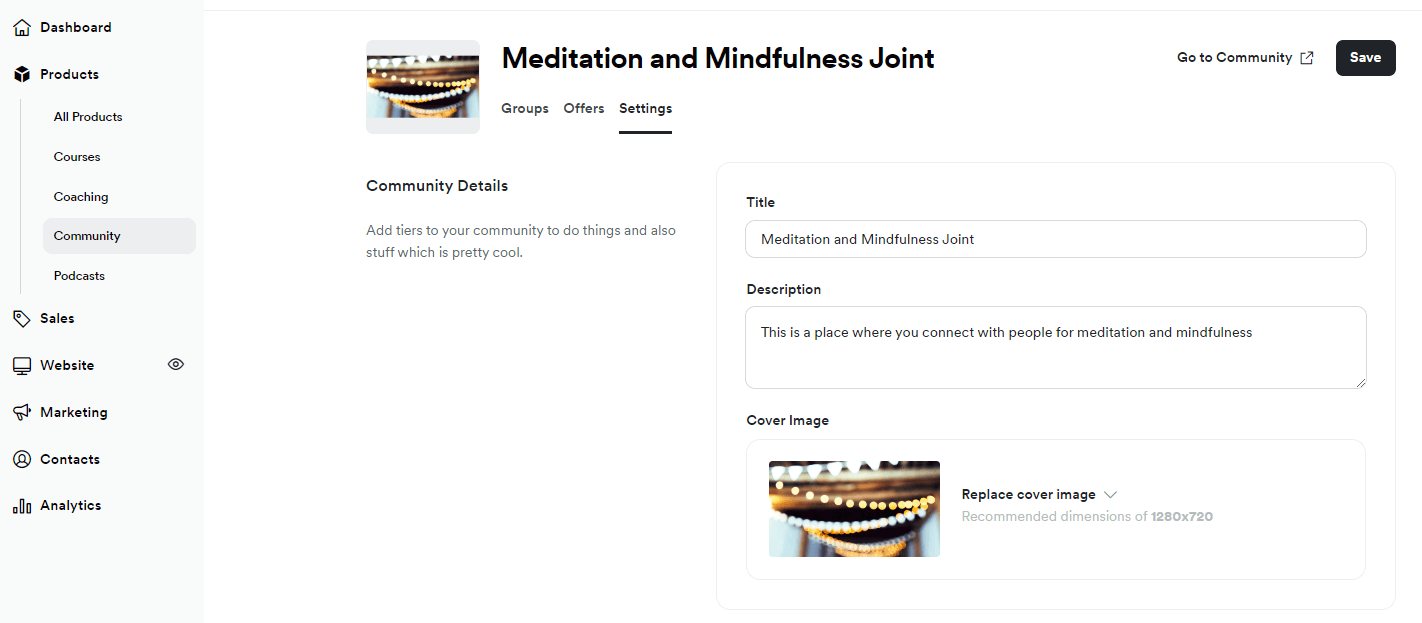
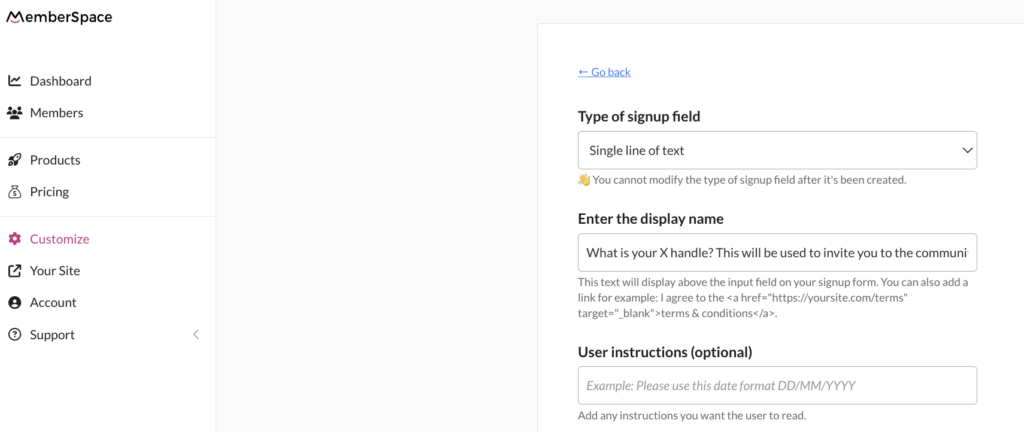
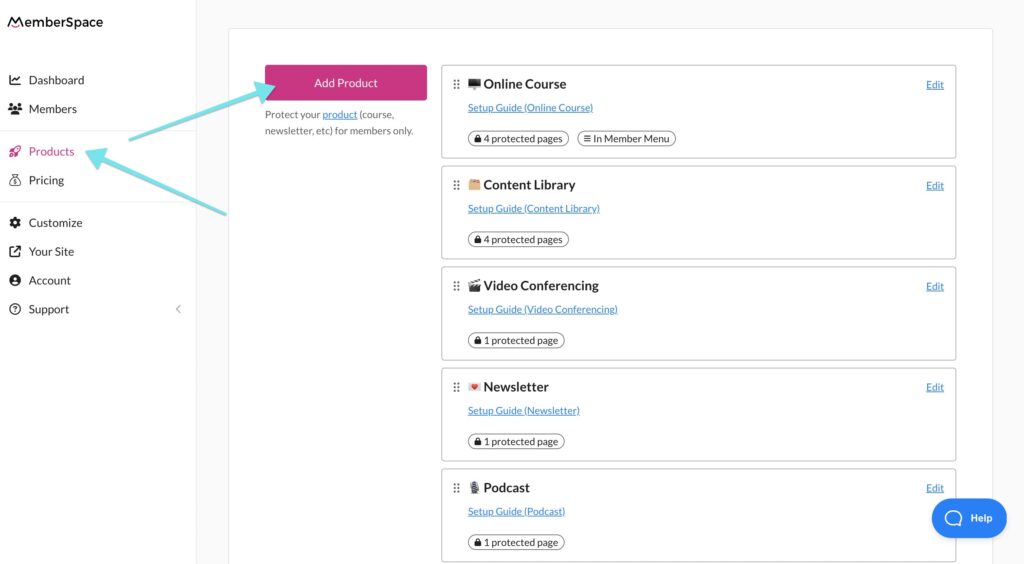
 Community Tip: At any point in the future, you can add more offerings to your membership community with MemberSpace, like coaching sessions, template libraries, or podcast episodes! Simply add your content to your website and add the URLs to your Online Community in MemberSpace.