Our view at Stack - Simplify growth with an all-in-one platform. Powerful marketing, sales, and support automation. Integrated CMS. Scalable software. Crafted for customer experience.
You lost that lovin’ feelin’. Fun to hear on the oldies station. Not so fun to hear from your community members.
![Download Now: 3 Community Management Templates [Free Kit]](https://no-cache.hubspot.com/cta/default/53/866a5201-b39e-4edb-9e7f-65c0d98a9ea0.png)
But that’s the double-edged sword of scaling community management, isn’t it? The better you do, the bigger you get. And the bigger your group gets, the harder it is to do the things that made it so special.
Below, 5 veterans of community management — from Square, Pocket CCO, HeyOrca, and HubSpot — share some challenges you’re likely to face. And how they overcame them.
Real-Life Challenges from Those Who Have Been There
Some of these challenges are unavoidable, and you’ll just have to cross that bridge when you get there.
But sometimes you can save yourself some heartbreak by listening to others who have been where you are.
In either case, you should keep the challenges below in mind at the beginning of your community-building journey, before you even think you need to.
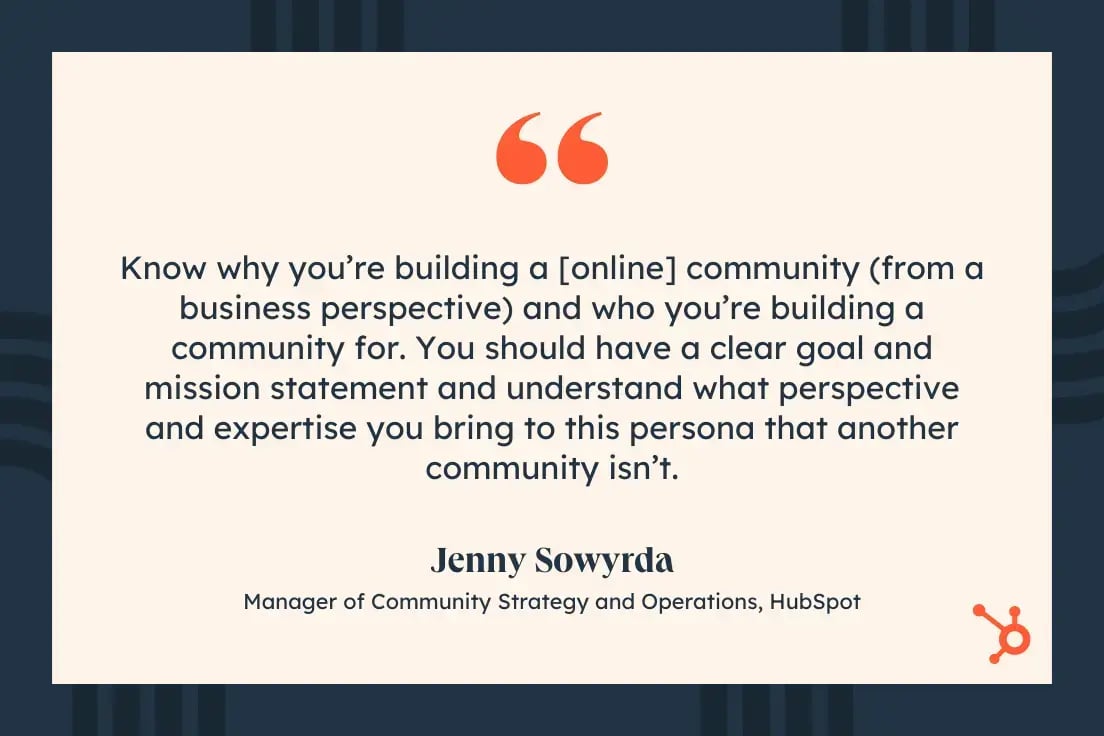
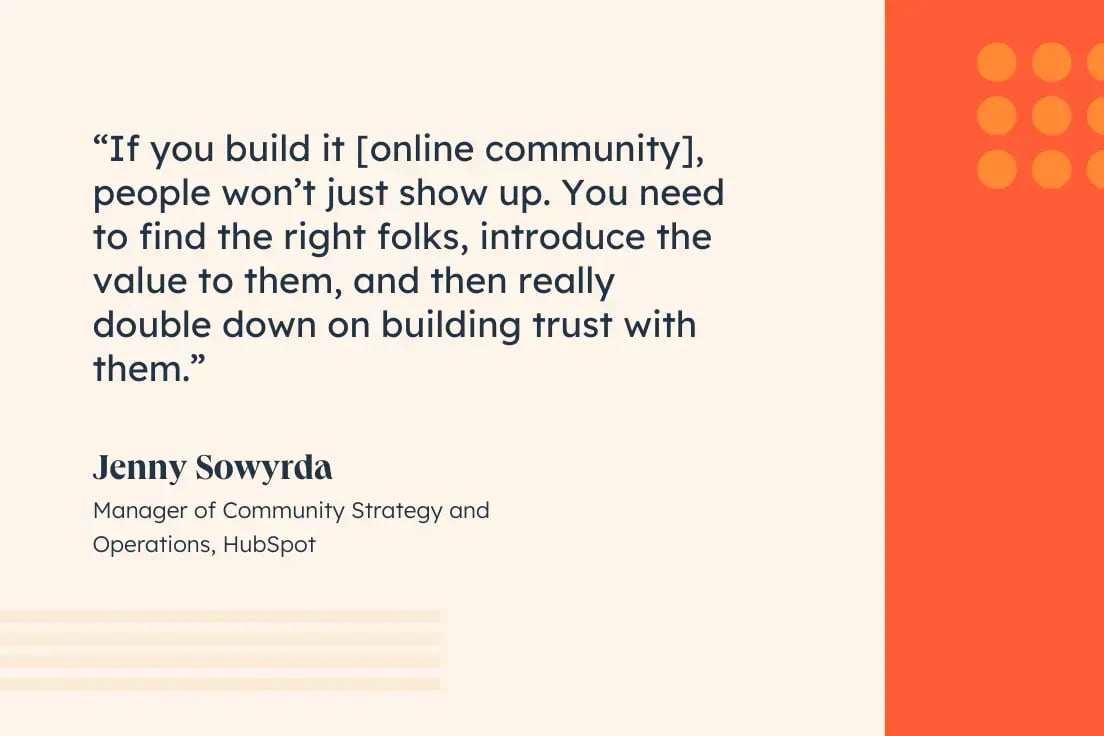
“My opinion on this is that you should try (as much as you can) to set up your community processes to be ready to scale as much as possible from day one,” says Jenny Sowyrda, manager of community strategy and operations at HubSpot.
“If the process you implement won’t scale from 1 member to 100 members, rethink it before you launch it.”
1. Knowing What Members Care About
“When you first launch a community you will feel like you’re talking to yourself,” laughs Sowyrda.
“The blessing in disguise when it comes to this, however, is that you actually have the time to know all of your community members,” she says. “It makes it easy to build relationships with these folks, get feedback from them, and truly build your community with them.”
Treasure that time, because it won’t last forever.
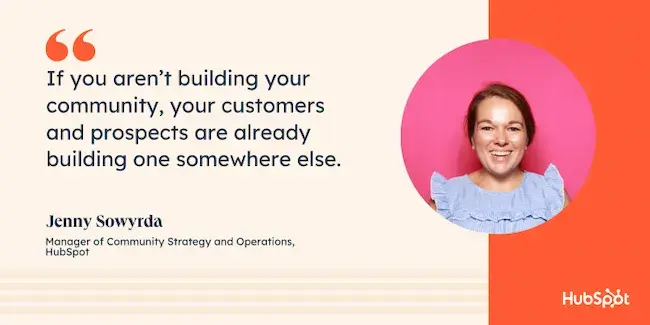
“Once your community starts to scale, you can’t know every community member in your space, and that is the most challenging part,” Jenny says.
The Solution: Build feedback channels from the very beginning.
When your community grows large enough that you don’t know all of the members, proactively seeking feedback becomes crucial.
It’s not enough to simply watch their conversations, because not every member will contribute.
“You can’t exclusively listen to the small vocal minority (who may be your top contributors),” says Sowyrda. “Because you then aren’t representing the lurkers, new members, or folks who [only] occasionally use your community.”
Instead, be proactive right from the start about seeking the opinions of all members through onboarding questionnaires, member surveys, and ongoing polls.
2. Keeping the Vibe
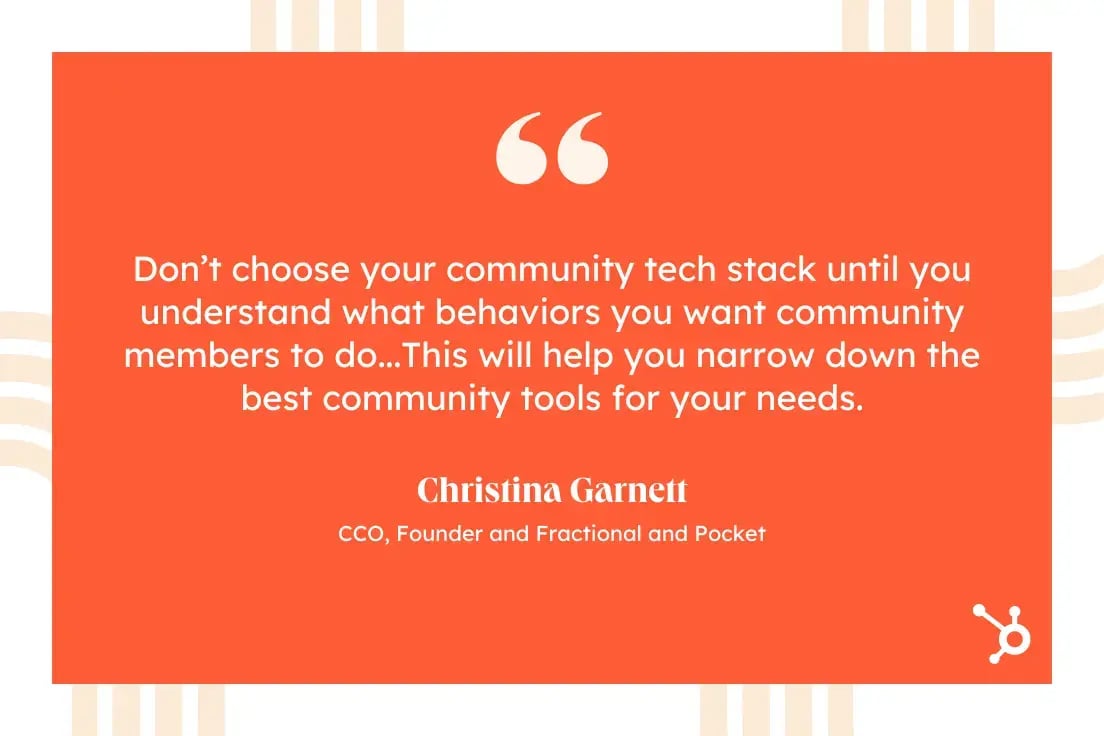
“One major issue when scaling a community is finding a way to grow it without it feeling too noisy and less intimate to already established members,” says Christina Garnett, founder and fractional CCO at Pocket CCO.
“As more people enter the community, it can lose what made it special.”
Max Pete, community engagement program manager at Square, says this is all about connection.
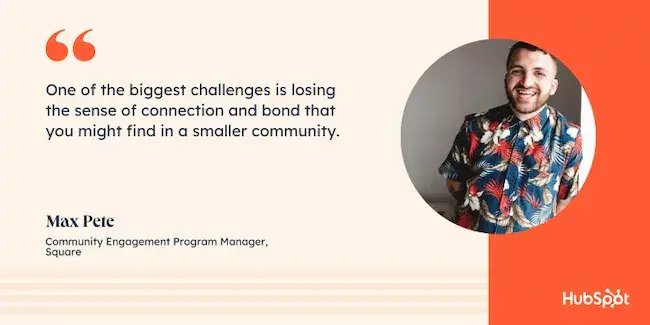
“One of the biggest challenges that comes to mind is losing the sense of connection and bond that you might find in a smaller community,” Pete explains.
“When it gets too big, some of the original things you did to create that connection might not be as scalable which means less time spent on them.”
The Solution: Keep the connection through group accessibility.
“When the Square community was smaller, I had more bandwidth to dedicate to members calls,” Max says.
“But as we grew and more members joined, I had to scale back my calls. One pivot was to offer more group conversations to reach more members at once.”
In addition to group calls, you may consider holding office hours, sharing personal updates, or even an ongoing newsletter about what’s new in the community.
These things can help members feel like they’re still connected to you and each other.
3. Keeping It Friendly, Safe, and Helpful
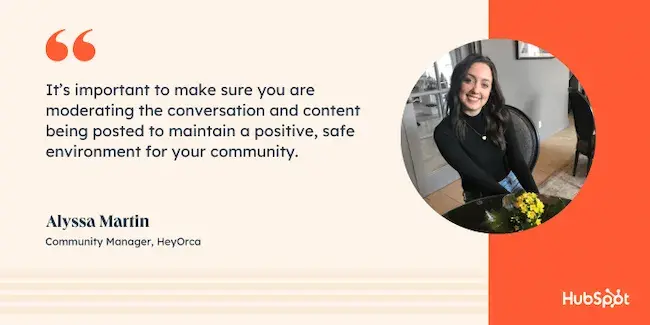
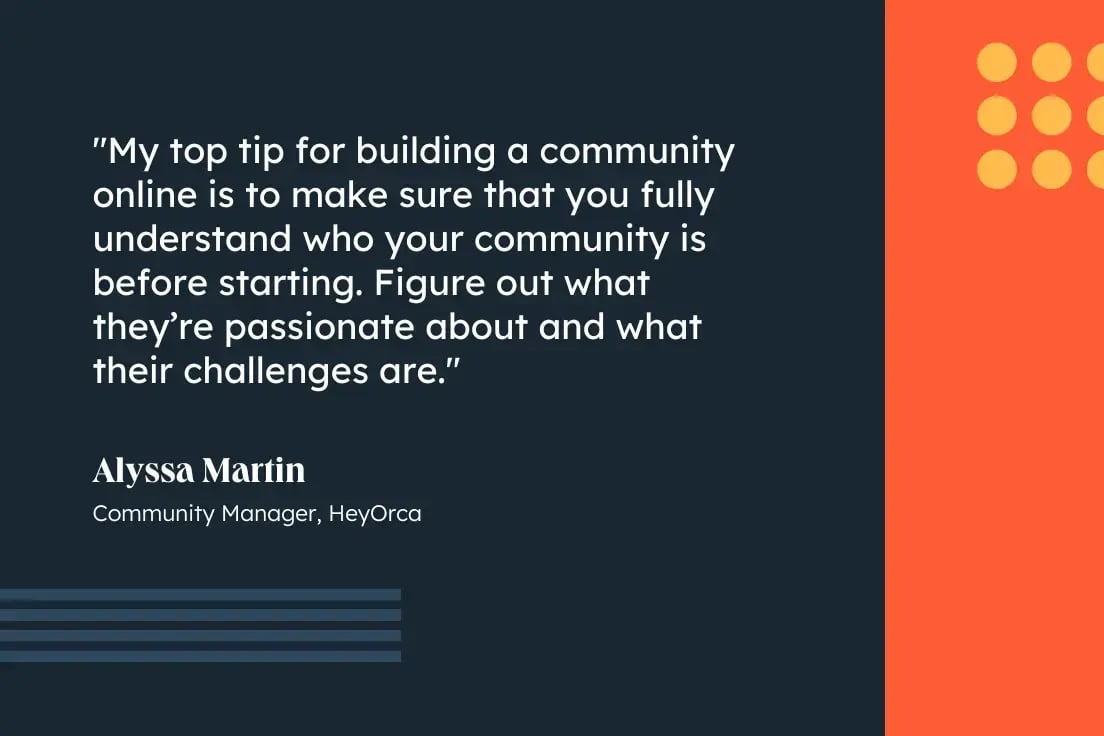
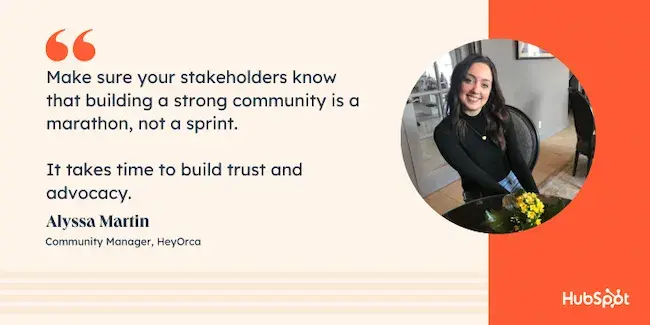
“A unique challenge that you may start to notice as your community grows is the importance of moderation,” says Alyssa Martin, community manager at HeyOrca.
“For example, as you scale a Facebook Group, you will start to get a few members who may not follow your community guidelines.”
Anyone who has been in a Facebook argument knows Alyssa is making a polite understatement.
“For the most part, the community is incredibly helpful and positive,” she says.
“But, there are always those times when something or someone needs to be removed and it’s important that you’re on top of it.”
If your community devolves into an abusive environment, it will reflect poorly on your brand. Not to mention that it won’t stay a community very long.
The Solution: Keep moderation scaleable with automation and/or empowering member moderators.
“It’s important to make sure you are moderating the conversation and content being posted to maintain a positive, safe environment for your community,” Martin says. “This is a concept I’ve had to put into action myself as the HeyOrca Community grew.”
But as your community grows, so does the volume of content, and you won’t be able to read it all yourself. At that point, you’ll want to consider moderation software or community moderators (or both.)
Many community management tools will offer moderation features that can flag comments for review or removal, or allow community members to flag them for you.
You may also consider empowering select members of the community as moderators themselves.
4. Sharing Ownership of the Community
One of the best and hardest parts of a community is that it doesn’t belong to you alone.
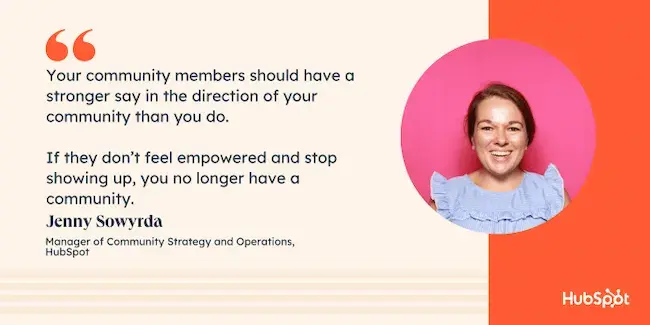
“At the end of the day, your community members should have a stronger say in the direction of your community than you do,” says Jenny Sowyrda. “Because if they don’t feel empowered and stop showing up, you no longer have a community.”
“As I told someone on my team recently, you should be drawing the map of where you want your community to go,” Sowyrda says. “But your community members are very much helping drive the ship.”
But Jenny also shares a word of warning.
“That said, the top priority when it comes to giving external folks ‘authority’ is ensuring you’re protecting member data and not violating the trust you’ve built with community members.”
So, for example, if you choose to use members as moderators, you should limit access to what kinds of data they can see.
The Solution: Be their advocate, not their parent.
“You should position your community team in a way that makes it seem like you are the genie of your company – that you can make anything happen,” she says.
“Once you’ve built that trust, you’ll be able to give them the authority to feel empowered, while knowing you still have control over the community.”
5. Balancing the Needs of Community and Business
Though you need to be an advocate for your community, you can’t forget that you’re also representing a business, too.
“Building a community for a brand, you are kind of the middle man between the brand and the community,” says Qetsiyah Jacobson, community manager at HeyOrca.
Sometimes that means putting the needs of the company first. But sometimes it means giving pushback on behalf of your community — a difficult thing for many new community managers.
“Knowing when to speak up and push against certain ideas or even bring up product ideas your community will love is a bit harder at times,” Qetsiyah adds.
The Solution: Know your stakeholders’ goals, and how your community connects to them.
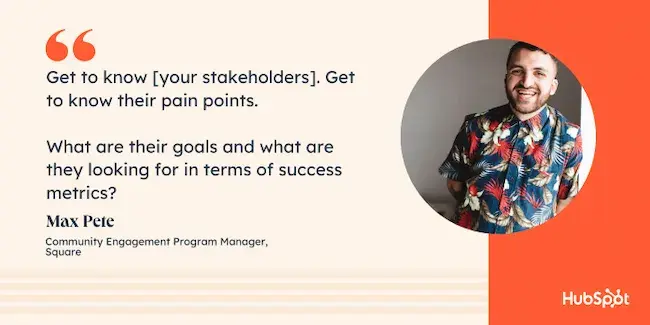
“This is why it is super important to have those early conversations with key stakeholders on what is important for them,” says Square’s Max Pete. “What are their goals and what are they looking for in terms of success metrics?”
When you know how your community contributes to those goals, you’ll know when and how to advocate on their behalf.
6. Keeping Up With Changes
“It’s not something that you just nail down once,” says Jacobson. “Your community is made out of people and people evolve, they change, and they have moods.”
That means that if you only get feedback occasionally—or worse, only after events or campaigns—you’ll always be behind on what your community wants.
The Solution: Keep your feedback processes ongoing, not occasional.
“You need to constantly narrow down and reiterate what you want your community to be and understand what works,” Jacobson says. “Once you can identify what your community needs you can see where you can fill the gaps.”
“More tactically,” Jenny Sowyrda chimes in. “You should empower your members to share their opinions and they should know where and how they can do that, whether it be office hours, a feedback form, or a direct line of access to the community management team.”
7. Keeping It All Organized
“As our community grew, we were able to invite everyone individually, we knew who they were, and had fostered great relationships with them,” Jenny Sowyrda shares.
“I had their information to mail them some swag and — since in being a community manager you wear 10 hats every day — I was also in charge of packing up the swag and sending it off to them.”
“Somehow in the process of shipping out the swag, the envelopes and thank you cards got switched up and everyone ended up receiving someone else’s thank you card,” Jenny said. “It was the perfect example of wanting to have our human touch, but also being a bit too big to manage it all on my own.”
The Solution: Accept that you’re going to make mistakes (and also maybe try out a task manager!)
“In the end, it ended up being a great ice breaker as folks pinged each other to find out whose mail they had received,” Jenny says.
“And, honestly, I think they enjoyed getting the wrong card more than they would have enjoyed getting the correct one.”
Turning a mixup into a bonding activity is a brilliant way to recover even stronger. But while the mistake worked out in Jenny’s favor, not everyone will be so lucky.
The real luck is that there’s an abundance of free project management tools that can help you keep it all organized.
8. Not Missing Messages in Multiple Inboxes
This one is a little less existential than the others, but no less stressful.
Some of you are already nodding your heads after checking email, then Facebook, then Slack, then LinkedIn, and on and on.
When you first start a community, chances are that you can cruise through all of your messages first thing in the morning.
But when your community gets large enough, making sure you don’t miss any messages across multiple platforms becomes a pain.
The Solution: Consider a shared inbox.
“If you are managing a social media community, I highly recommend finding a tool that allows you to manage your community all from one place,” says Alyssa Martin.
“I like using HeyOrca’s Social Inbox. It allows you to manage your comments and DMs for Instagram, Facebook, and LinkedIn all in one place. This helps save time, especially if you’re managing multiple social media communities.”
And if your community is on Slack, email, or chat, you might also consider (shameless plug) HubSpot’s free shared inbox.
4 More Tips for Scaling Community from HubSpot’s Own Team
Lastly, Jenny Sowyrda took time to share some tips that aren’t connected to particular challenges.
If you’re just getting started building a community, you should work these tips into your processes now. But if you’re inheriting an existing community, it’s never too late to work them in.
1. Build queues and priority for what to reply to.
While you should try to reply to all messages, not all of them will be equally as urgent. And trying to triage them in the moment risks letting important messages go unanswered.
Lay out what takes priority from the start, and build your workflows to suit.
2. Ensure you are viewing all content to ensure everyone gets a response, but also to ensure you find new members.
A proper welcome helps to ensure that new members will stick around and get engaged. Community management software can help make sure no one gets missed.
3. Document your processes and create processes when you don’t have them.
As a big nerd, I admit I’m a sucker for well-documented procedures. But having a solid process in place helps to avoid mixups like Jenny’s thank-you-card story from above.
4. If you are on a team, ensure you’re communicating everything you’re doing — from engaging with members, to answering questions, to writing content.
“Your community management team should appear as a united presence,” says Sowyrda. “Though everyone can and should have their unique voice.”
Tipping the Scale
If you keep these tips and solutions in mind, you can scale your community without losing the love.
And when your community feels that love, that’s when it grows best.
![]()
If Hubspot is of interest and you'd like more information, please do make contact or take a look in more detail here.
Credit: Original article published here.



![Download Now: 150+ Content Creation Templates [Free Kit]](https://softwarestack.tech/wp-content/uploads/2024/03/5478fa12-4cc3-4140-ba96-bc103eeb873e.png)






![New Data: Instagram Engagement Report [Free Download]](https://no-cache.hubspot.com/cta/default/53/9294dd33-9827-4b39-8fc2-b7fbece7fdb9.png)
 Get Started with HubSpot’s Social Media Tool

 Download a Free Kit to Help You Grow Your Instagram Profile